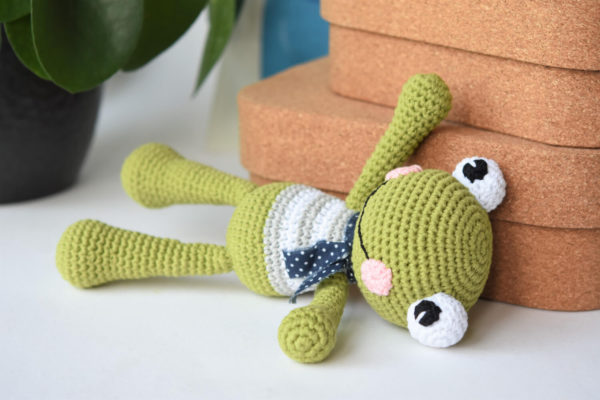
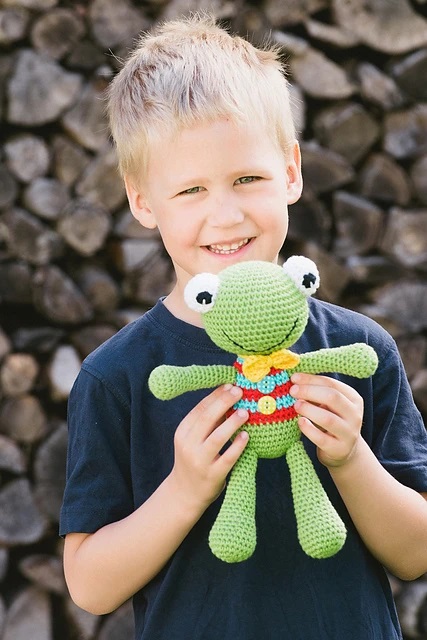
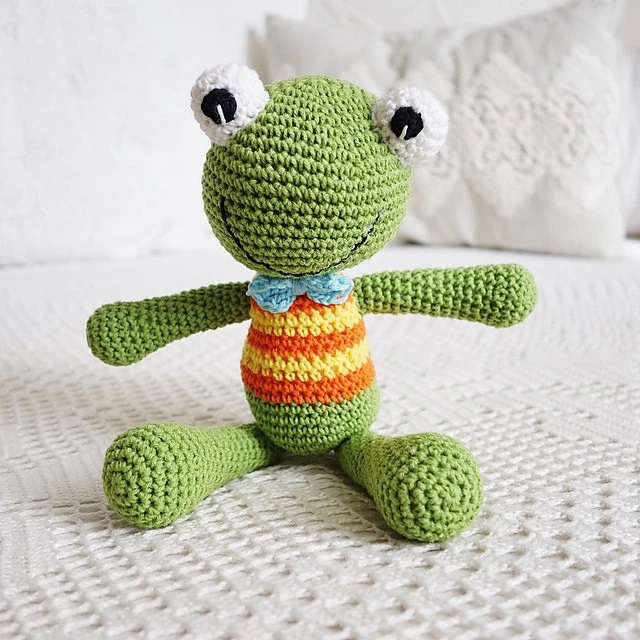
Felix the Frog is an adorable amphibian who loves children and dressing elegantly for days out outdoors. Felix is a happy frog who loves to play and be pampered. This amigurumi has no rigid parts, so even babies can play with it.
Abbreviations
✅ Pb: Low point.
✅ Pr: Flat/slid stitch.
✅ Point(s): Point/s.
✅ Sc2tog: 2 Low points together.
✅ Mpa: Half high point.
Materials
✅ Green thread plus a small amount of white, black and gray.
✅ 3.5 mm hook.
✅ Polyester fiber filling.
✅ Tape.
✅ Point marker.
Measures
✅ 25 cm high.
Instructions
Grades
Work in continuous rounds. Do not join or twist unless otherwise instructed.
Use a stitch marker and place it on the first stitch of the round to mark the beginning of the round.
Leave a long tail on each piece to sew.
Head: Green thread
V1: Work 6 sc in a magic ring [6]
R2: Work 2 sc in each st around [12]
R3: (Sc in next st, 2 sc in next st) repeat 6 times [18]
R4: (Sc in each of the next 2 sts, 2 sc in the next st) repeat 6 times [24]
R5: ((Sc in each of the next 3 sts, 2 sc in the next st) repeat 6 times [30]
R6: (Sc in each of the next 4 sts, 2 sc in the next st) repeat 6 times [36]
R7: (Sc in each of the next 5 sts, 2 sc in the next st) repeat 6 times [42]
R8: (Sc in each of the next 6 sts, 2 sc in the next st) repeat 6 times [48]
R9: (Sc in each of the next 7 sts, 2 sc in the next st) repeat 6 times [54]
R10-16: Sc in each st around
R17: (Sc in each of the next 7 sts, sc2tog) repeat 6 times [48]
R18: (Sc in each of the next 6 sts, sc2tog) repeat 6 times [42]
R19: (Sc in each of the next 5 sts, sc2tog) repeat 6 times [36]
R20: (Sc in each of the next 4 sts, sc2tog) repeat 6 times [30]
R21: (Sc in each of the next 3 sts, sc2tog) repeat 6 times [24]
R22: (Sc in each of the next 2 sts, sc2tog) repeat 6 times [18]
Fill with fiberfill.
Eyes (x2): White thread
V1: Work 6 sc into a magic ring [6]
R2: Work 2 sc in each st around [12]
R3: (Sc in next st, 2 sc in next st) repeat 6 times [18]
R4-5: SC in each st around
R6: (Sc in each of the next 4 sts, sc2tog) repeat 3 times [15]
Stuff the eyes with fiberfill and sew in the appropriate place on the head.
Pupils (x2): Black thread
V1: Work 6 sc in a magic ring, sl in the first sc [6]
Finish the eyes by adding the pupils.
Topstitch the mouth with black thread.
Body: Green thread
V1: Work 6 sc into a magic ring [6].
R2: Work 2 sc in each st around [12]
R3: (Sc in next st, 2 sc in next st) repeat 6 times [18]
R4: (Sc in each of the next 2 sts, 2 sc in the next st) repeat 6 times [24]
R5: ((Sc in each of the next 3 sts, 2 sc in the next st) repeat 6 times [30]
R6: (Sc in each of the next 4 sts, 2 sc in the next st) repeat 6 times [36]
R7: (Sc in each of the next 5 sts, 2 sc in the next st) repeat 6 times [42]
R8-10: SC in each st around
R11: (Sc in each of the next 5 sts, sc2tog) repeat 6 times [36]
From now on, swap gray and white every two laps.
R12-13: SC in each st around
R14: (Sc in each of the next 4 sts, sc2tog) repeat 6 times [30]
R15-16: SC in each st around
R17: (Sc in each of the next 8 sts, sc2tog) repeat 3 times [27]
R18: Sc in each st around
R19: (Sc in each of the next 7 sts, sc2tog) repeat 3 times [24].
V20: Sc in each st around
R21: (Sc in each of the next 6 sts, sc2tog) repeat 3 times [21]
R22: SC in each st around
R23: (Sc in each of the next 5 sts, sc2tog) repeat 3 times [18]
Fill with fiberfill and sew together with the head.
Legs (x2): Green thread
V1: Work 6 sc in a magic ring [6]
R2: Work 2 sc in each st around [12]
R3: (Sc in next st, 2 sc in next st) repeat 6 times [18]
R4: (Sc in each of the next 2 sts, 2 sc in the next st) repeat 6 times [24]
R5-7: SC in each st around
R8: (Sc in each of the next 2 sts, sc2tog) repeat 6 times [18]
R9-10: SC in each st around
R11: (Sc in each of the next 4 sts, sc2tog) repeat 3 times [15]
R12-13: SC in each st around
Stuff the leg and continue adding filling until the end of the piece.
R14: SC in each of the next 13 sts, sc2tog [14].
R15: SC in each st around
R16: SC in each of the next 12 sts, sc2tog [13]
R17: SC in each st around
R18: SC in each of the next 11 sts, sc2tog [12].
R19: SC in each st around
R20: SC in each of the next 10 sts, sc2tog [11]
R21: SC in each st around
R22: SC in each of the next 9 sts, sc2tog [10].
R23: SC in each st around
R24: SC in each of the next 8 sts, sc2tog [9].
R25: SC in each st around
Arms (x2): Green thread
V1: Work 6 sc into a magic ring [6]
R2: Work 2 sc in each st around [12]
R3: (Sc in next st, 2 sc in next st) repeat 6 times [18]
R4-5: SC in each st around
R6: (Sc in next st, sc2tog) repeat 6 times [12]
R7-8: SC in each st around
Stuff the arm and continue adding filling until the end of the piece.
R9: SC in each of the next 10 sts, sc2tog [11].
R10-12: SC in each st around
R13: SC in each of the next 9 sts, sc2tog [10].
R14-16: SC in each st around
R17: SC in each of the next 8 sts, sc2tog [9].
R18-20: SC in each st around
Glue on the legs and arms, put a ribbon around the neck and VOILA! You now have your shiny and happy frog.
Additionally, you can crochet the cheeks. Use pink thread.
Cheeks (x2): Pink thread
R1: Work 10 hdc in a magic ring, tr in the first hdc [10].
Sew the cheeks to the corners of the mouth.