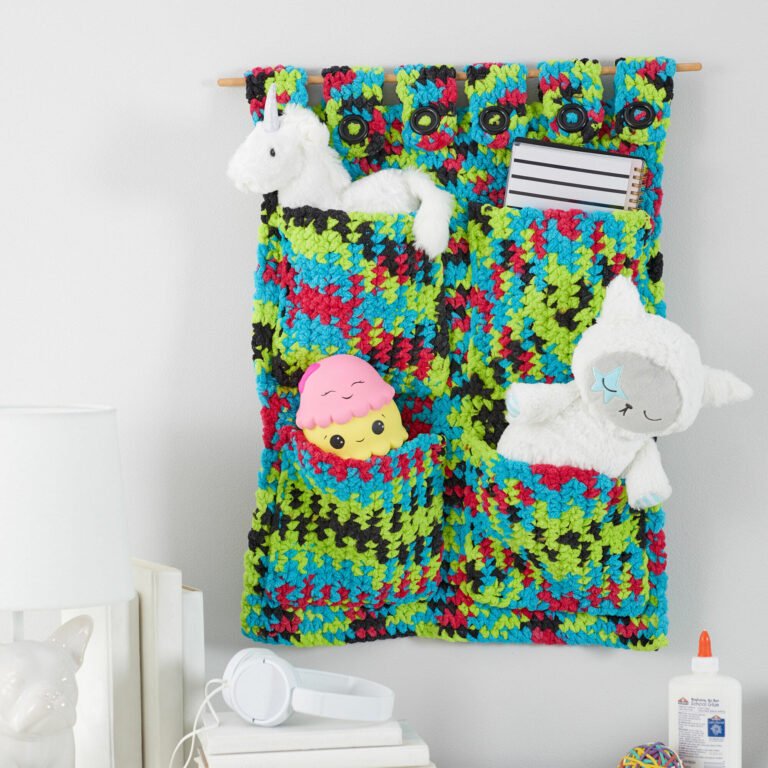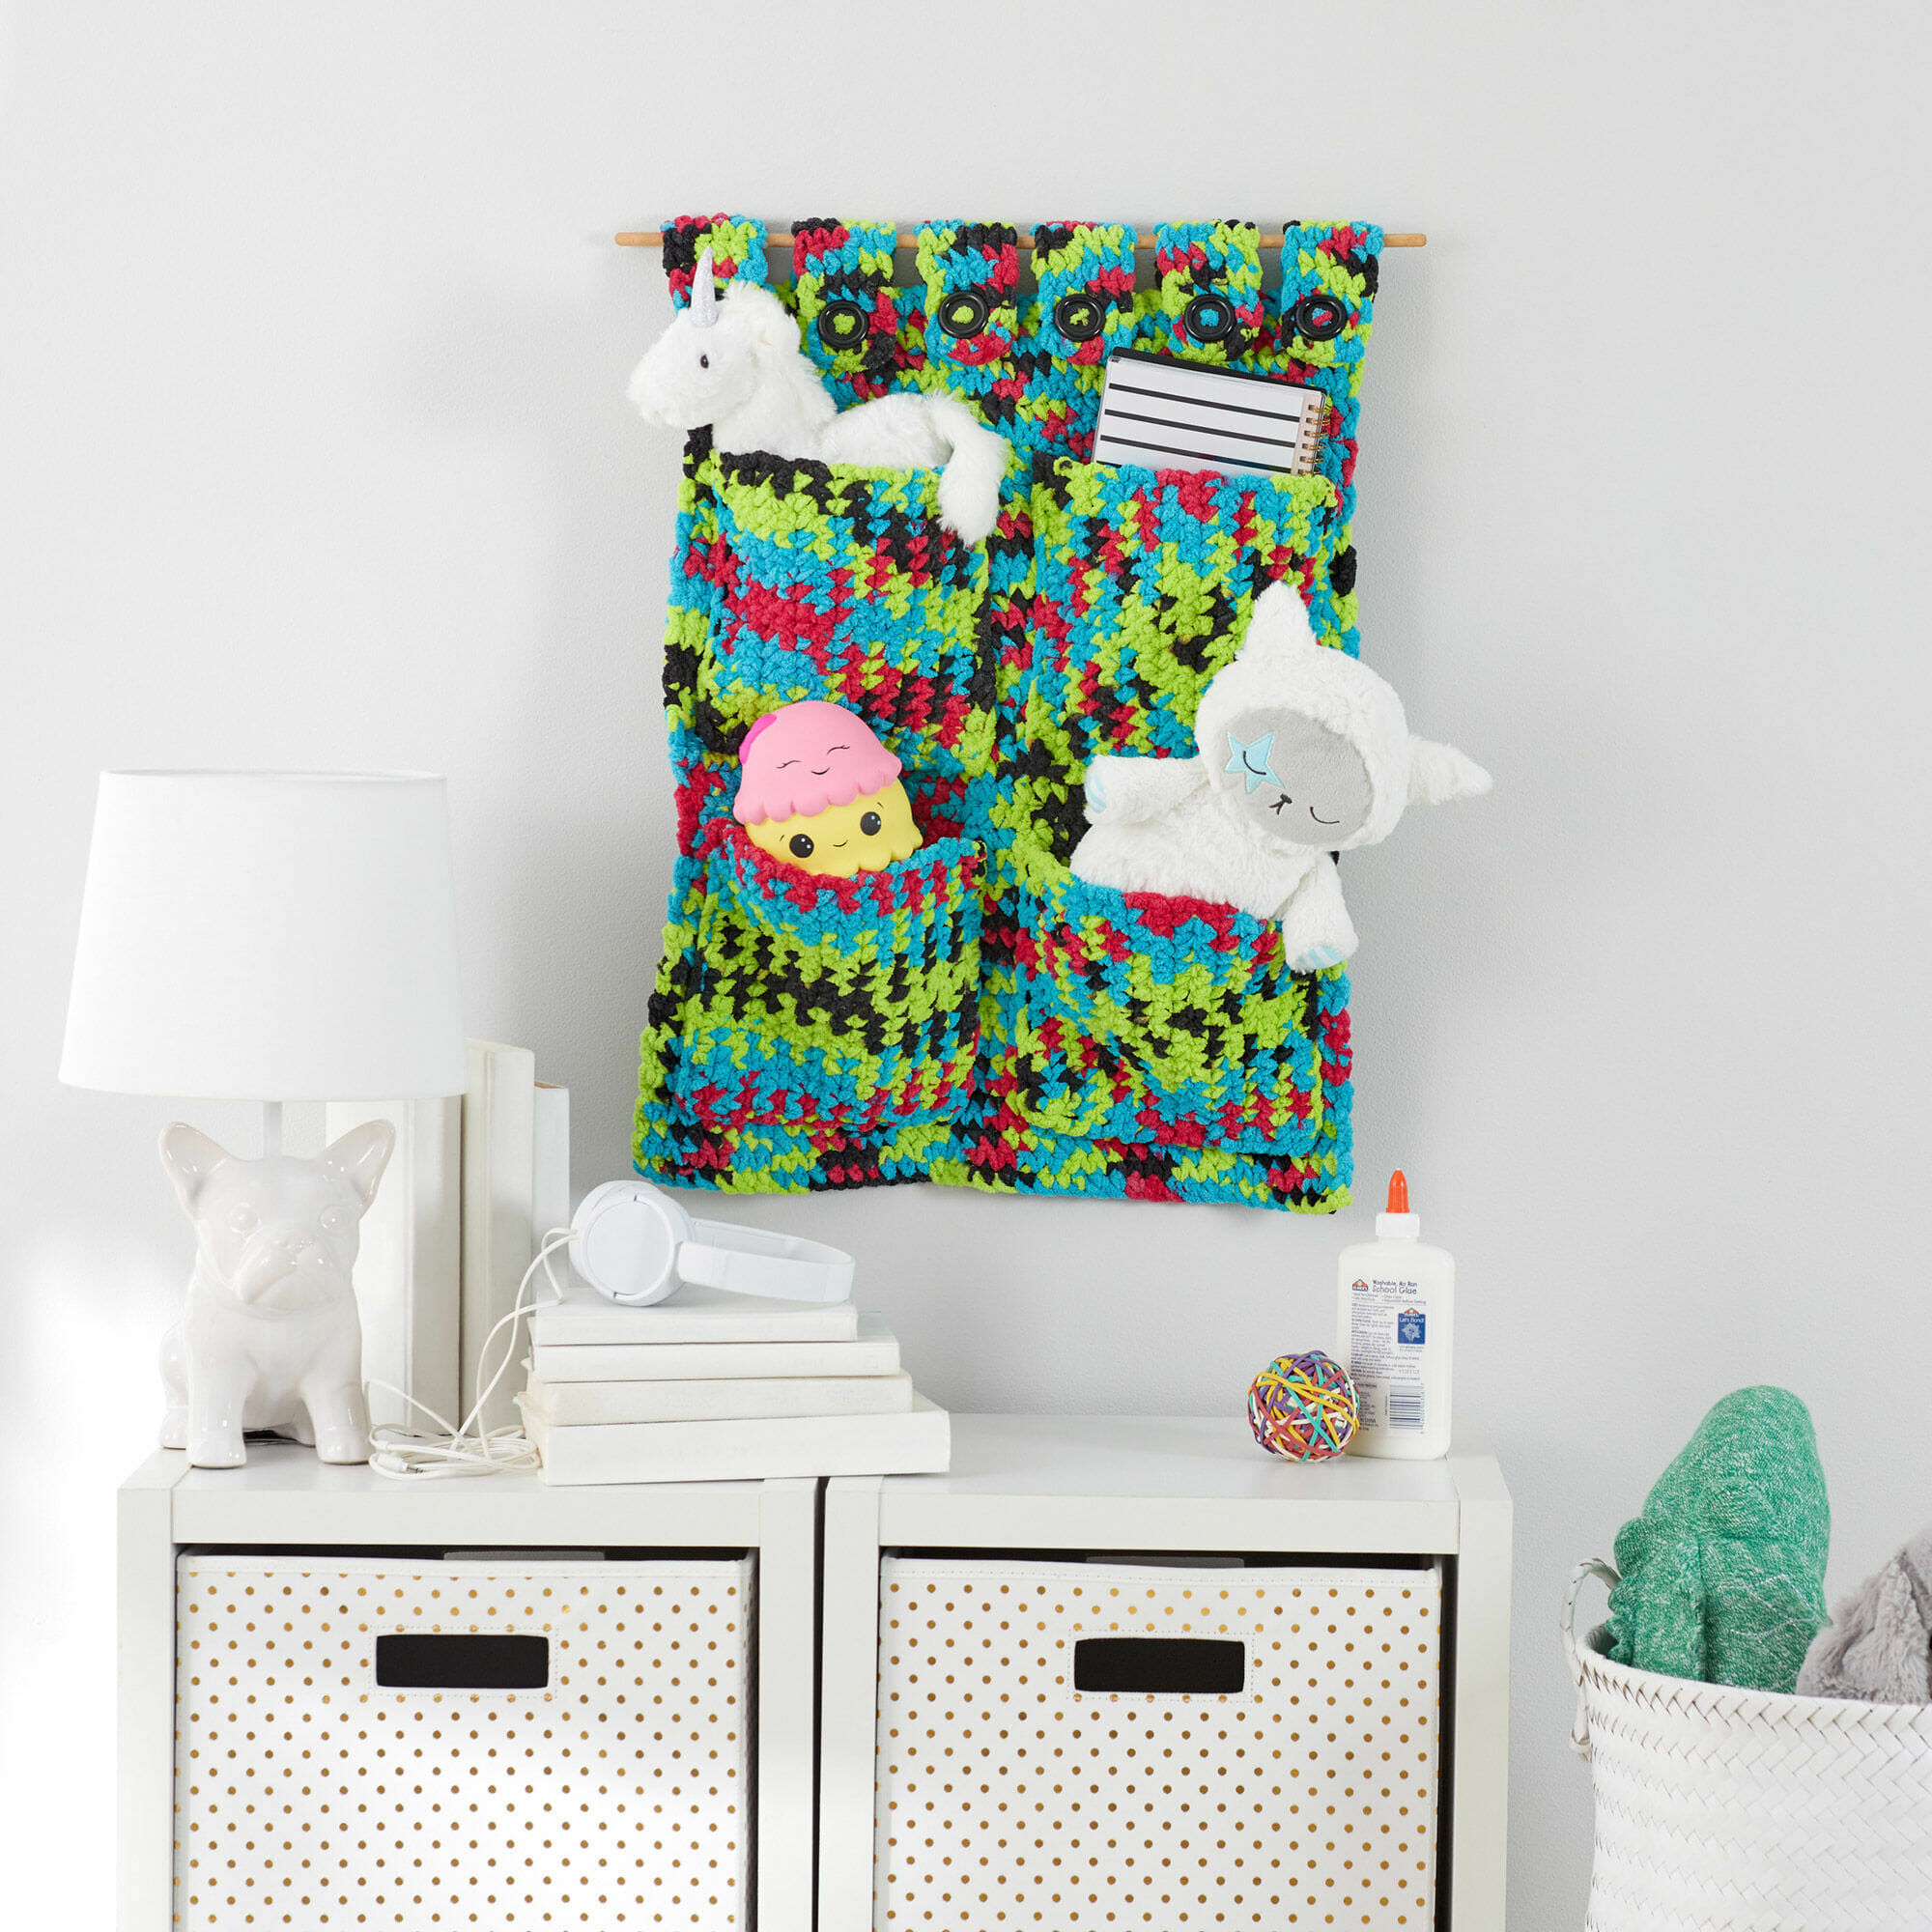
Have fun organizing all your little one’s toys with this practical wall hanging with practical pockets that you will love. It’s definitely an essential item for the baby’s room that you can also make the perfect baby shower gift.

Abbreviations
Pc: Cadena
Sc: Single crochet
Pr: Sliding point
Materiales
Blacklight – 2 ovillos.
Gancho de 9mm [US N-15].
Six 1 1⁄2″ [38 mm] diameter buttons.
24″ [61 cm] long peg
Thread needle.
Measurements
The pendant measures approximately 20″ [51 cm] x 25″ [63 cm].
Calibre
9 sc = 4″ [10 cm]; 9 rows = 4″ [10 cm] in sc.
Instructions
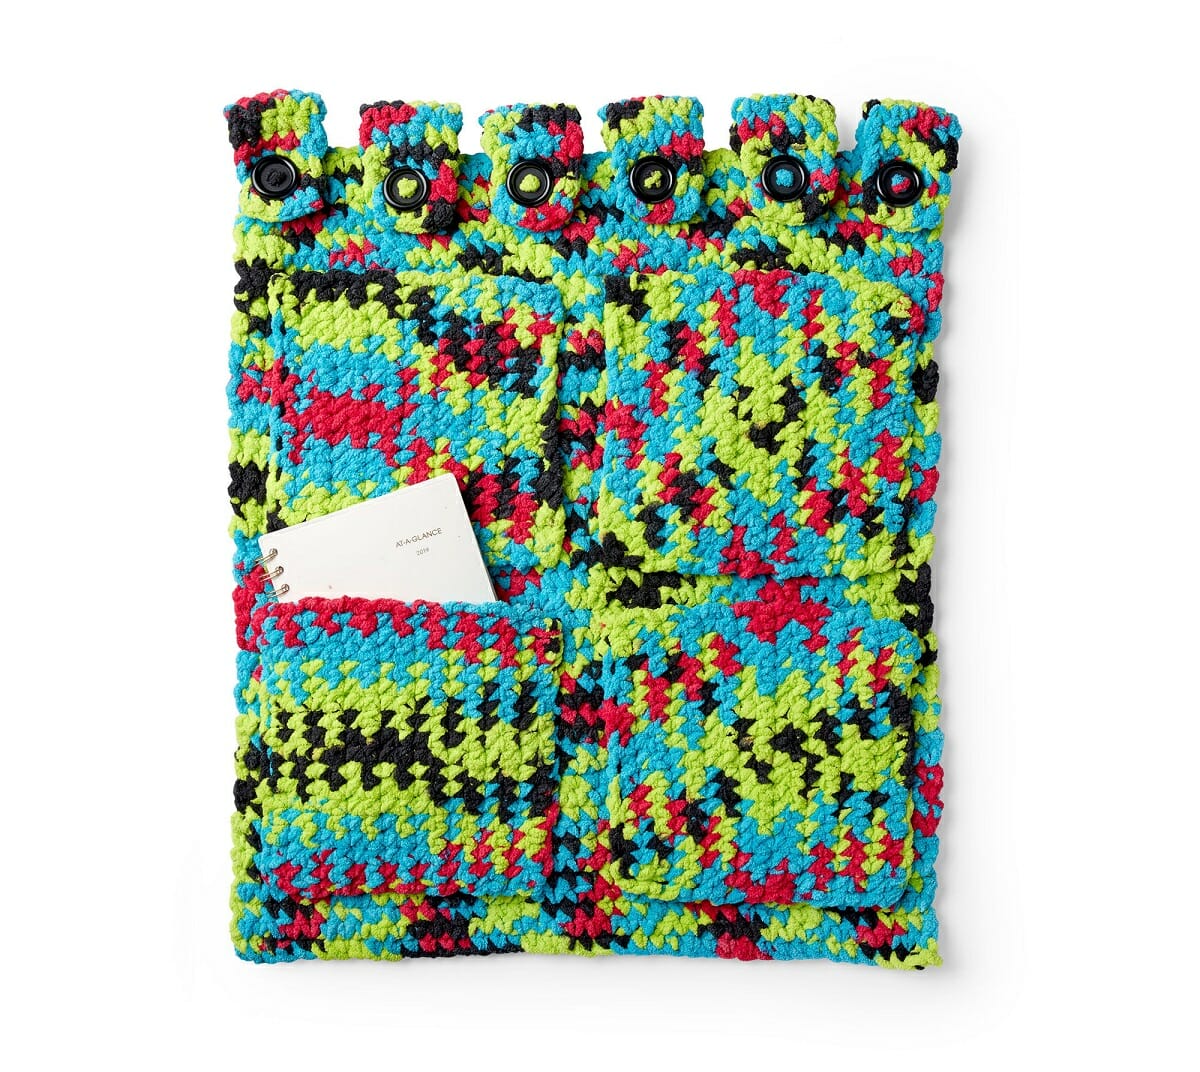
The back panel of the pendant is made first. The strips are worked from the stitches of the last row. The pockets are worked separately and sewn later.
Back panel
Pc 41.
Row 1: Sc in the 2nd sc from hook, sc in each sc until the end – 40 sc.
Rows 2-48: Pc 1, turn, sc in each sc across.
Don’t button up.
1st hanging strip
Row 1: Pc 1, turn, sc in the next 5 stitches, leave the remaining stitches unworked – 5 sc.
Rows 2-8: Pc 1, turn, sc in the next 5 sc.
Row 9: Pc 1, turn, sc in first stitch, pc 3, skip next 3 stitches for buttonhole, sc in last stitch.
Row 10: Pc 1, turn, sc in the first stitch, 3 sc in space of pc 3, sc in the last stitch.
Button up.
2nd-6th hanging strip
Skip the next 2 stitches from the previous strip along the top edge of the back panel.
Row 1: Join the yarn in the next stitch with a sl st, sc 1, sc in the same stitch, sc in the next 4 stitches – 5 sc.
Repeat rows 2-10 as for the first hanging strip.
Pockets (bundle 4)
Pc 18.
Row 1: Sc in 2nd st from hook, sc in every sc to end – 17 sc.
Rows 2-17: Pc 1, turn, sc in each sc across.
Fasten, leaving a long train.
Finish
Place the pockets on the front of the back panel and sew in place, leaving the top edge unstitched.
Sew a button for each strip along the top edge of the back panel, matching the button placement to the buttonhole. Fold the straps over to the right side of the back panel and button them into place. Slide the dowel through the hanging strips.
Weave the ends.
