
✅ The amigurumi measures approximately 5″ tall (10 cm), including the horns.
Instructions
Pieces are worked in a continuous spiral starting with a magic ring unless otherwise specified. Mark the first stitch of each round with a removable stitch marker.
Make sure the stitches are tight enough to prevent filling from showing and adjust the hook size if necessary.
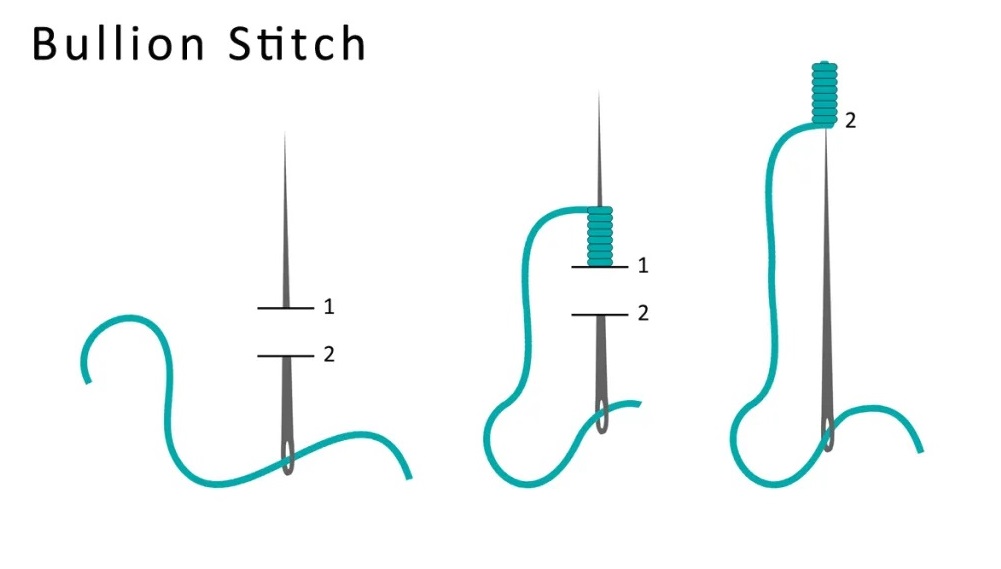
The nostrils are made with an embroidery stitch called bullion stitch. If you prefer, you can also embroider them.
Head/body (brown)
R1: 6 sc in magic ring (6).
V2: [Inc] x6 (12). R3: [Sc, inc] x6 (18).
R4: Sc, inc, [2 sc, inc] x5, sc (24).
R5: [3 sc, inc] x6 (30).
R6: 2 sc, inc, [4 sc, inc] x5, 2 sc (36).
V7-12: [Pb] x36 (36).
R13: [5 sc, inc] x6 (42).
V14: [Pb] x42 (42).
R15: 3 sc, inc, [6 sc, inc] x5, 3 sc (48).
R16: [7 sc, inc] x6 (54). Insert the safety eyes between rows 8 and 9, 3 stitches apart.
V17-24: [Pb] x54 (54).
V25: [7 sc, invdec] x6 (48).
R26: 3 sc, invdec, [6 sc, invdec] x5, 3 sc (42).
V27: [5 sc, invdec] x6 (36).
R28: 2 sc, invdec, [4 sc, invdec] x5, 2 sc (30).
V29: BLO [3 bp, invdec] x6 (24). Start filling and continue filling as you go. R30: SC, invdec, [2 sc, invdec] x5, sc (18).
V31: [Pb, invdec] x6 (12).
V32: [Invdec] x6 (6). Fasten and weave the end.
To obtain a more stable base, join the brown yarn in the leftover front loop of row 29 – pc 1, sl st in the next front loop and in each one around finishing with a sl st in the same front loop of the initial sc. Fasten invisibly and weave the ends.
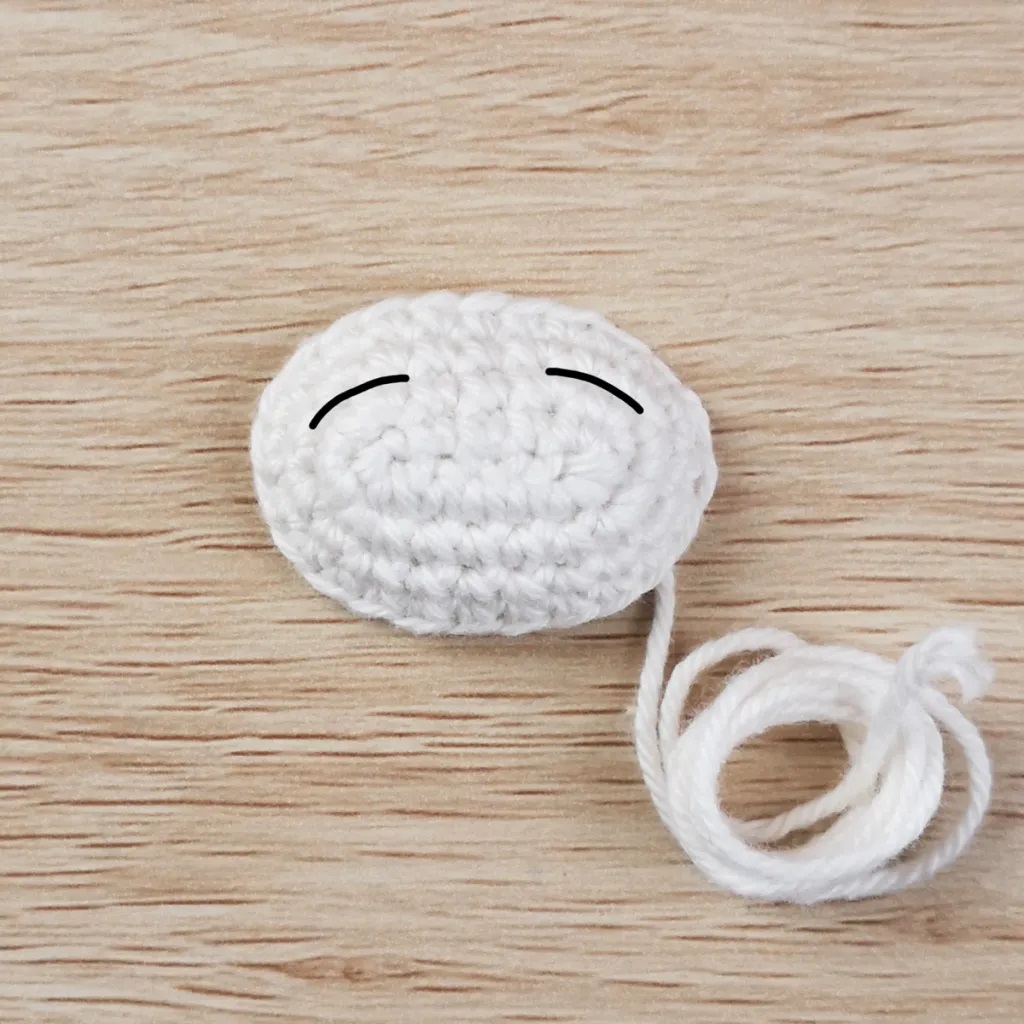
Muzzle (white)
R1: Sc 6, sc in the 2nd sc from the hook and in the next 3 sc, 3 sc in the last sc. Working on the other side of the sc – sc in the next 3 sc, inc in the last sc (12).
R2: Inc in the next 2 stitches, 2 sc, inc in the next 3 stitches, 4 sc, inc in the last sc (18).
R3: [Sc, inc] x2, 2 sc, [sc, inc] x3, 5 sc, inc in the last stitch (24).
V4: [Pb] x24 (24).
Fasten, leaving a long tail for sewing.
Using a long piece of white yarn, add the nostrils between rows 2 and 3 covering more than 3 stitches, using the bullion st. Alternatively, use the brown thread to embroider a couple of vertical lines.
Horns x2 (light gray)
R1: 3 sc in a magic ring (3).
V2: [Inc] x3 (6).
V3: [Pb] x6 (6).
R4: [Sc, inc] x3 (9).
R5-7: Inc in the next 2 stitches, 2 sc, invdec in the next 2 stitches, sc (9).
R8: [Pb] x9 (9).
Fasten, leaving a long tail for sewing.
Ears x2 (brown)
R1: 5 sc in a magic ring (5).
V2: [Inc] x5 (10).
R3: 2 sc, inc, 4 sc, inc, 2 sc (12).
V4-7: [Pb] x12 (12).
R8: Sc, invdec, [2 sc, invdec] x2, sc (9).
Fasten, leaving a long tail for sewing. Fold the base of the ear over and sew in place.
Assembly
Sew the muzzle to the head above rows 10 and 16. Stuff before closing completely.
Stuff the horns and sew them to the top of the head 2 turns from the center.
Sew the ears on each side of the head, in line with the eyes and 2 turns from the horns.
Using folded black embroidery floss, sew eyebrows above the eyes if desired.
Thread a bell onto a cord or suede ribbon, wrap it around the body just below the snout, and secure. The cord used for the amigurumi shown was too thick to tie so a small amount of glue was used to join it together forming a collar at the back.