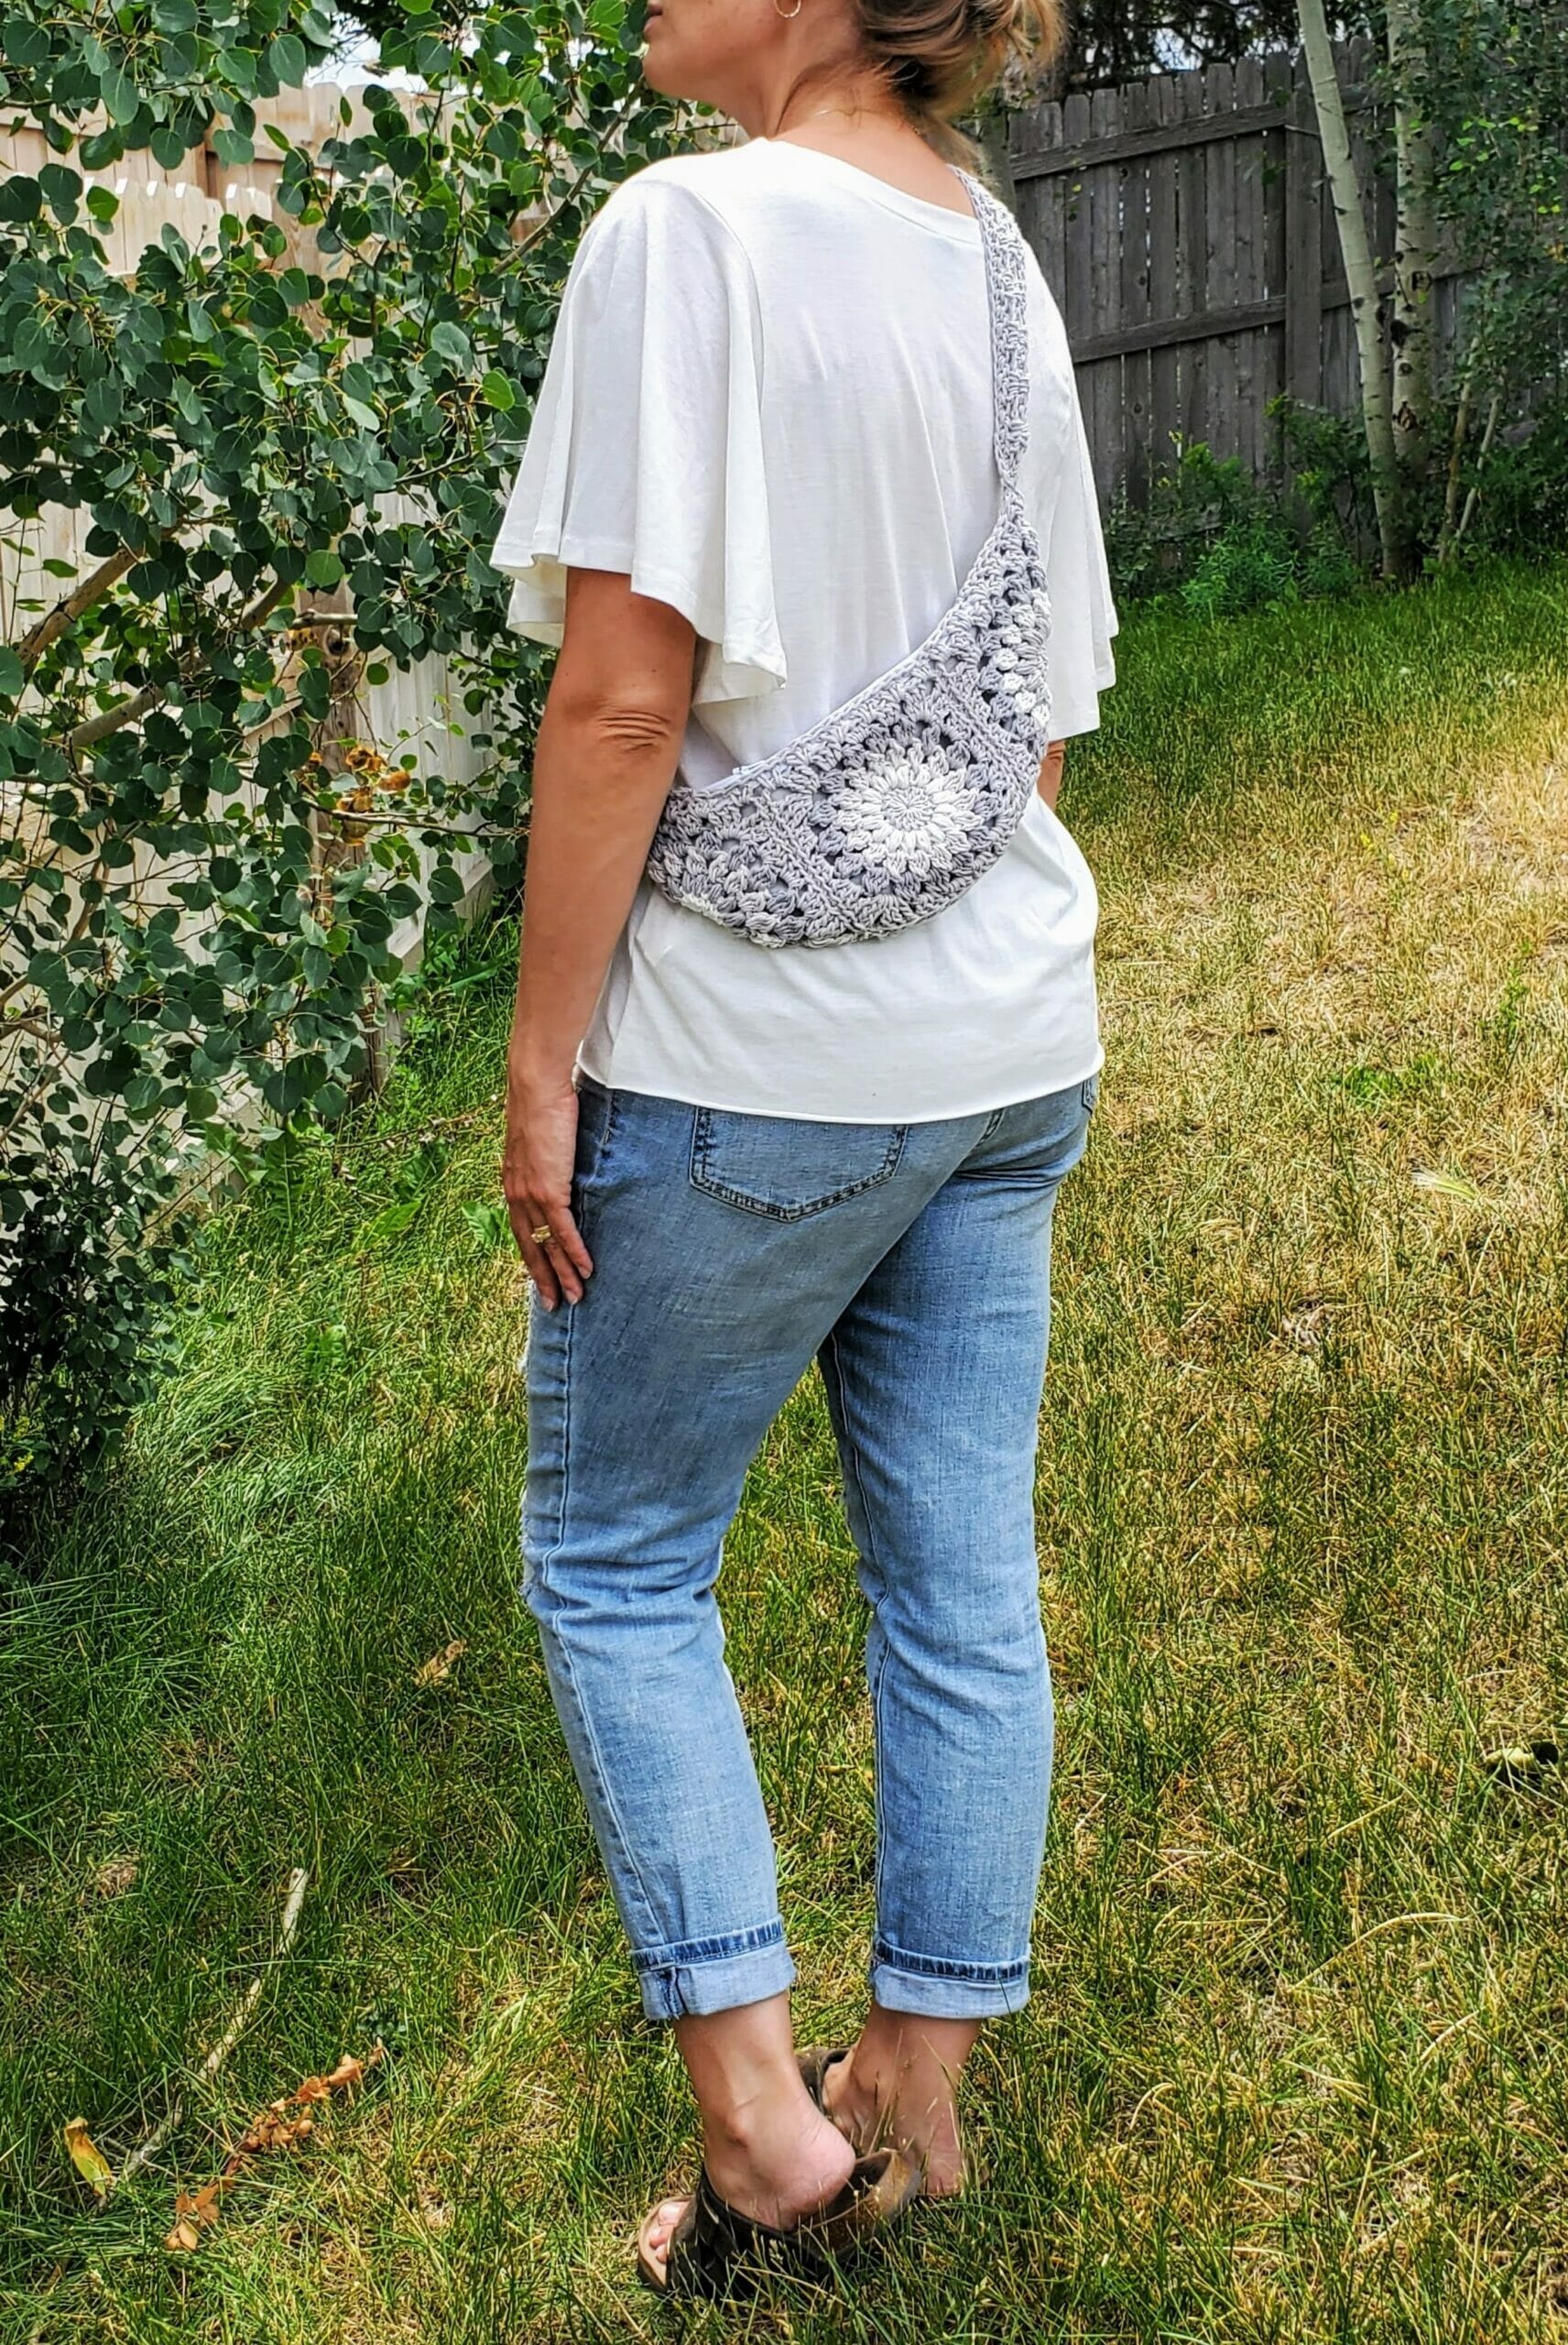
In this pattern you will find the instructions on How to Attach the Bottom to a Waist Bag in Crochet in any type, being something essential to learn. Believe us, it is easier than you imagine , so, Let’s get back to what we came for! ??

How Attach the Bottom to a Crochet Waist Bag?
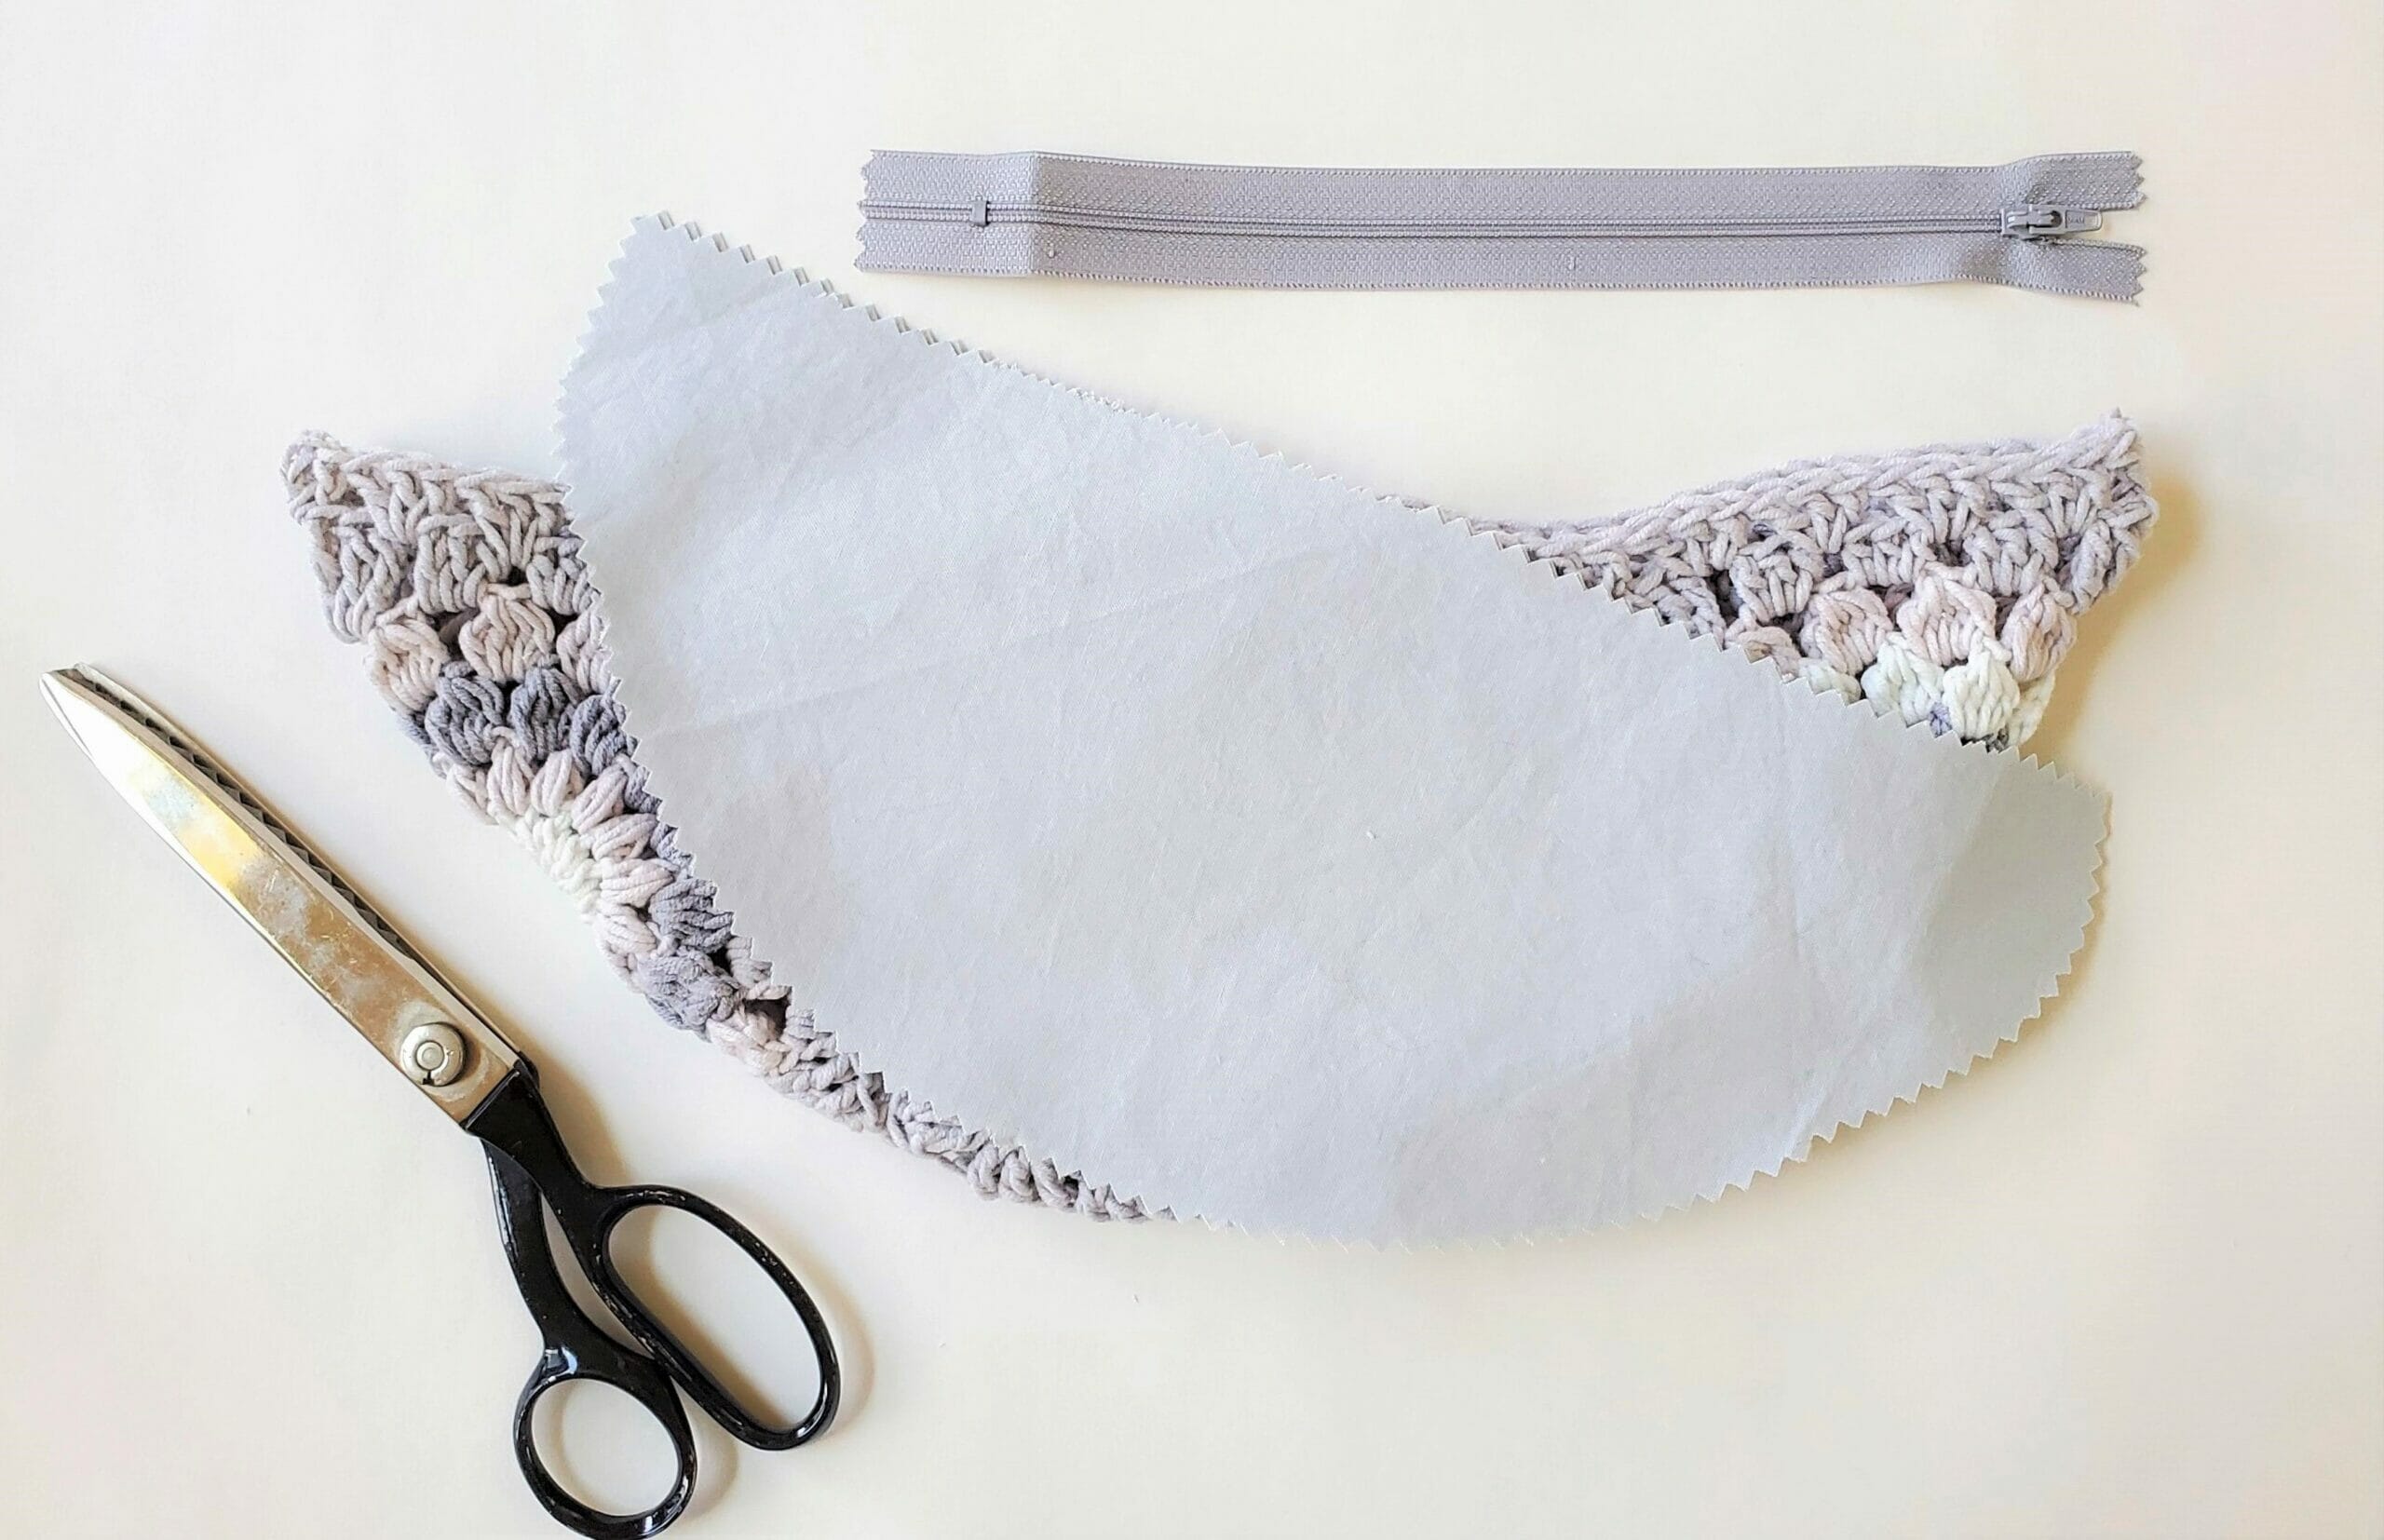
First, you have to choose a fabric and a zipper that match the color. Our finished bag measures 15 inches along the top and we didn’t want the zipper to go across the entire length.
We chose a 9-inch zipper, the perfect size for getting items in and out of the bag without them getting snagged. The size of the fabric… it’s not very difficult to figure out, we just took a fat quarter. The exact size will vary depending on the measurement.
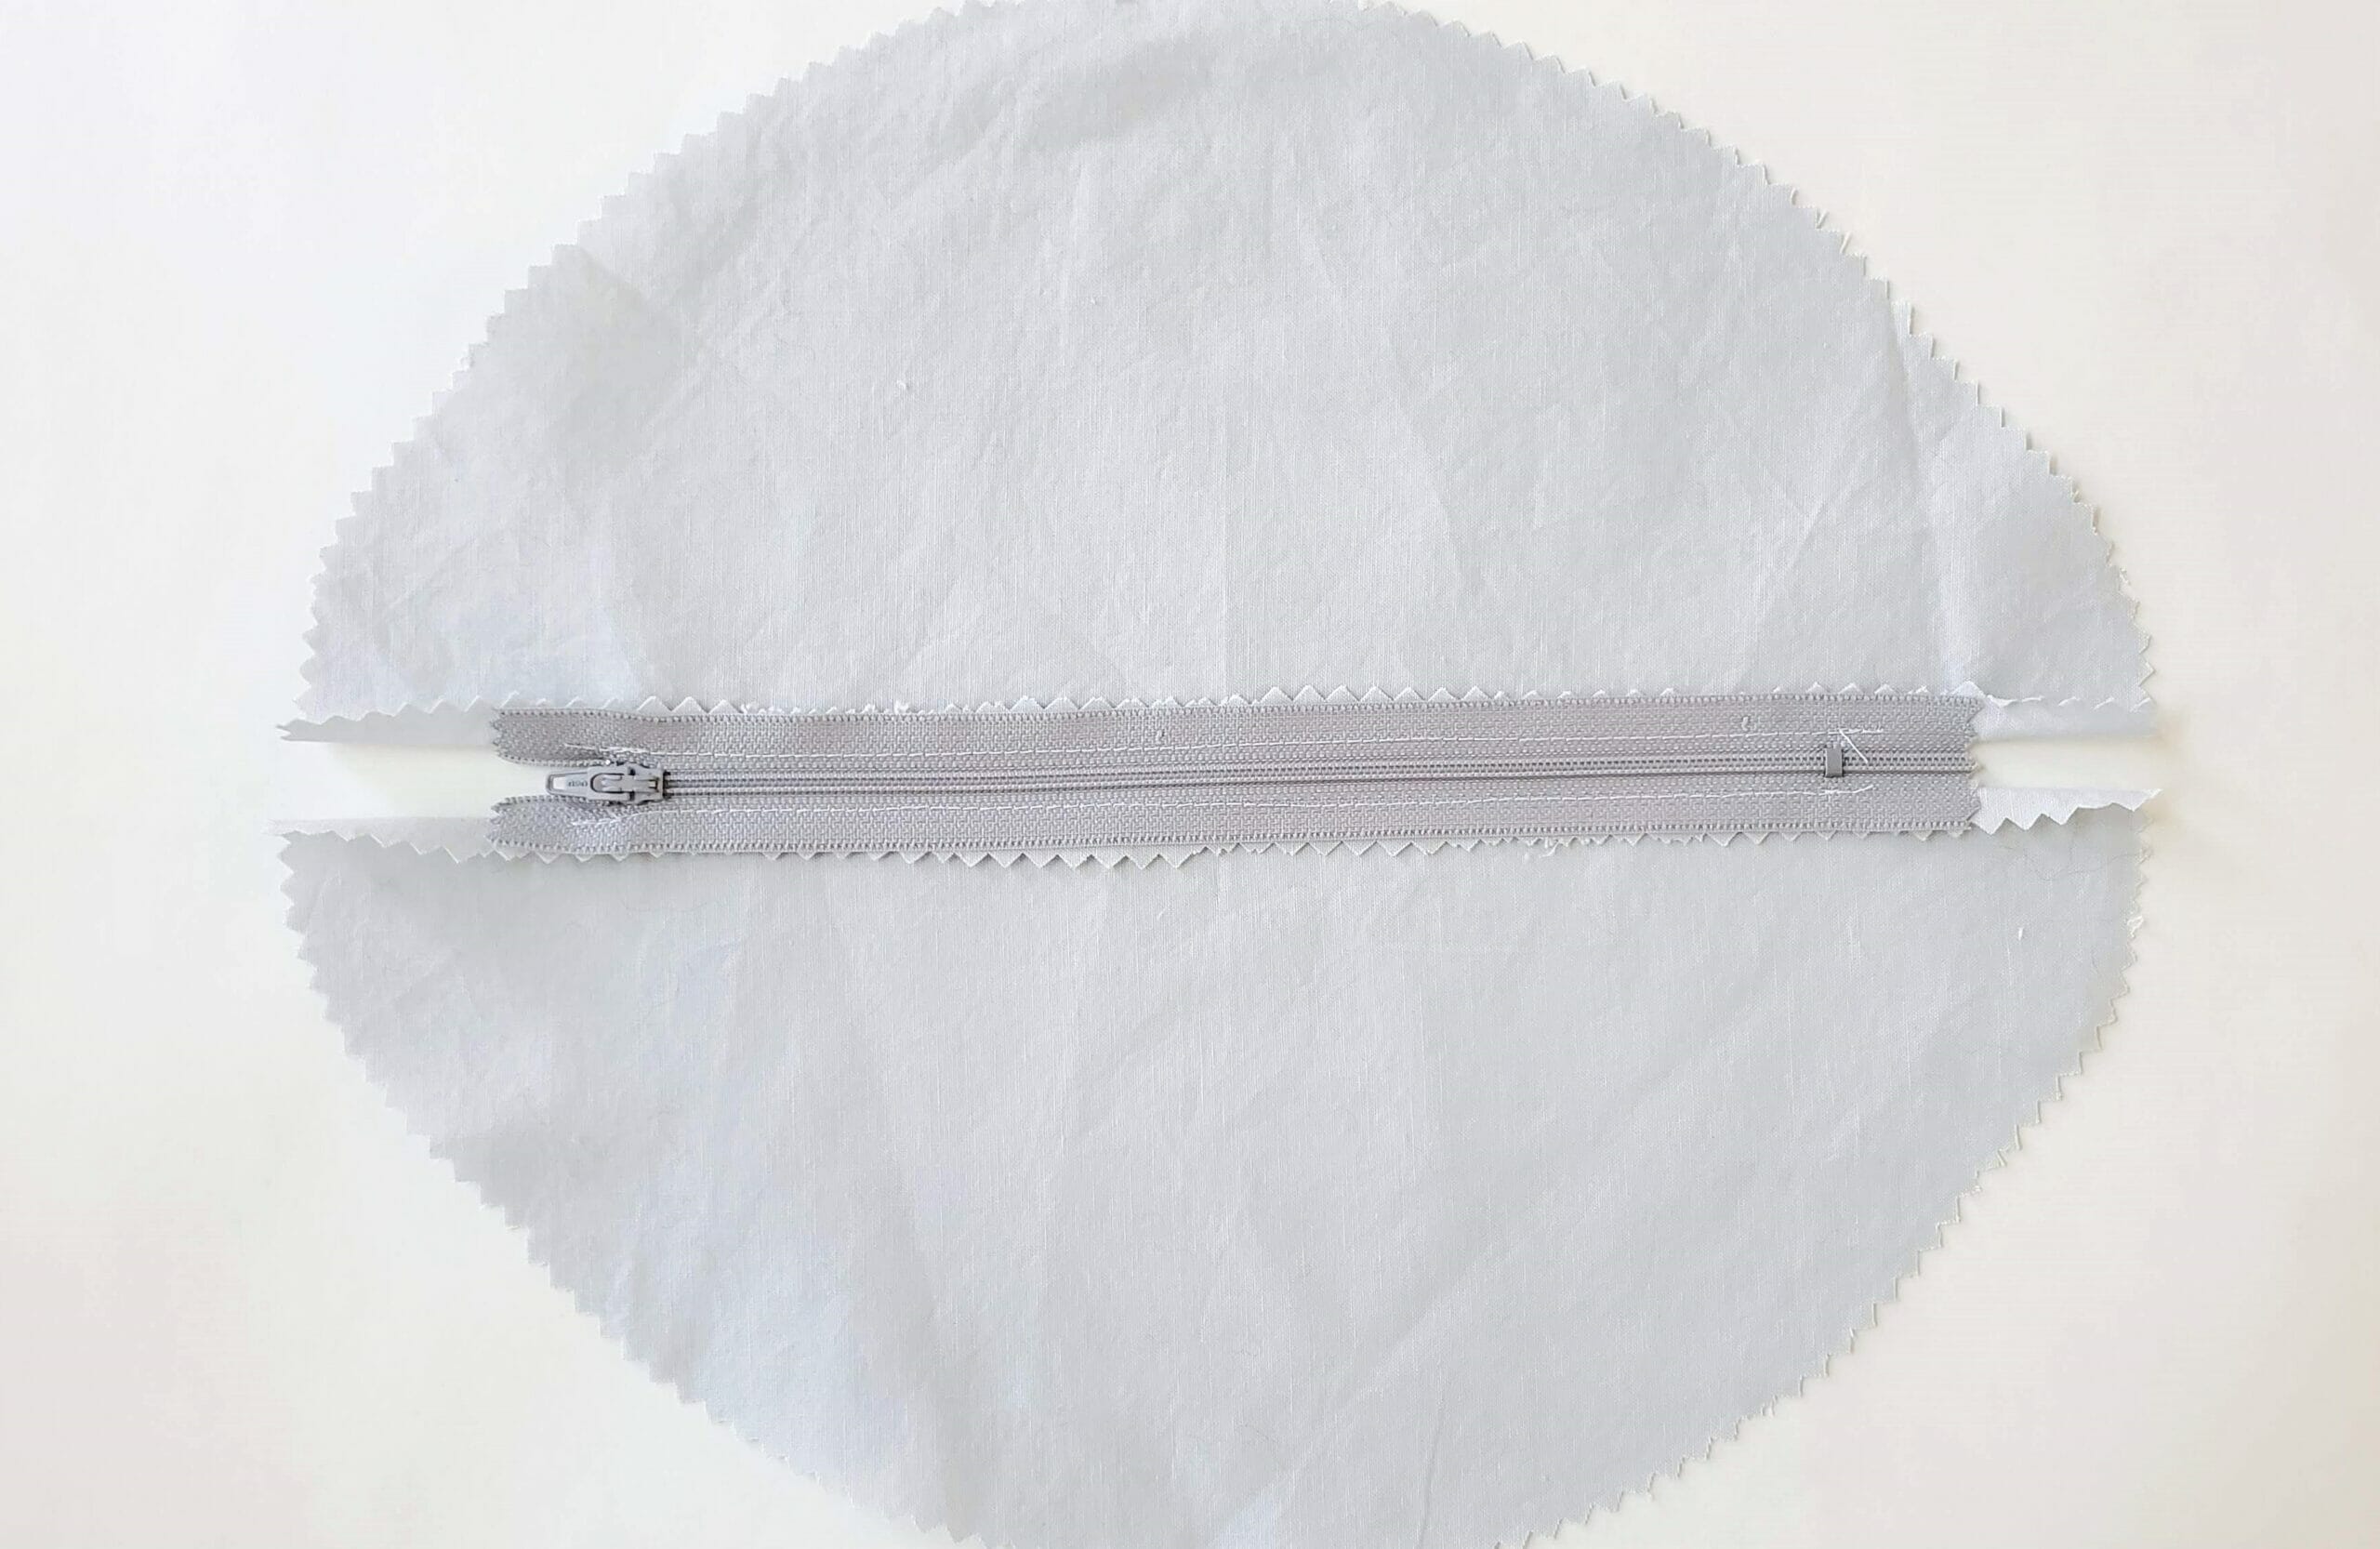
We thought it was a good idea to assemble all the squares and weave the ends together and then add the lining before the strap. Place the body of the finished bag on the fabric (folded in half for both sides) and cut out the shape of the lining.
We used pruning shears to reduce the frayed edges. Make sure you have enough seam allowance.

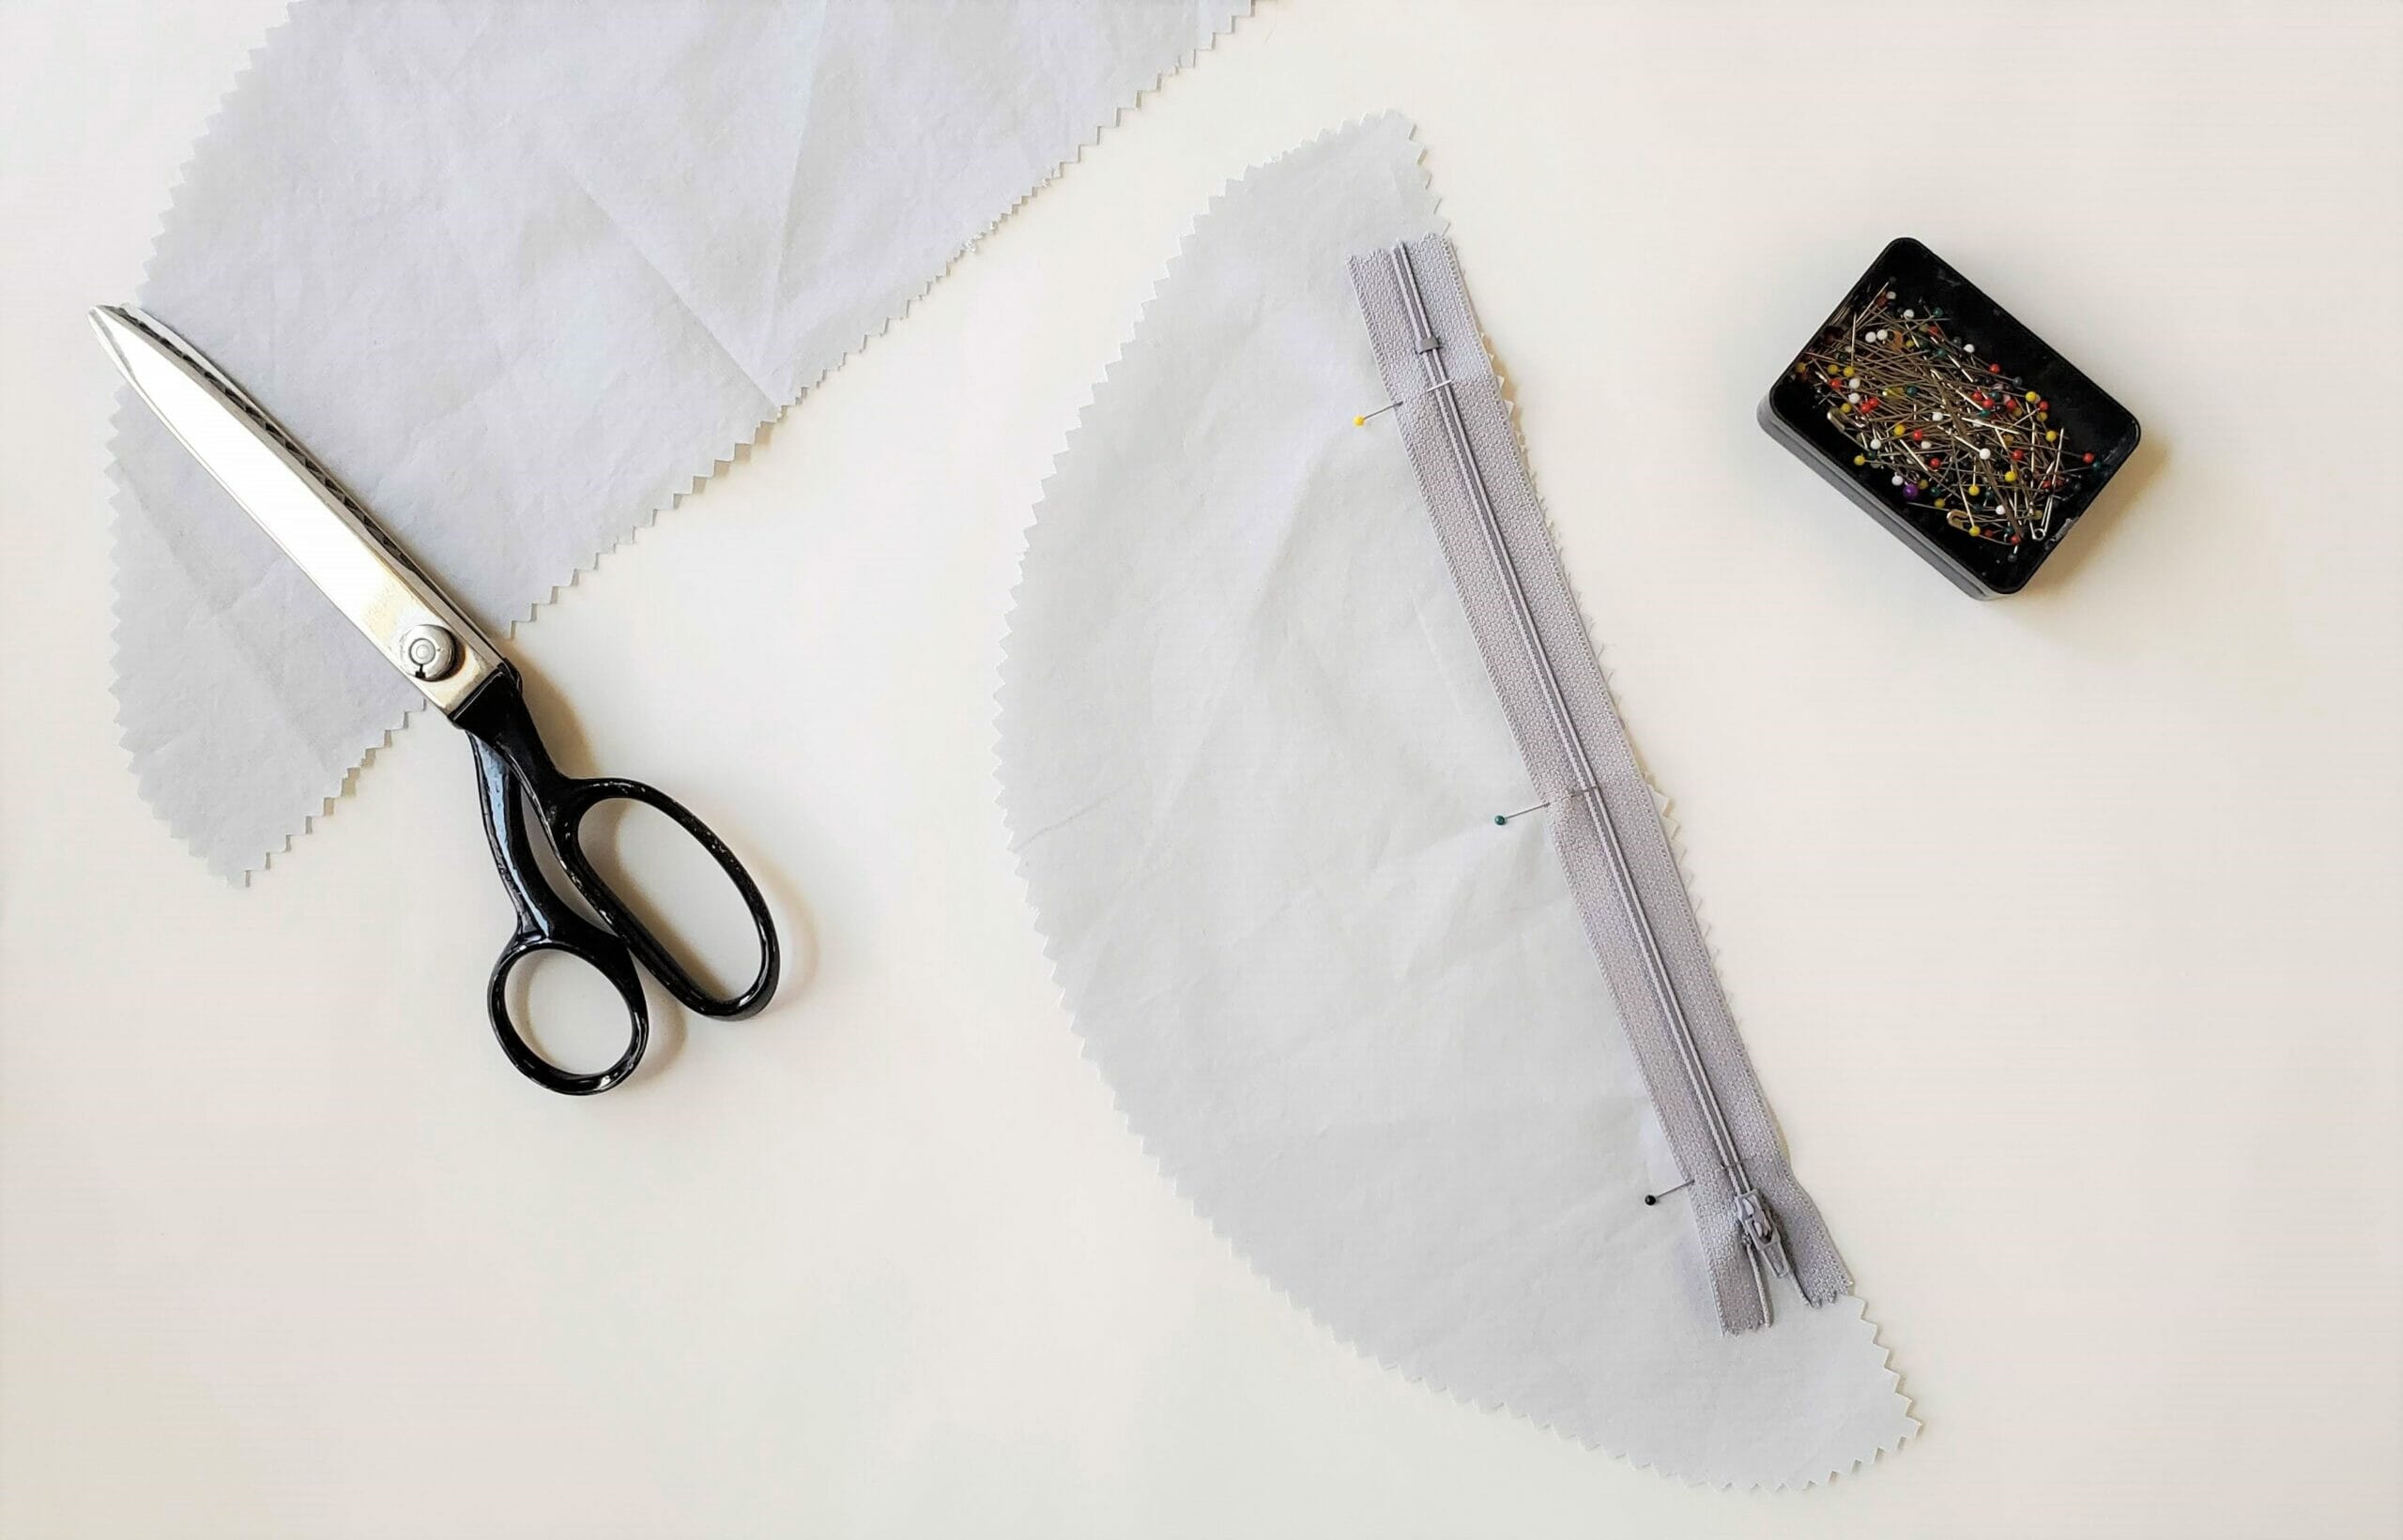
- Fold the zipper and lining in half and press them tightly so you can mark the center and align them precisely.
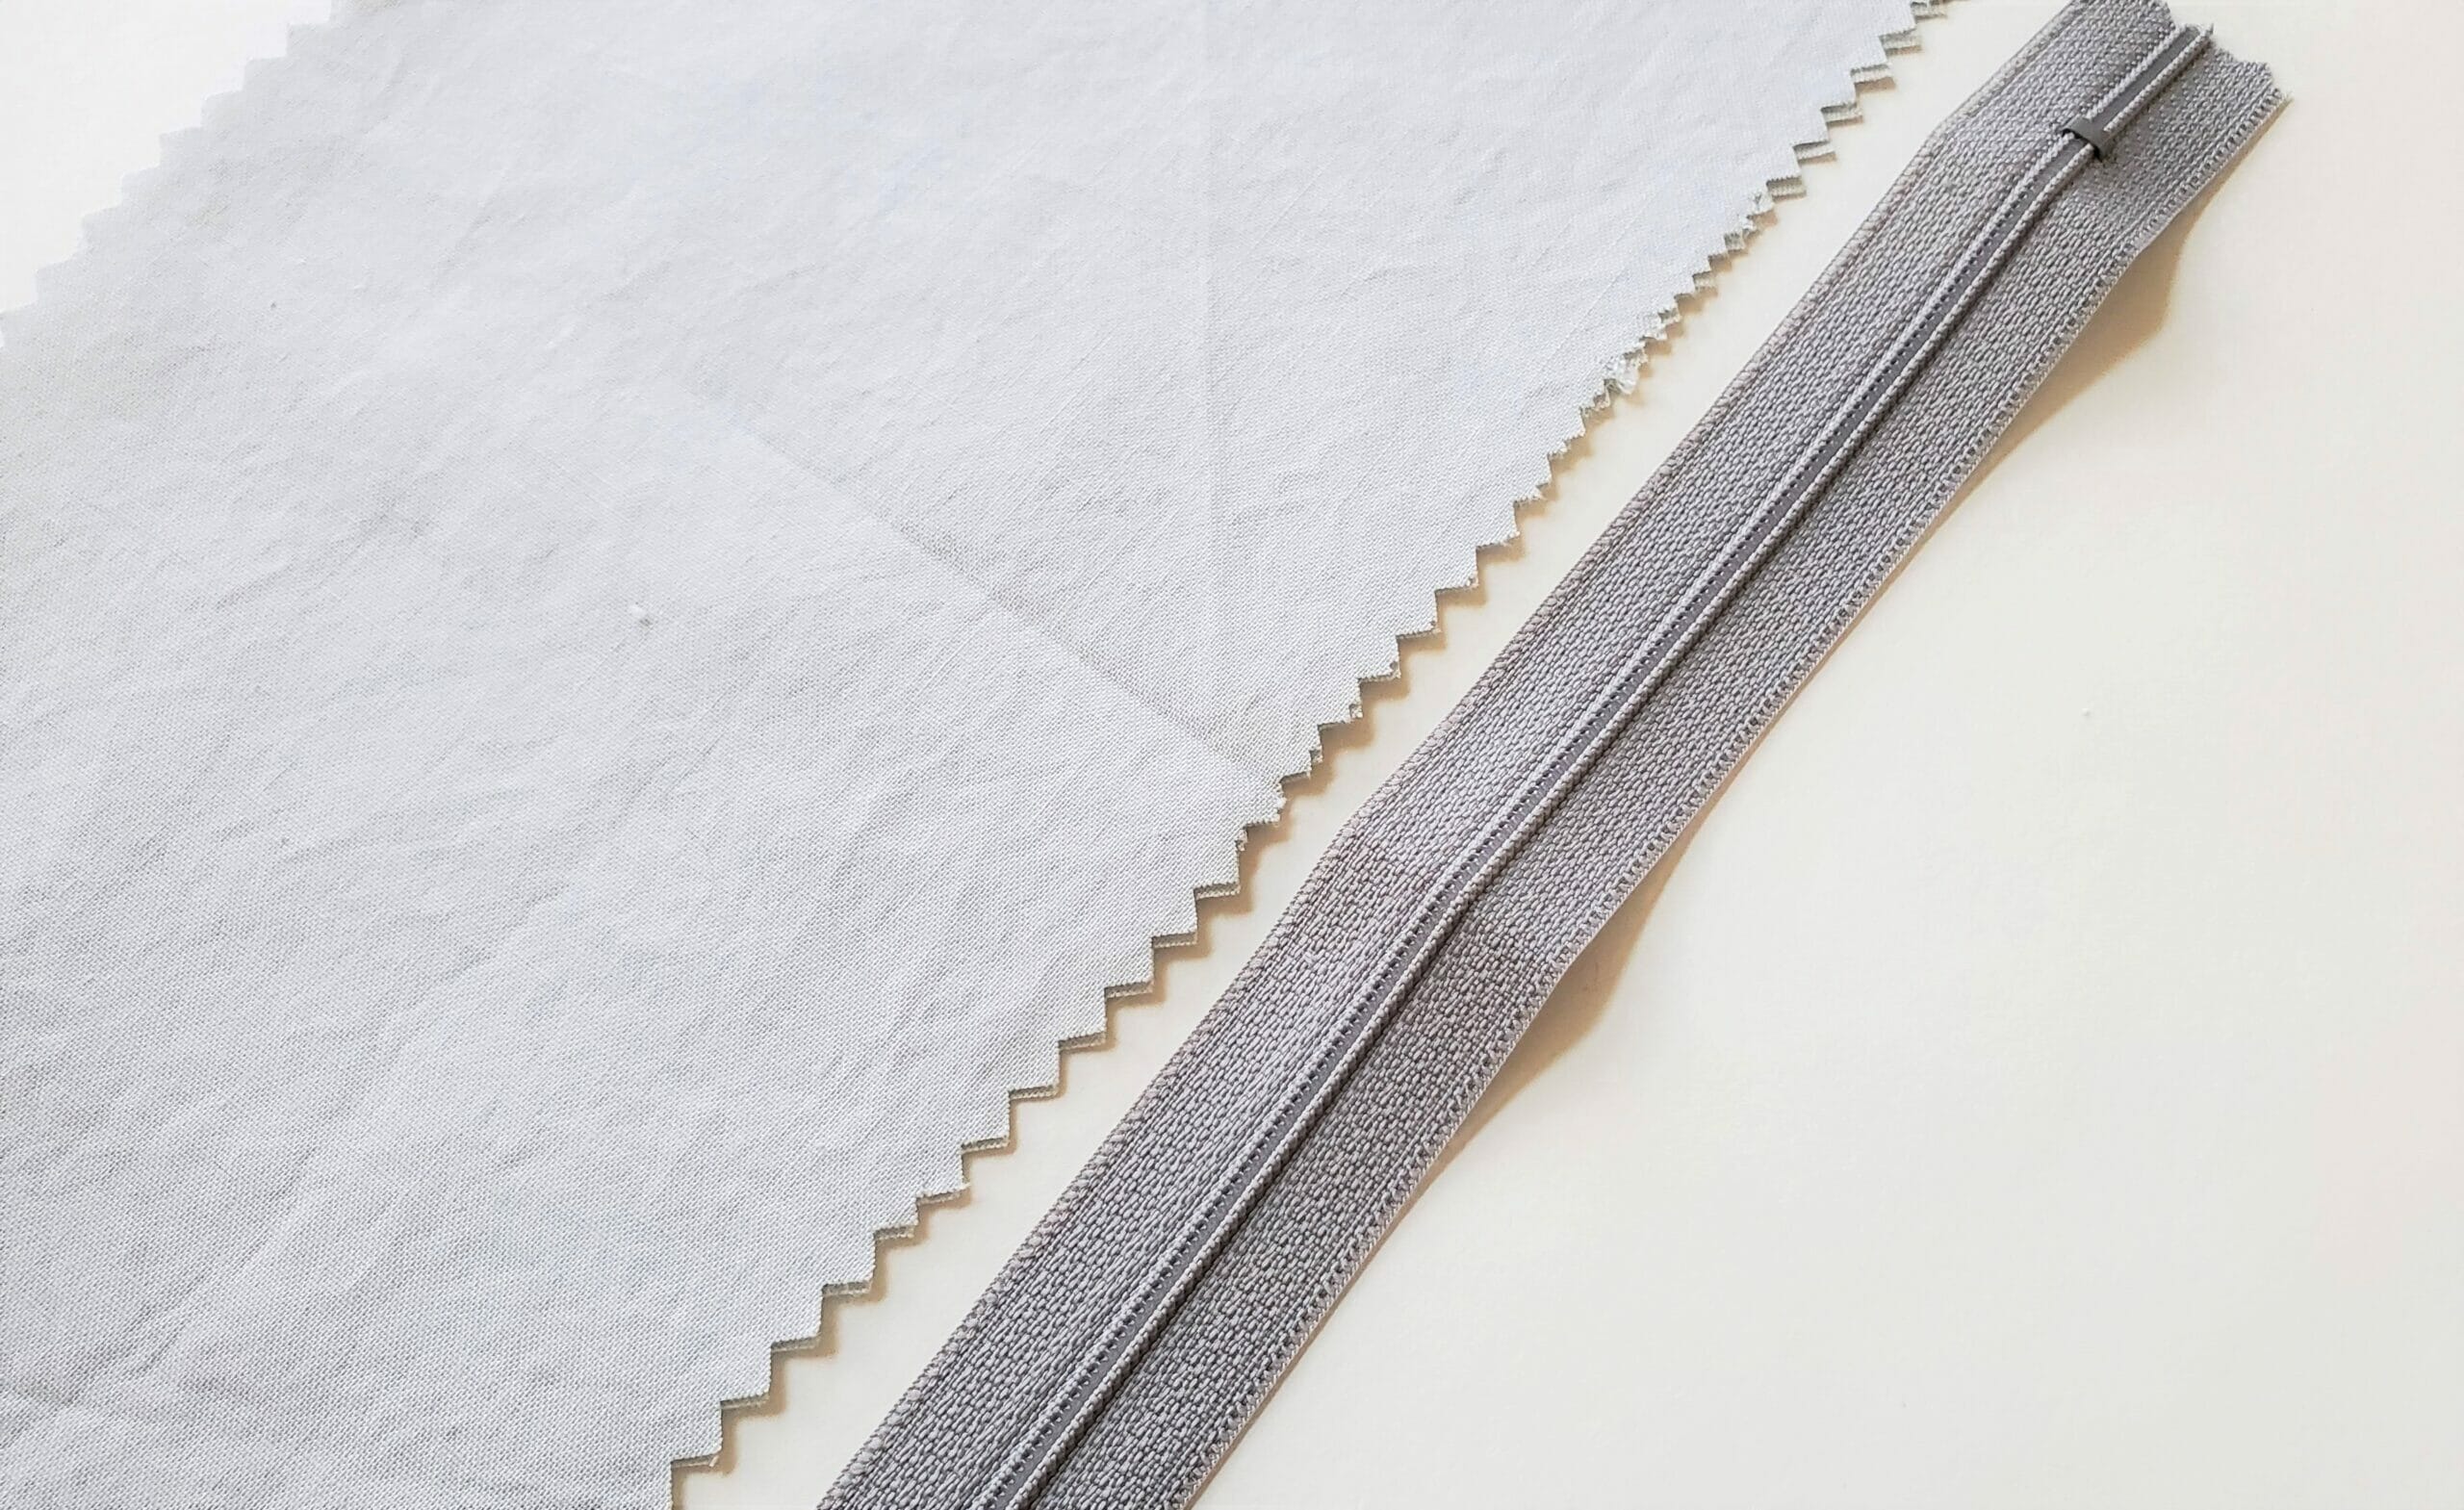
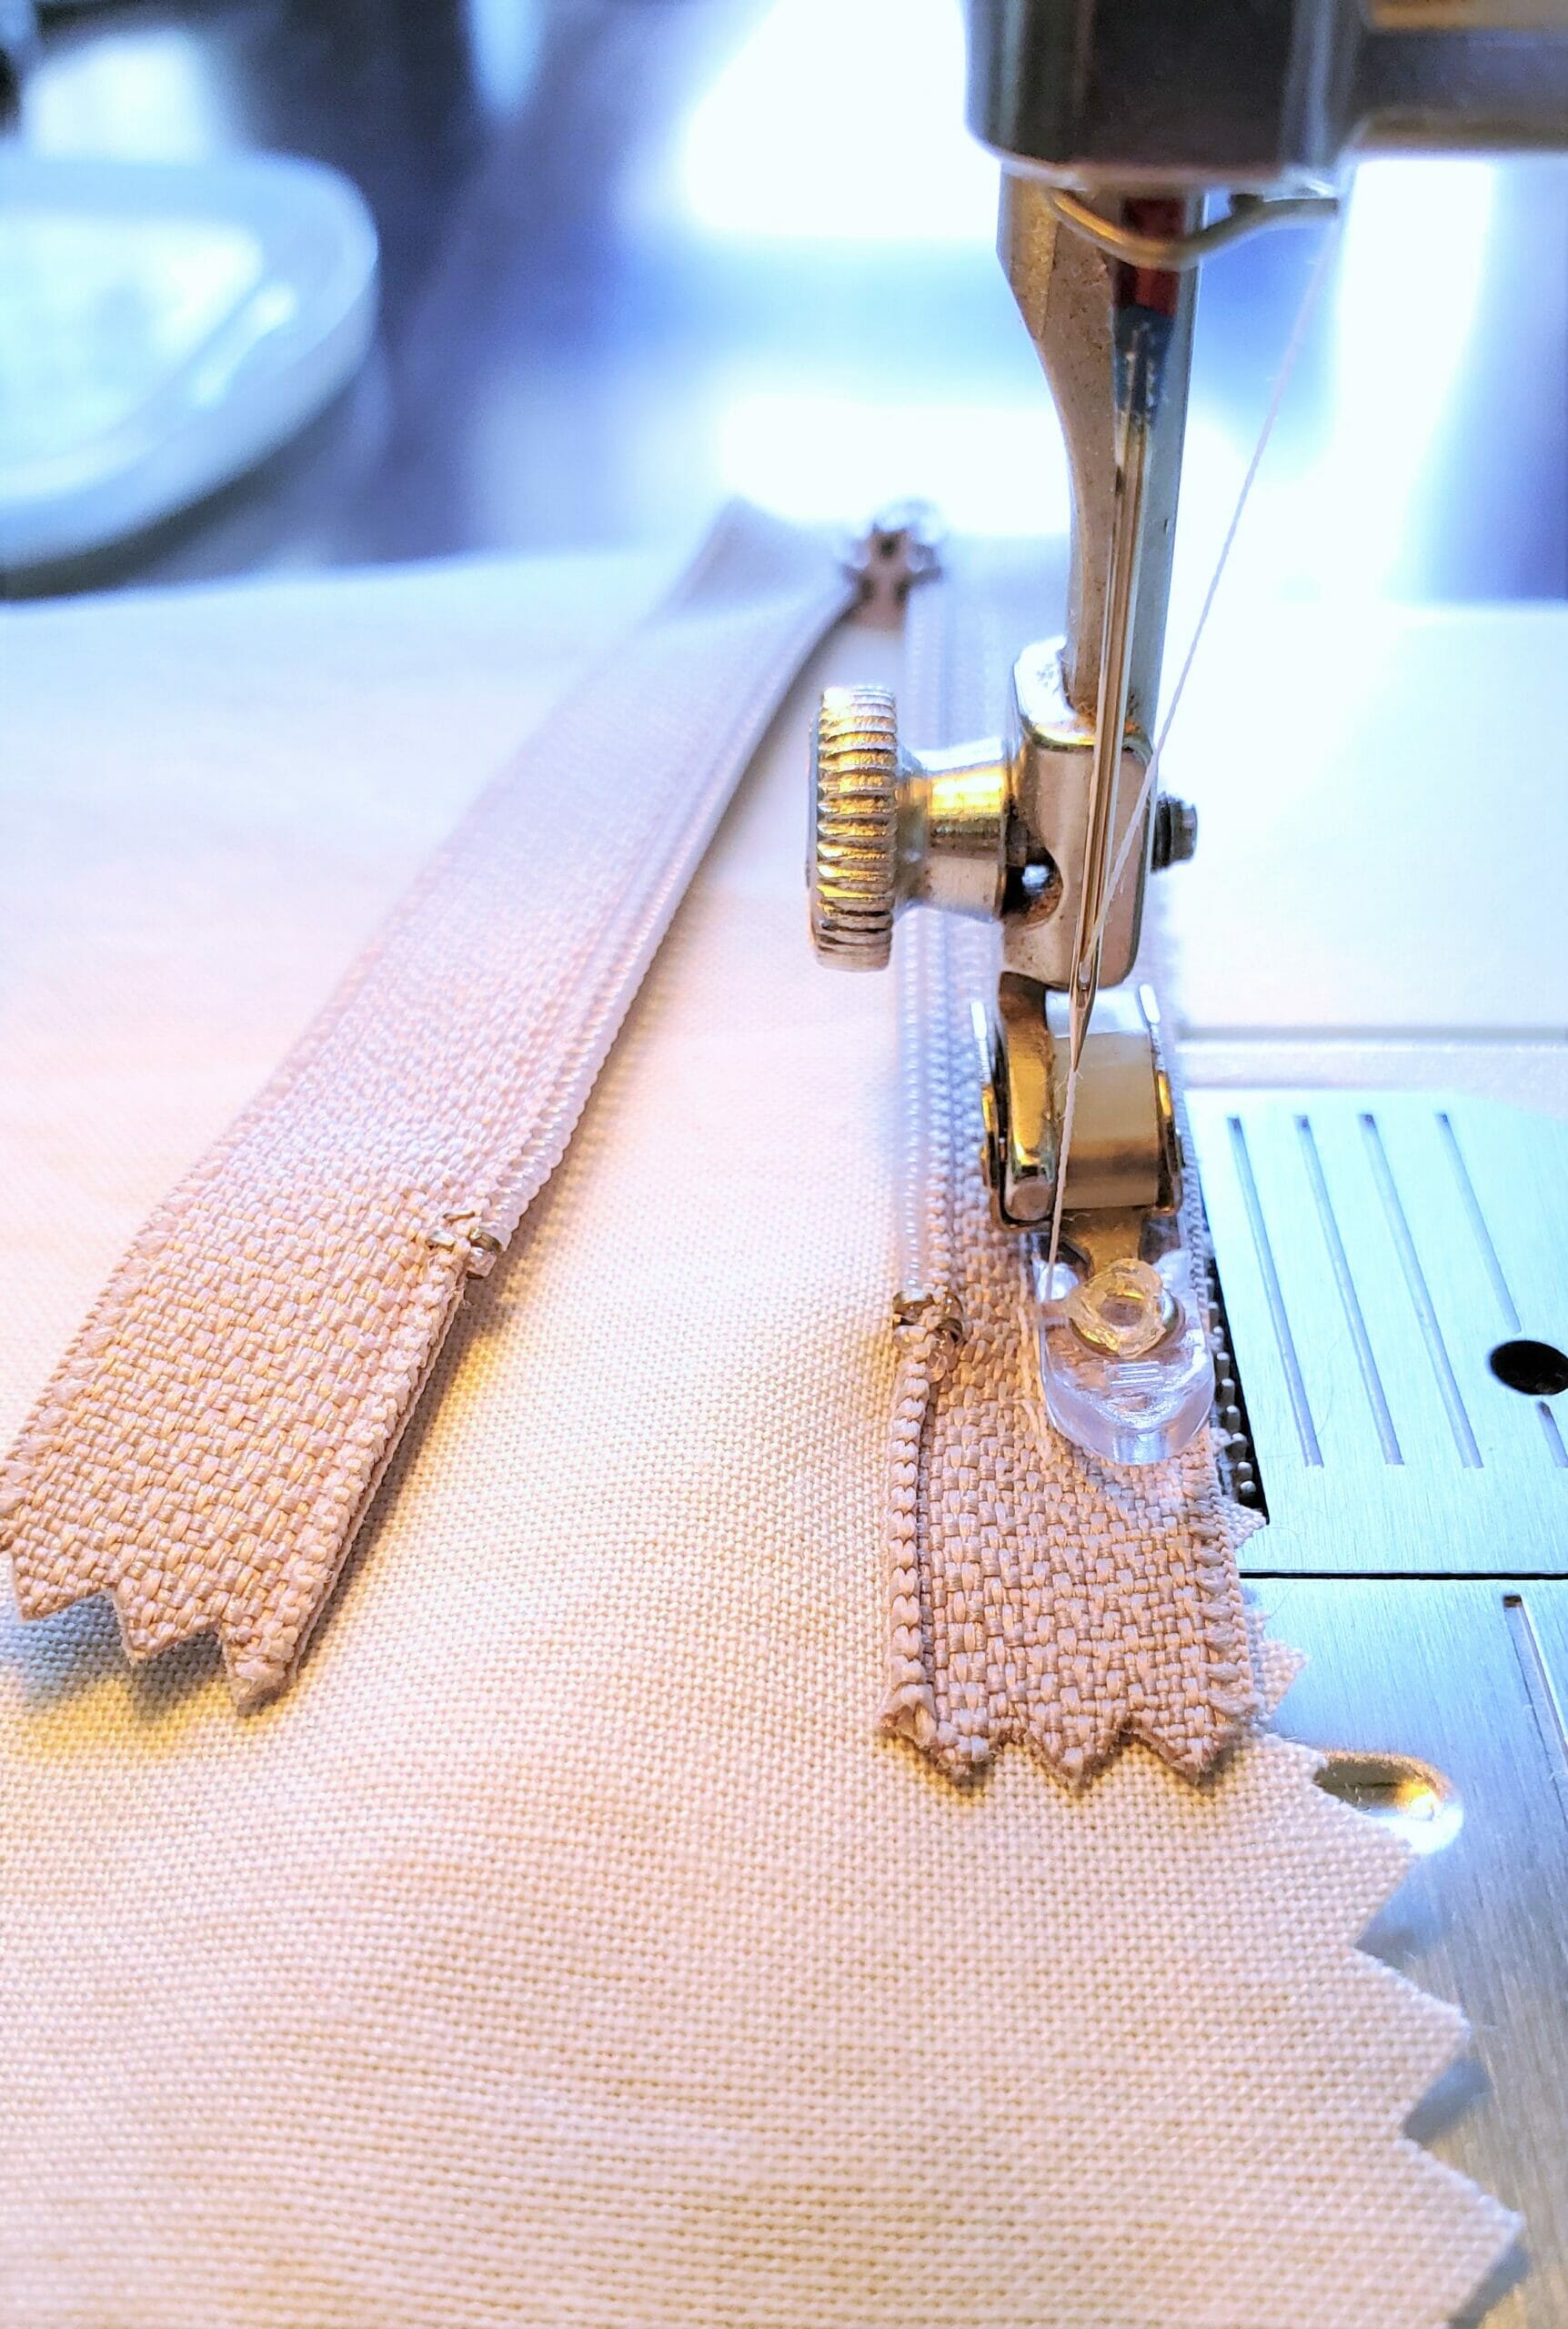
- Our fabric is plain, so it doesn’t matter, but if you use a printed fabric, when you attach the zipper to the fabric to sew, put the fabric right side up and the zipper side up.
- Sew the zipper to the fabric, leaving room for the zipper to move easily. Stop the stitches where the zipper stops are.
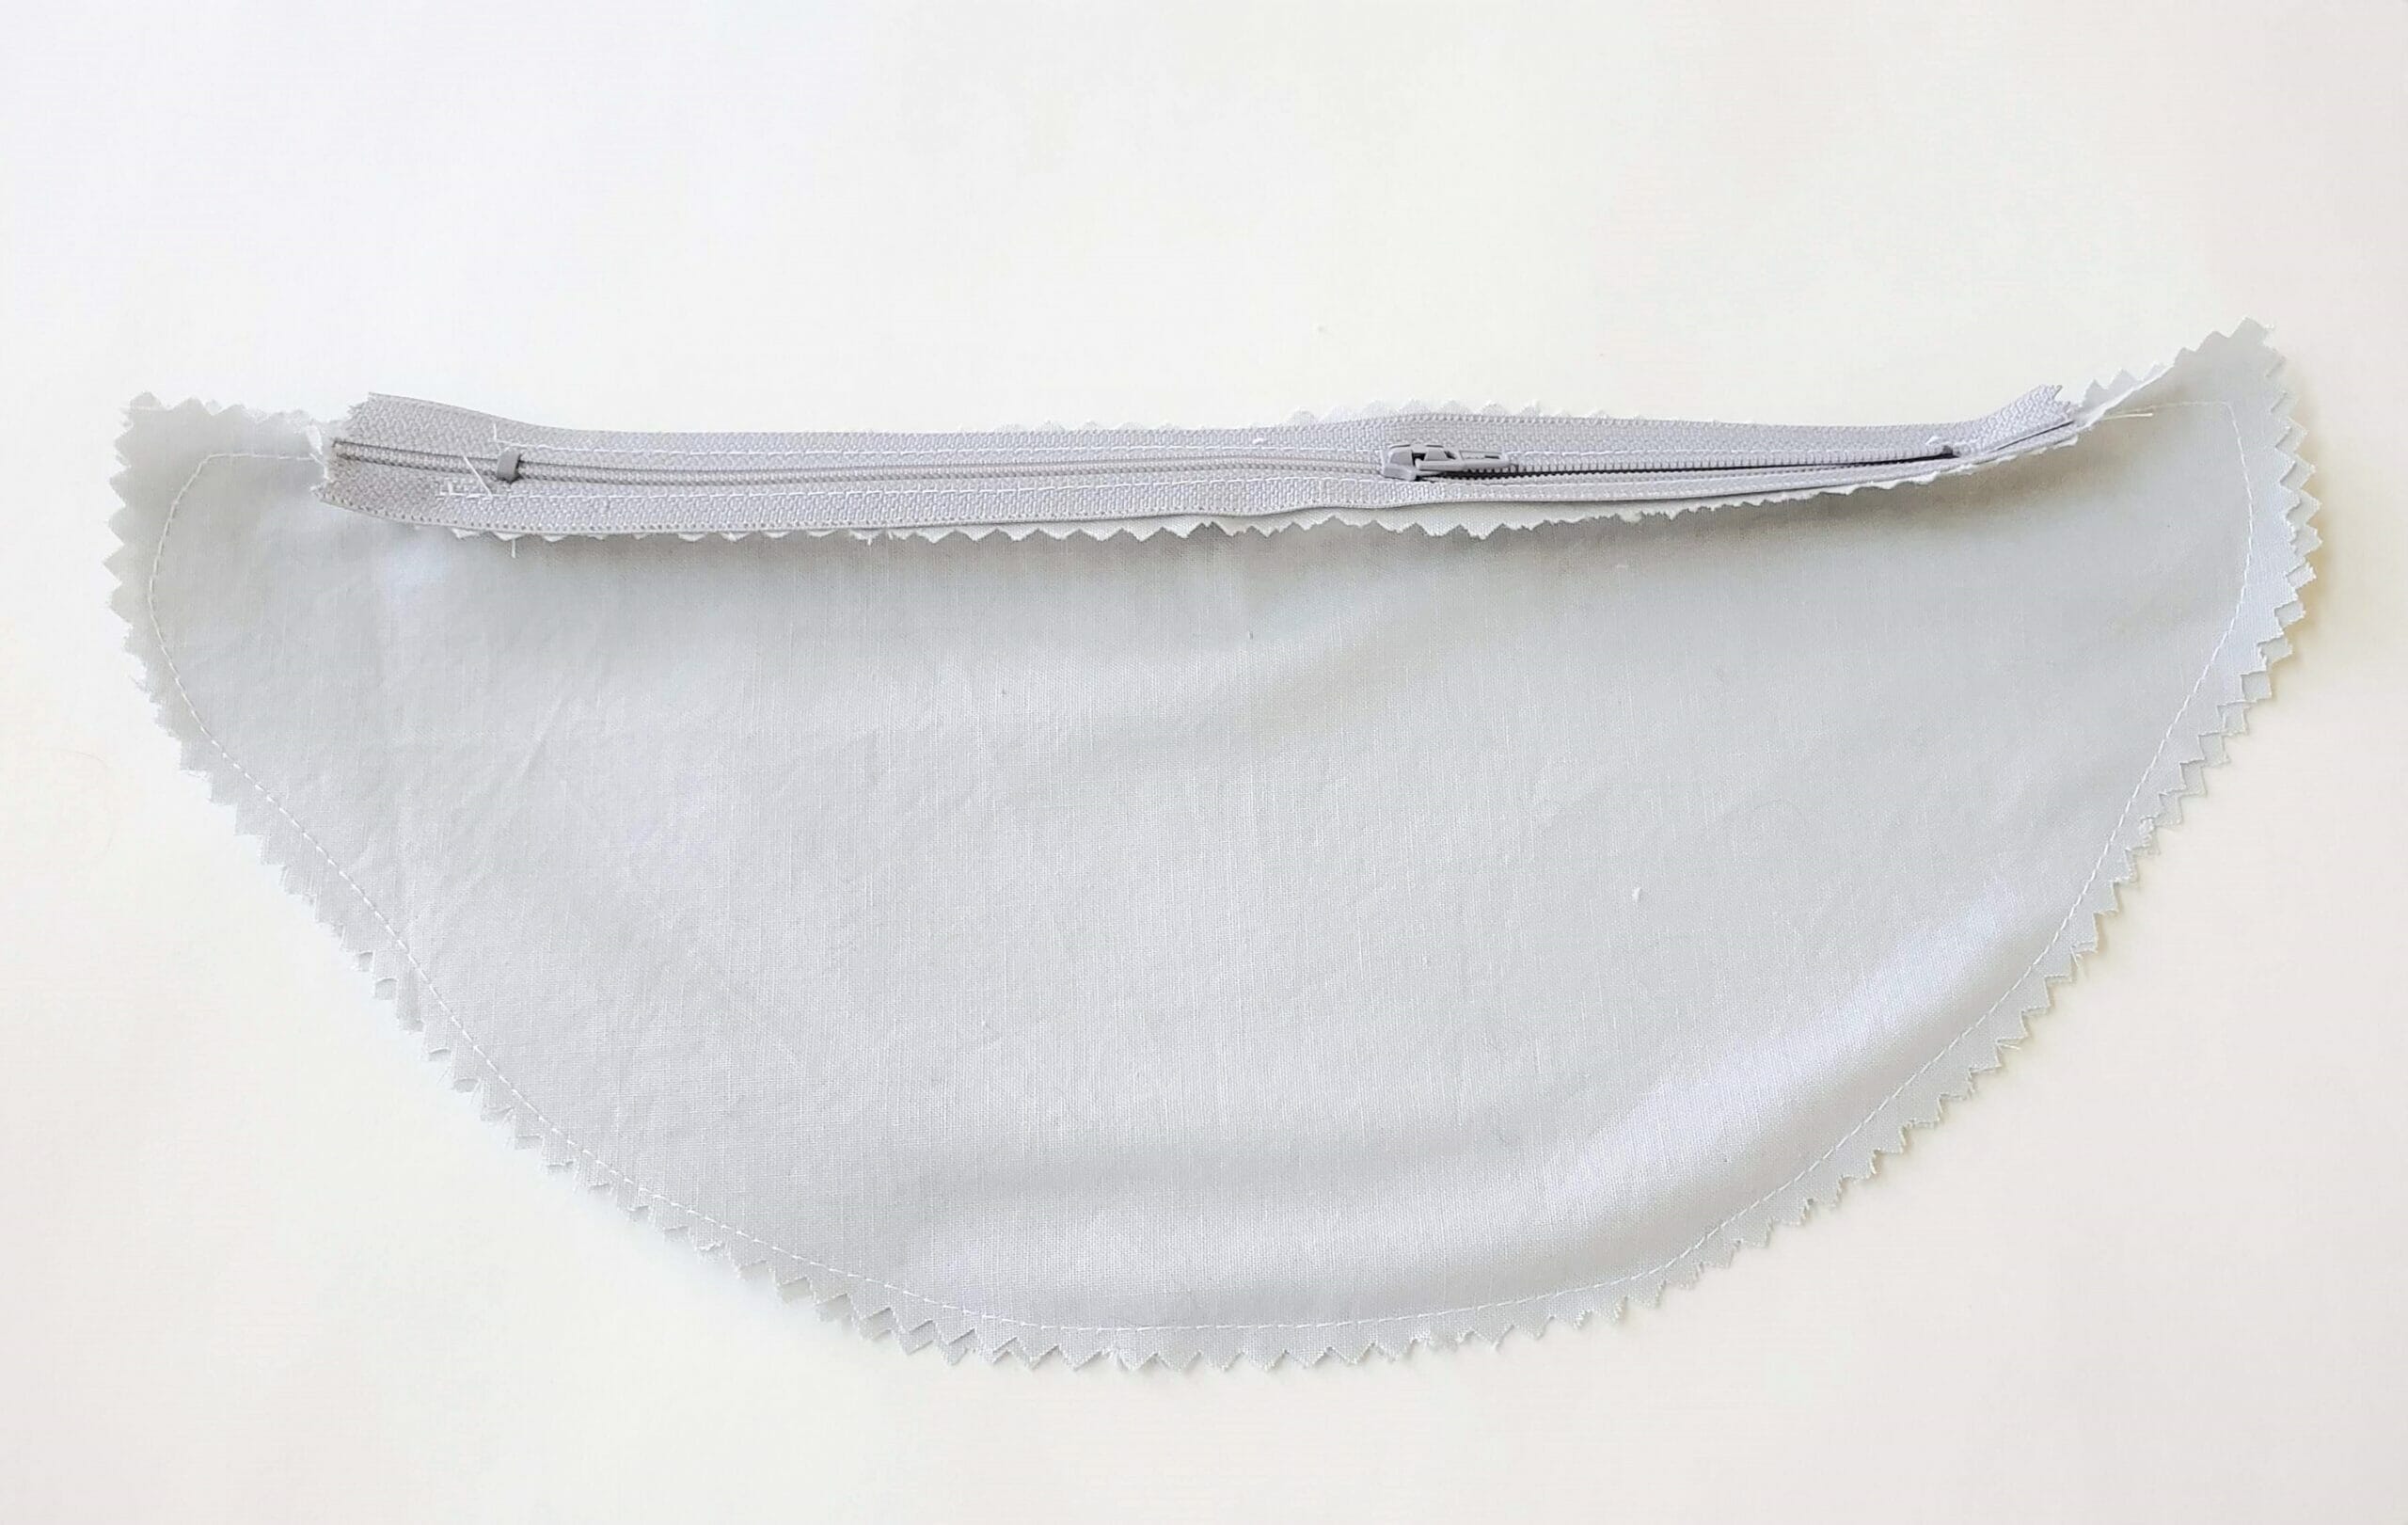
- This is what it should look like after sewing both sides of the zipper. I think if we iron the seams at this point it will be easier to attach the lining to the bag.
- Now, pin the sides of the lining together and sew the top edges next to the zipper and across the bottom. Avoid the zipper and make sure to leave the ends of the zipper outside the lining.
A lot of people hand crochet fabric linings together, but I think if you’re going to pull a zipper to get in and out of this, it has to be 100% secure.
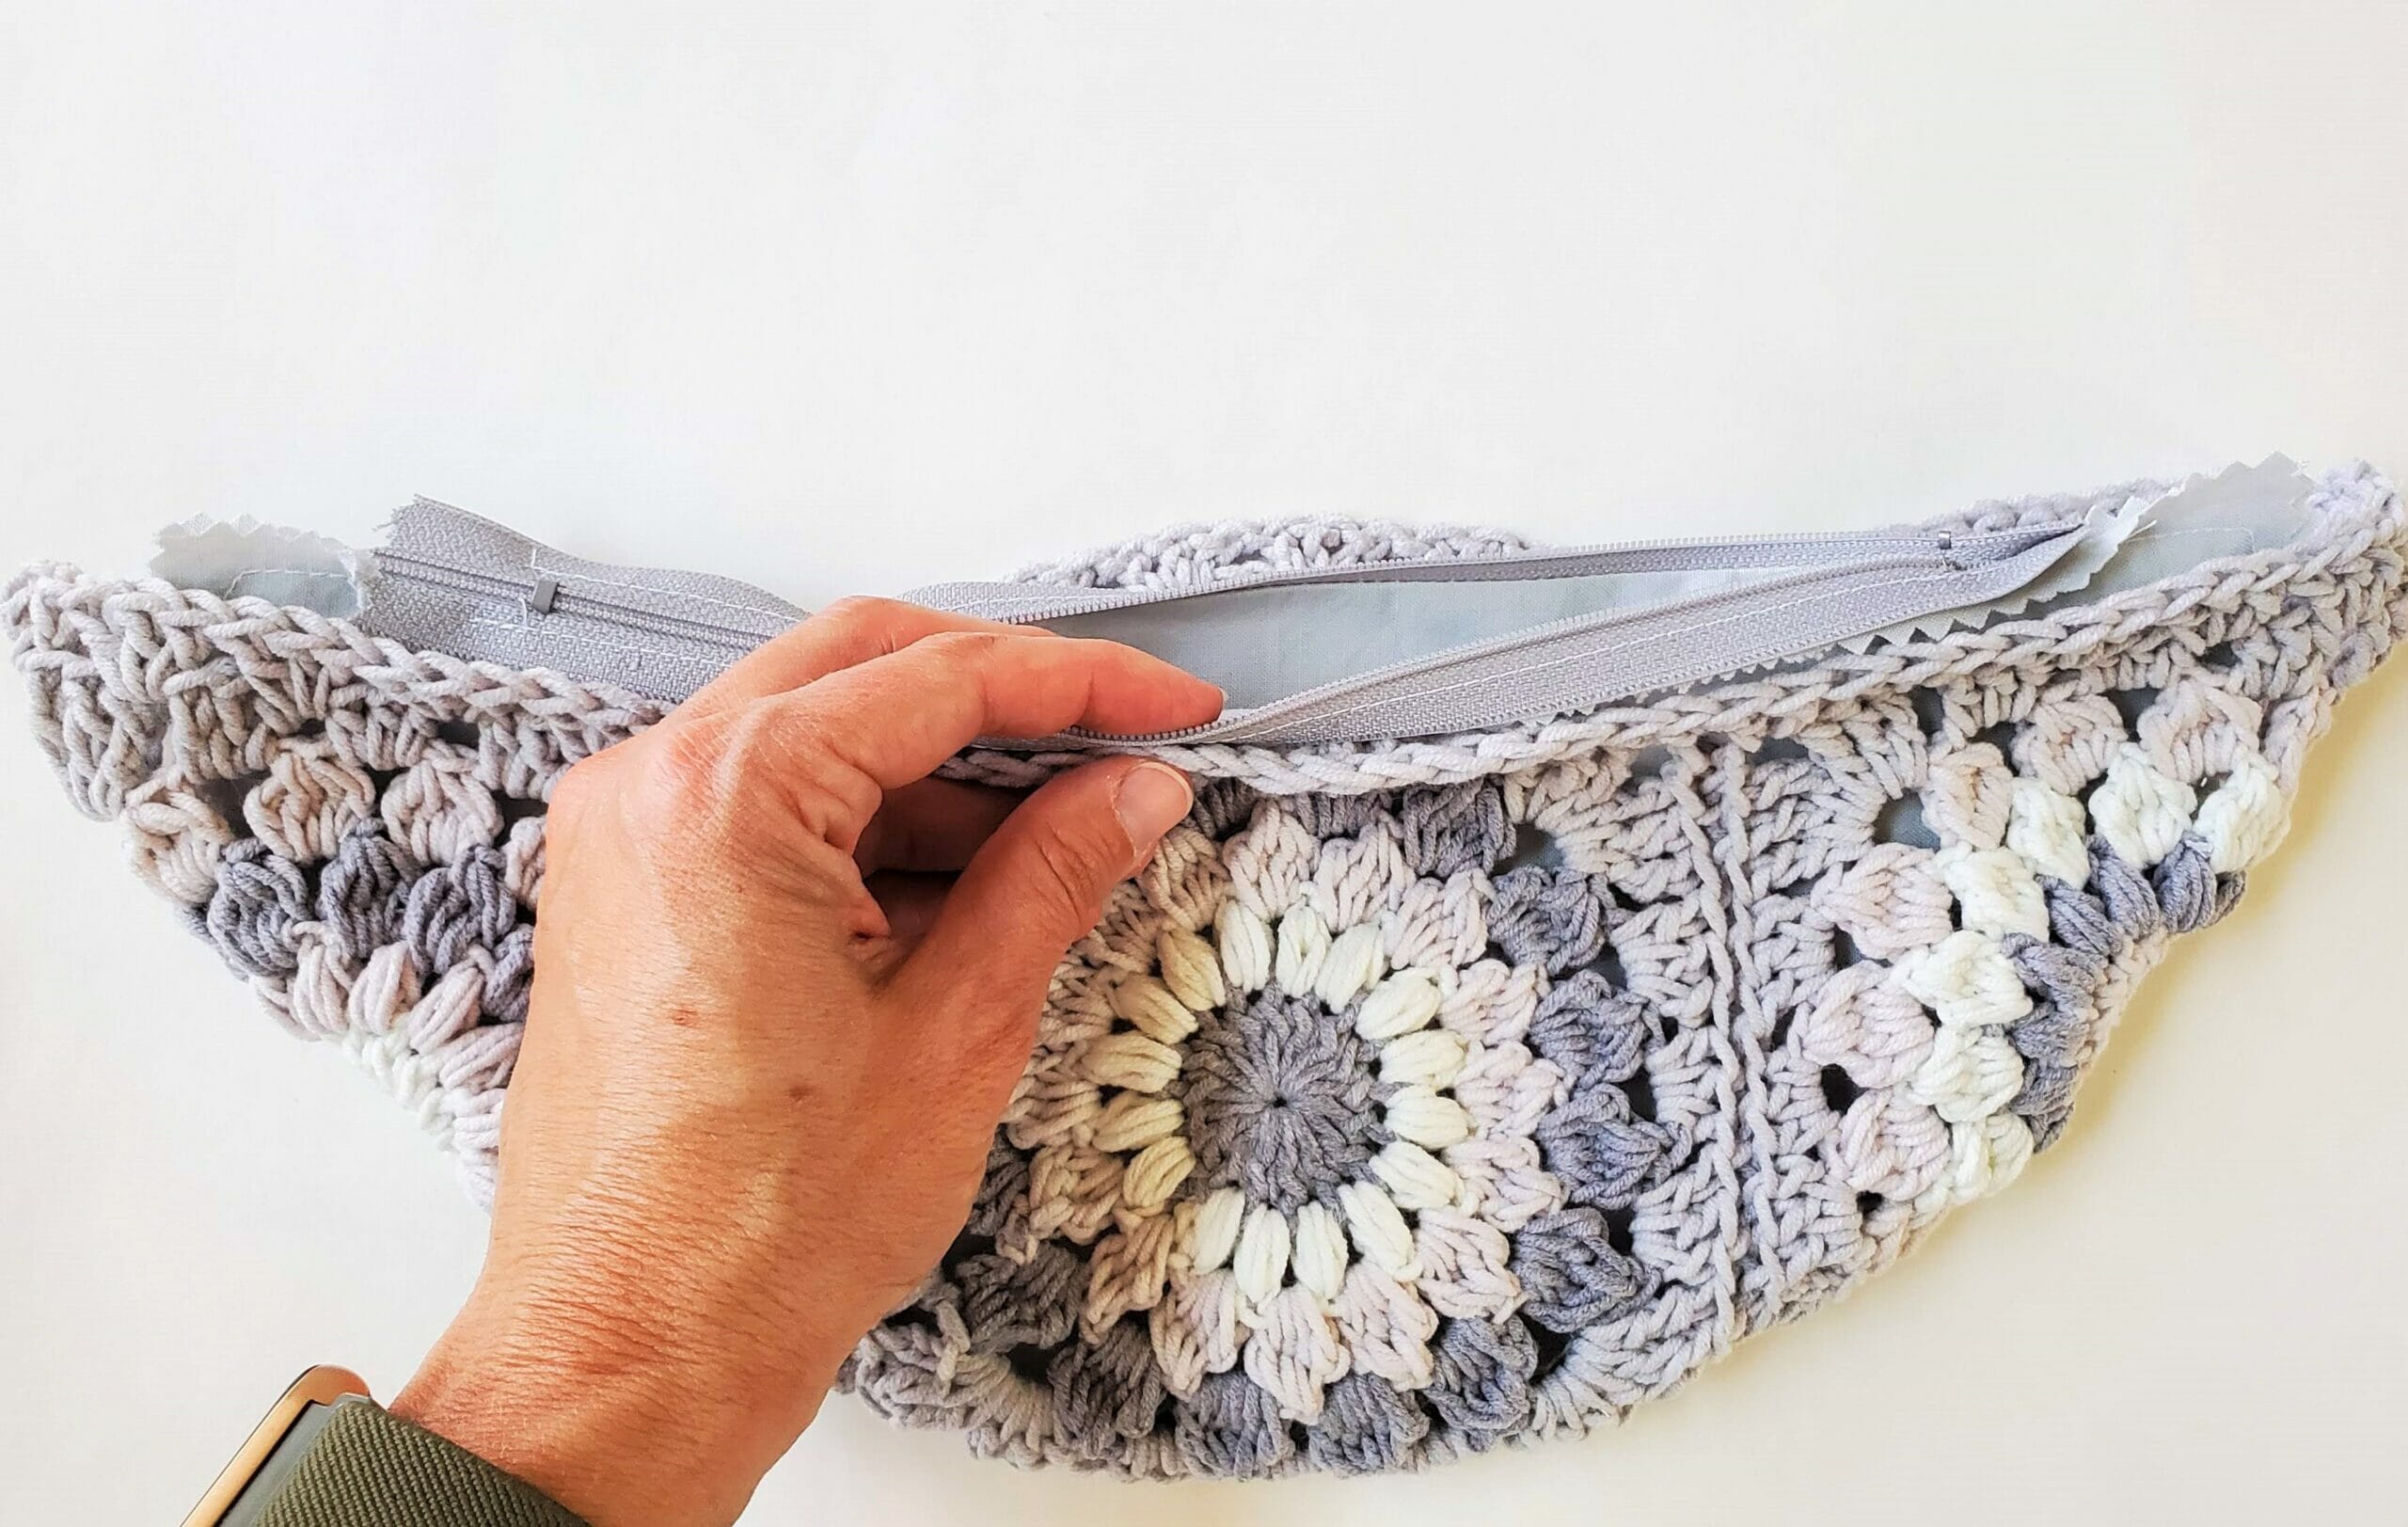
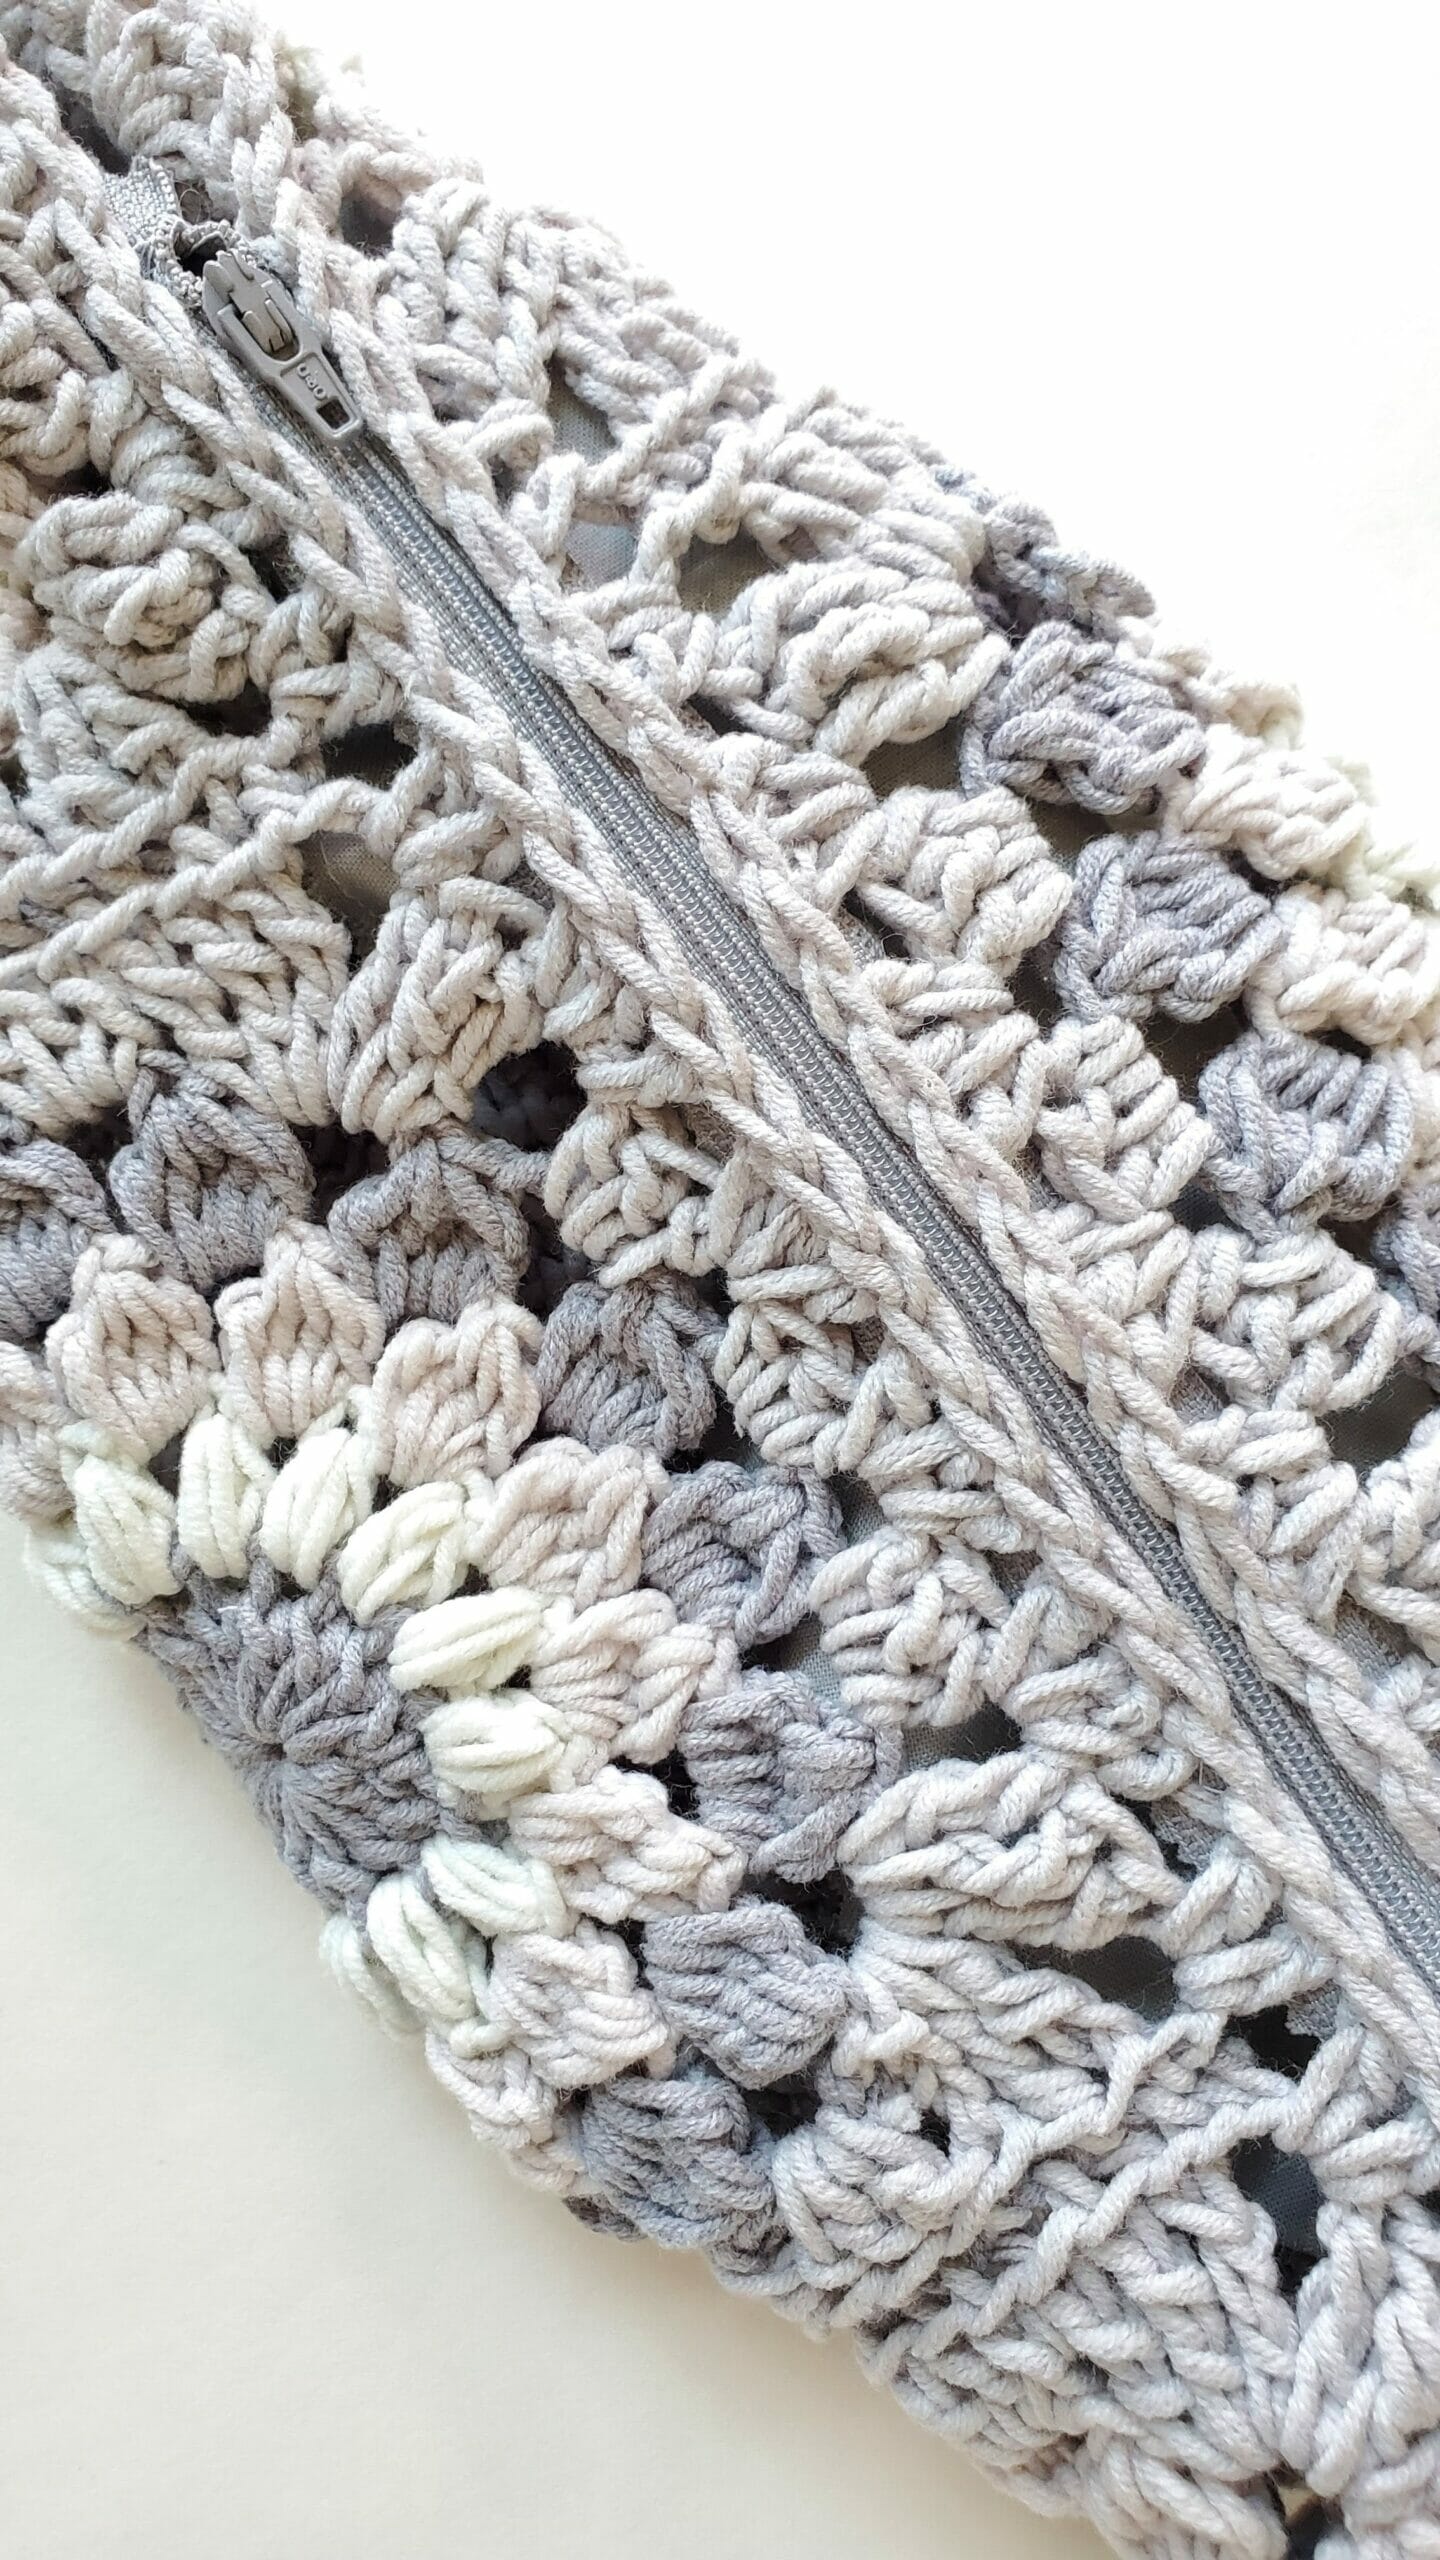
- Once the lining was made, we put it in the crochet bag and pinned the edge of the zipper to the edge of the crochet hook, doing so with a zigzag stitch.
- You have to go slowly and stop to adjust the stitches if necessary. This is where we felt that an extra row of single stitches across the top might have been a good idea so our sewing machine had more to grip.
Obviously, if machine sewing over crochet stitches offends you, go ahead and sew them by hand.
- First, pin the ends and center, and then fill with the rest. This way you make sure everything is well aligned.
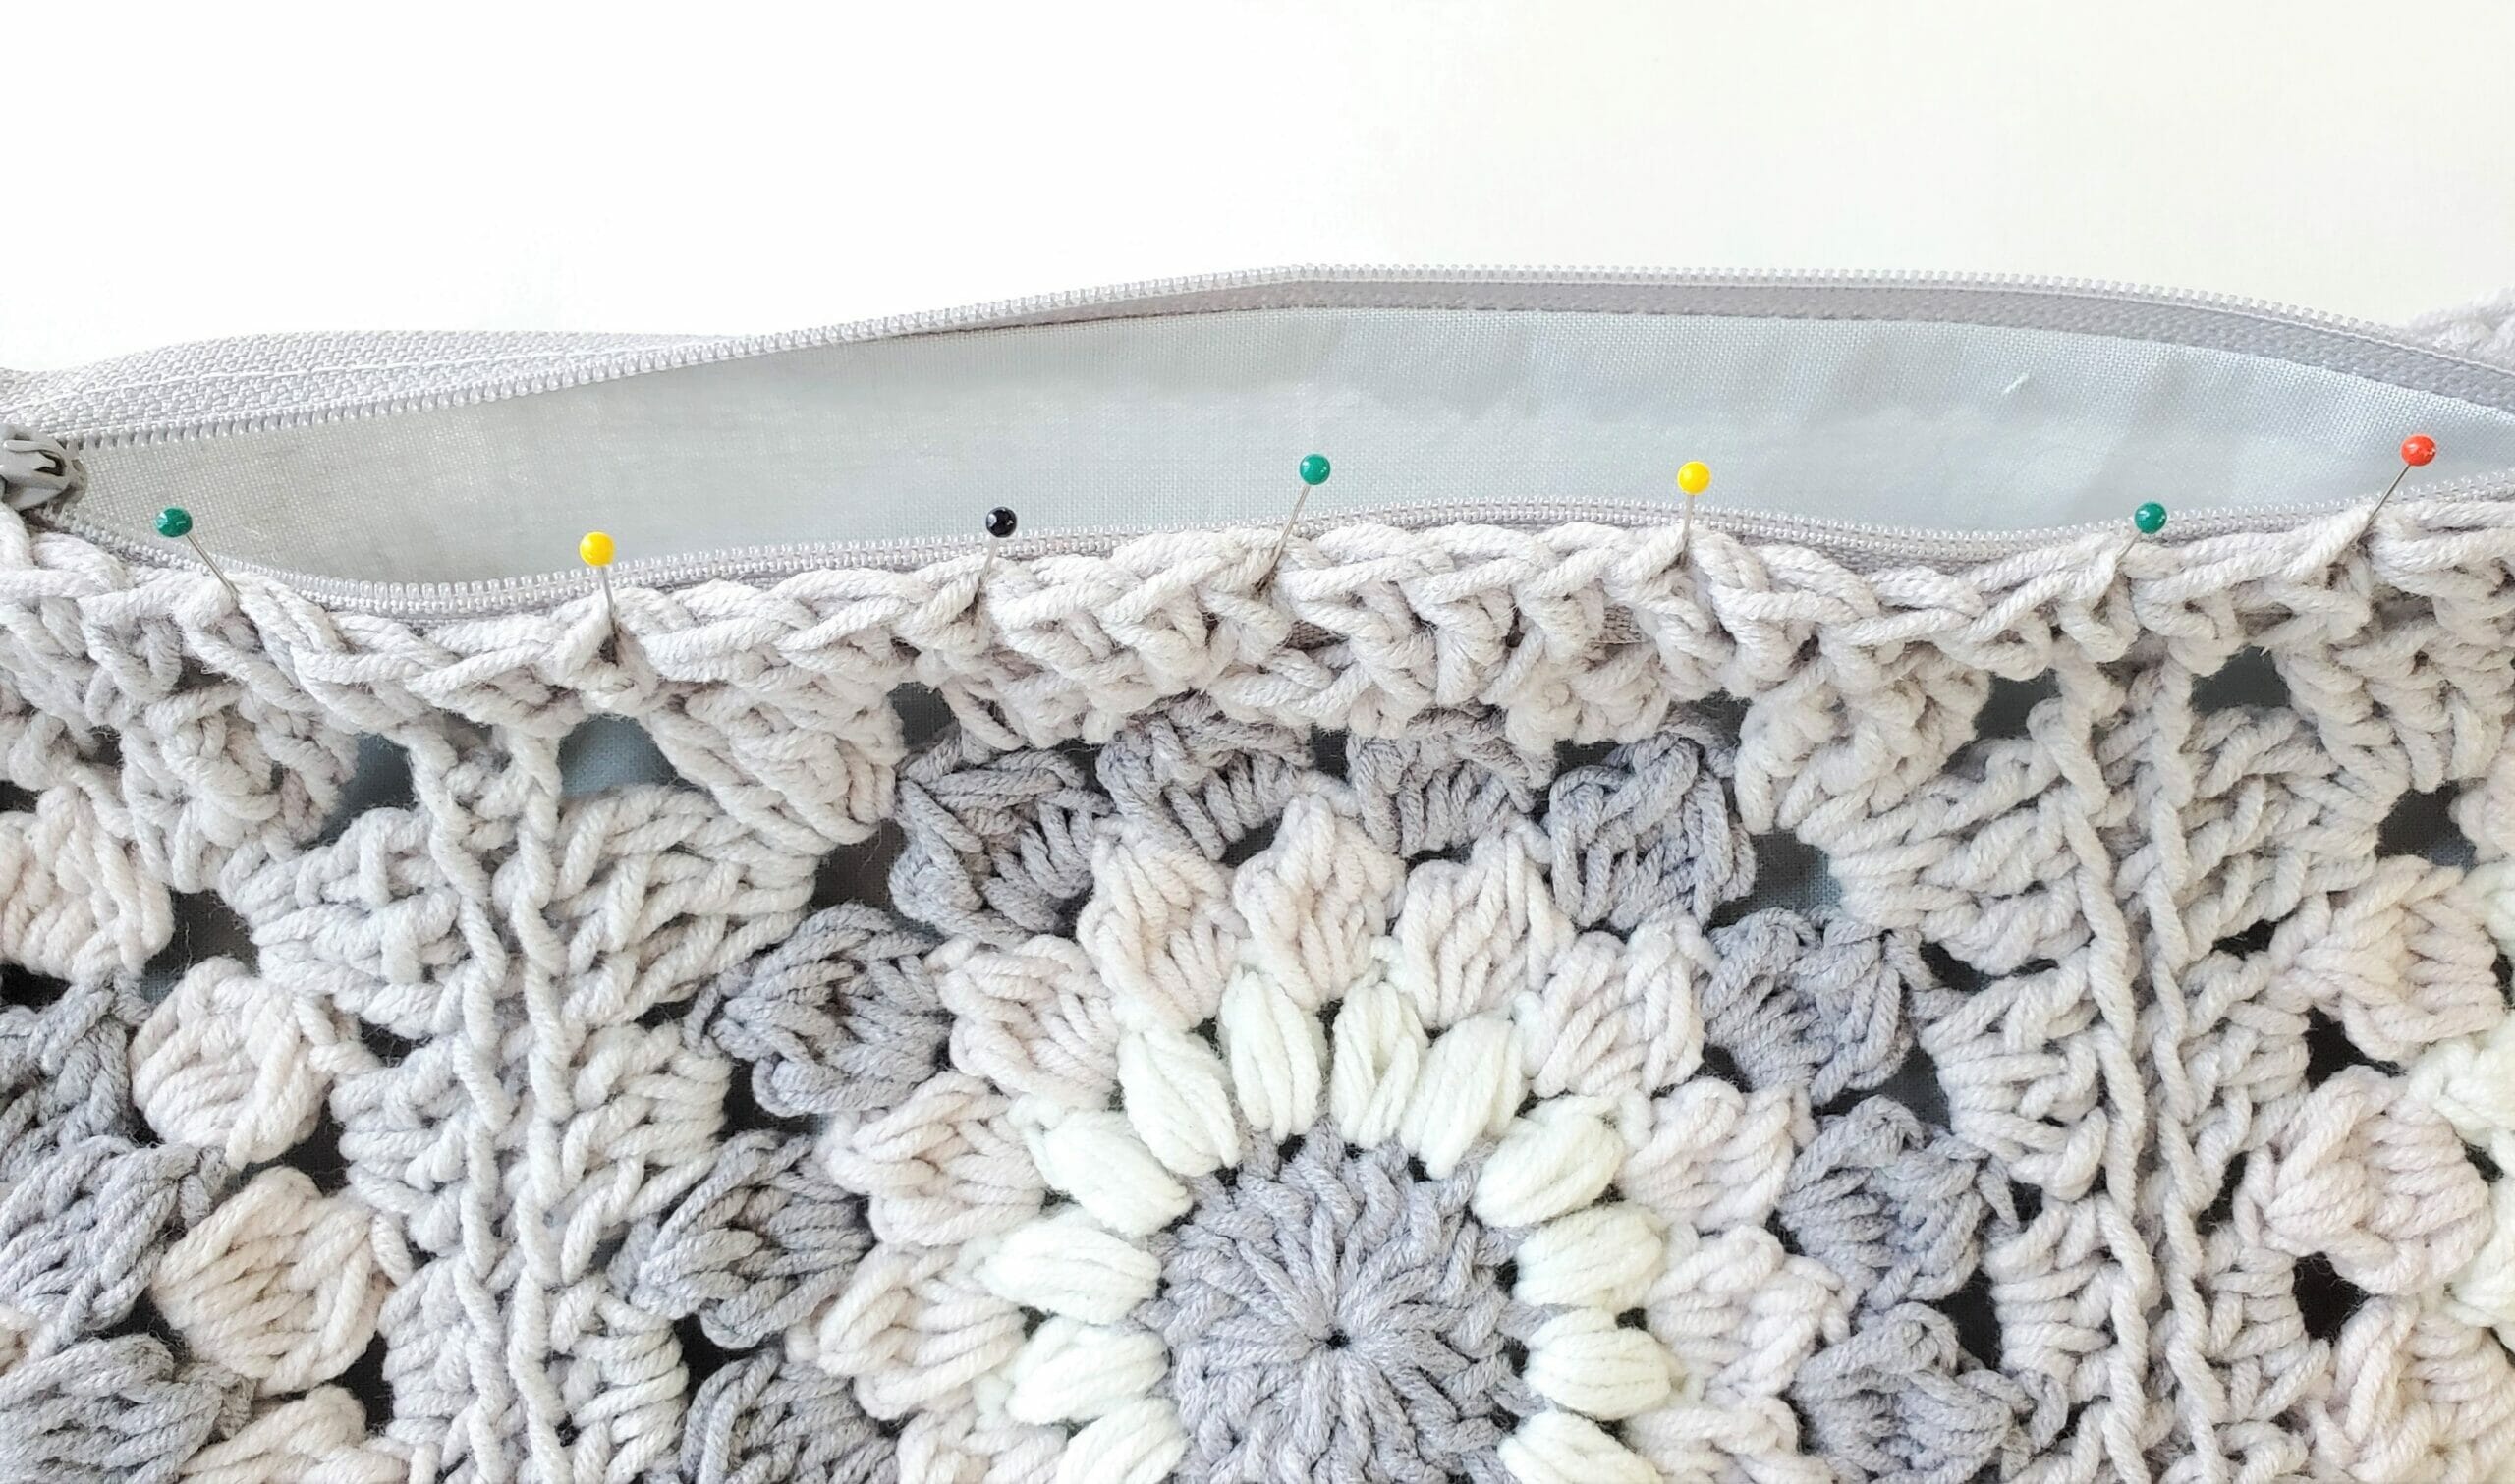
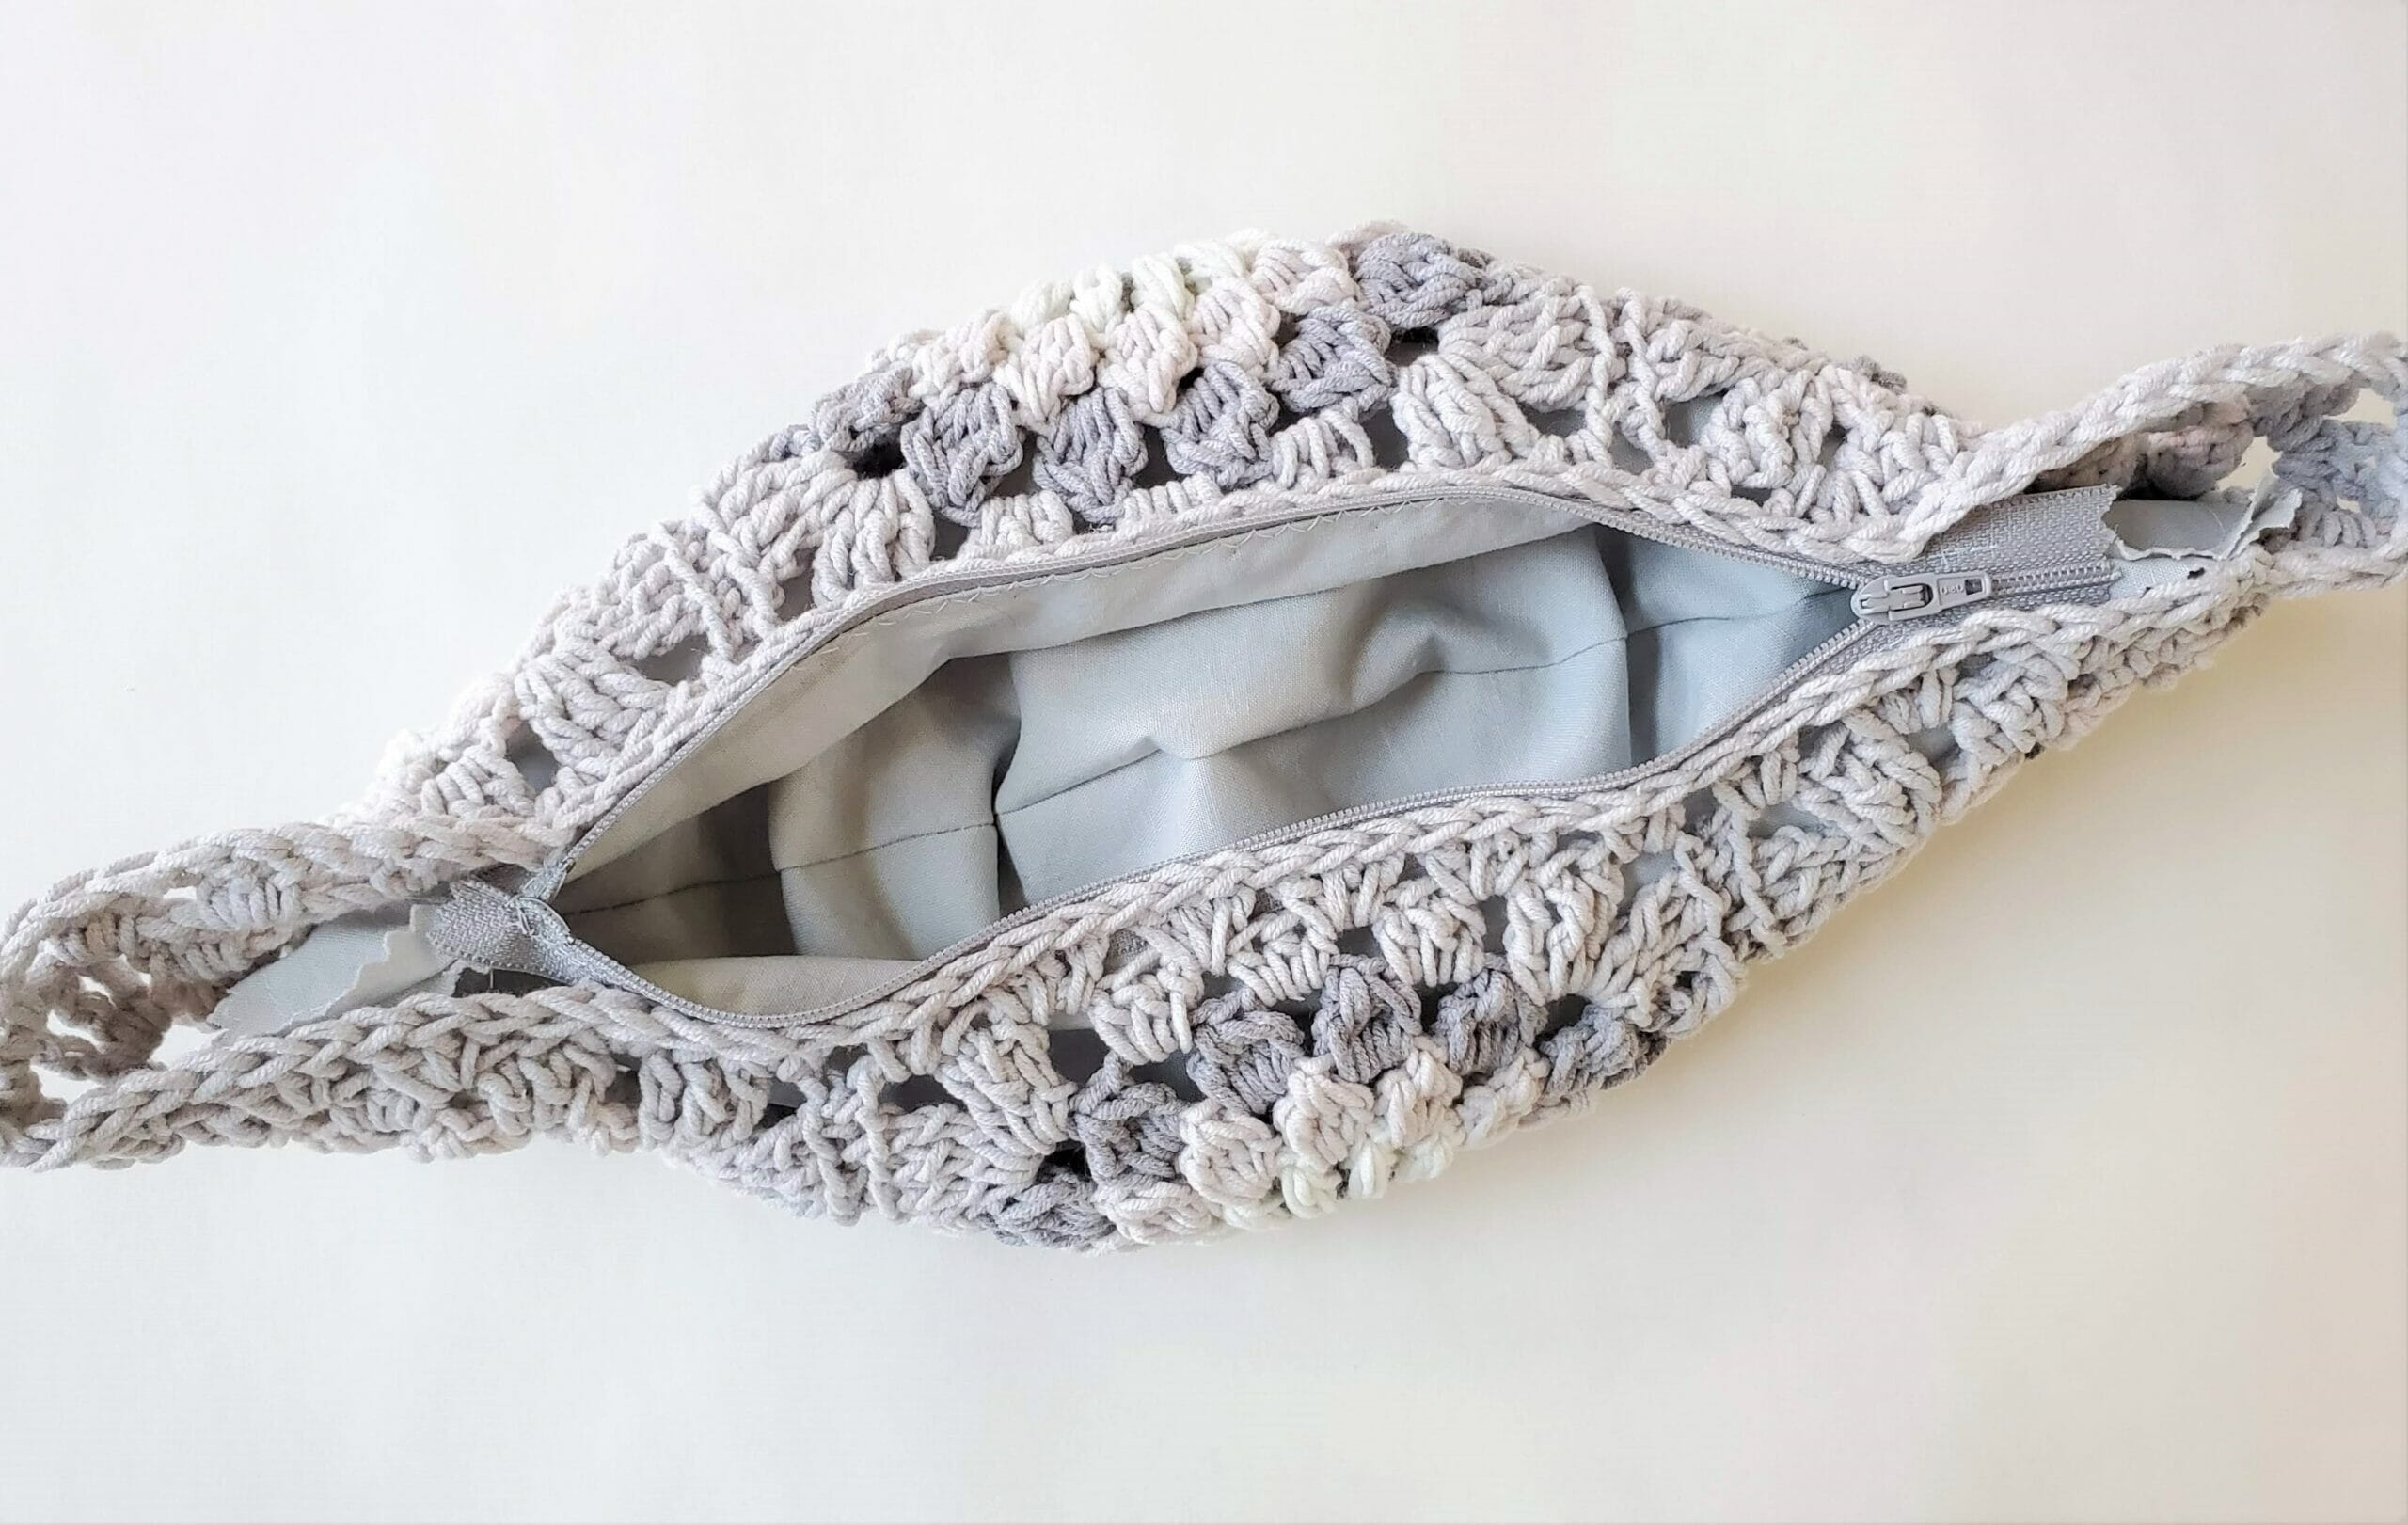
Now the zipper is secured but the sides of the top edge are still open and you can see the lining.