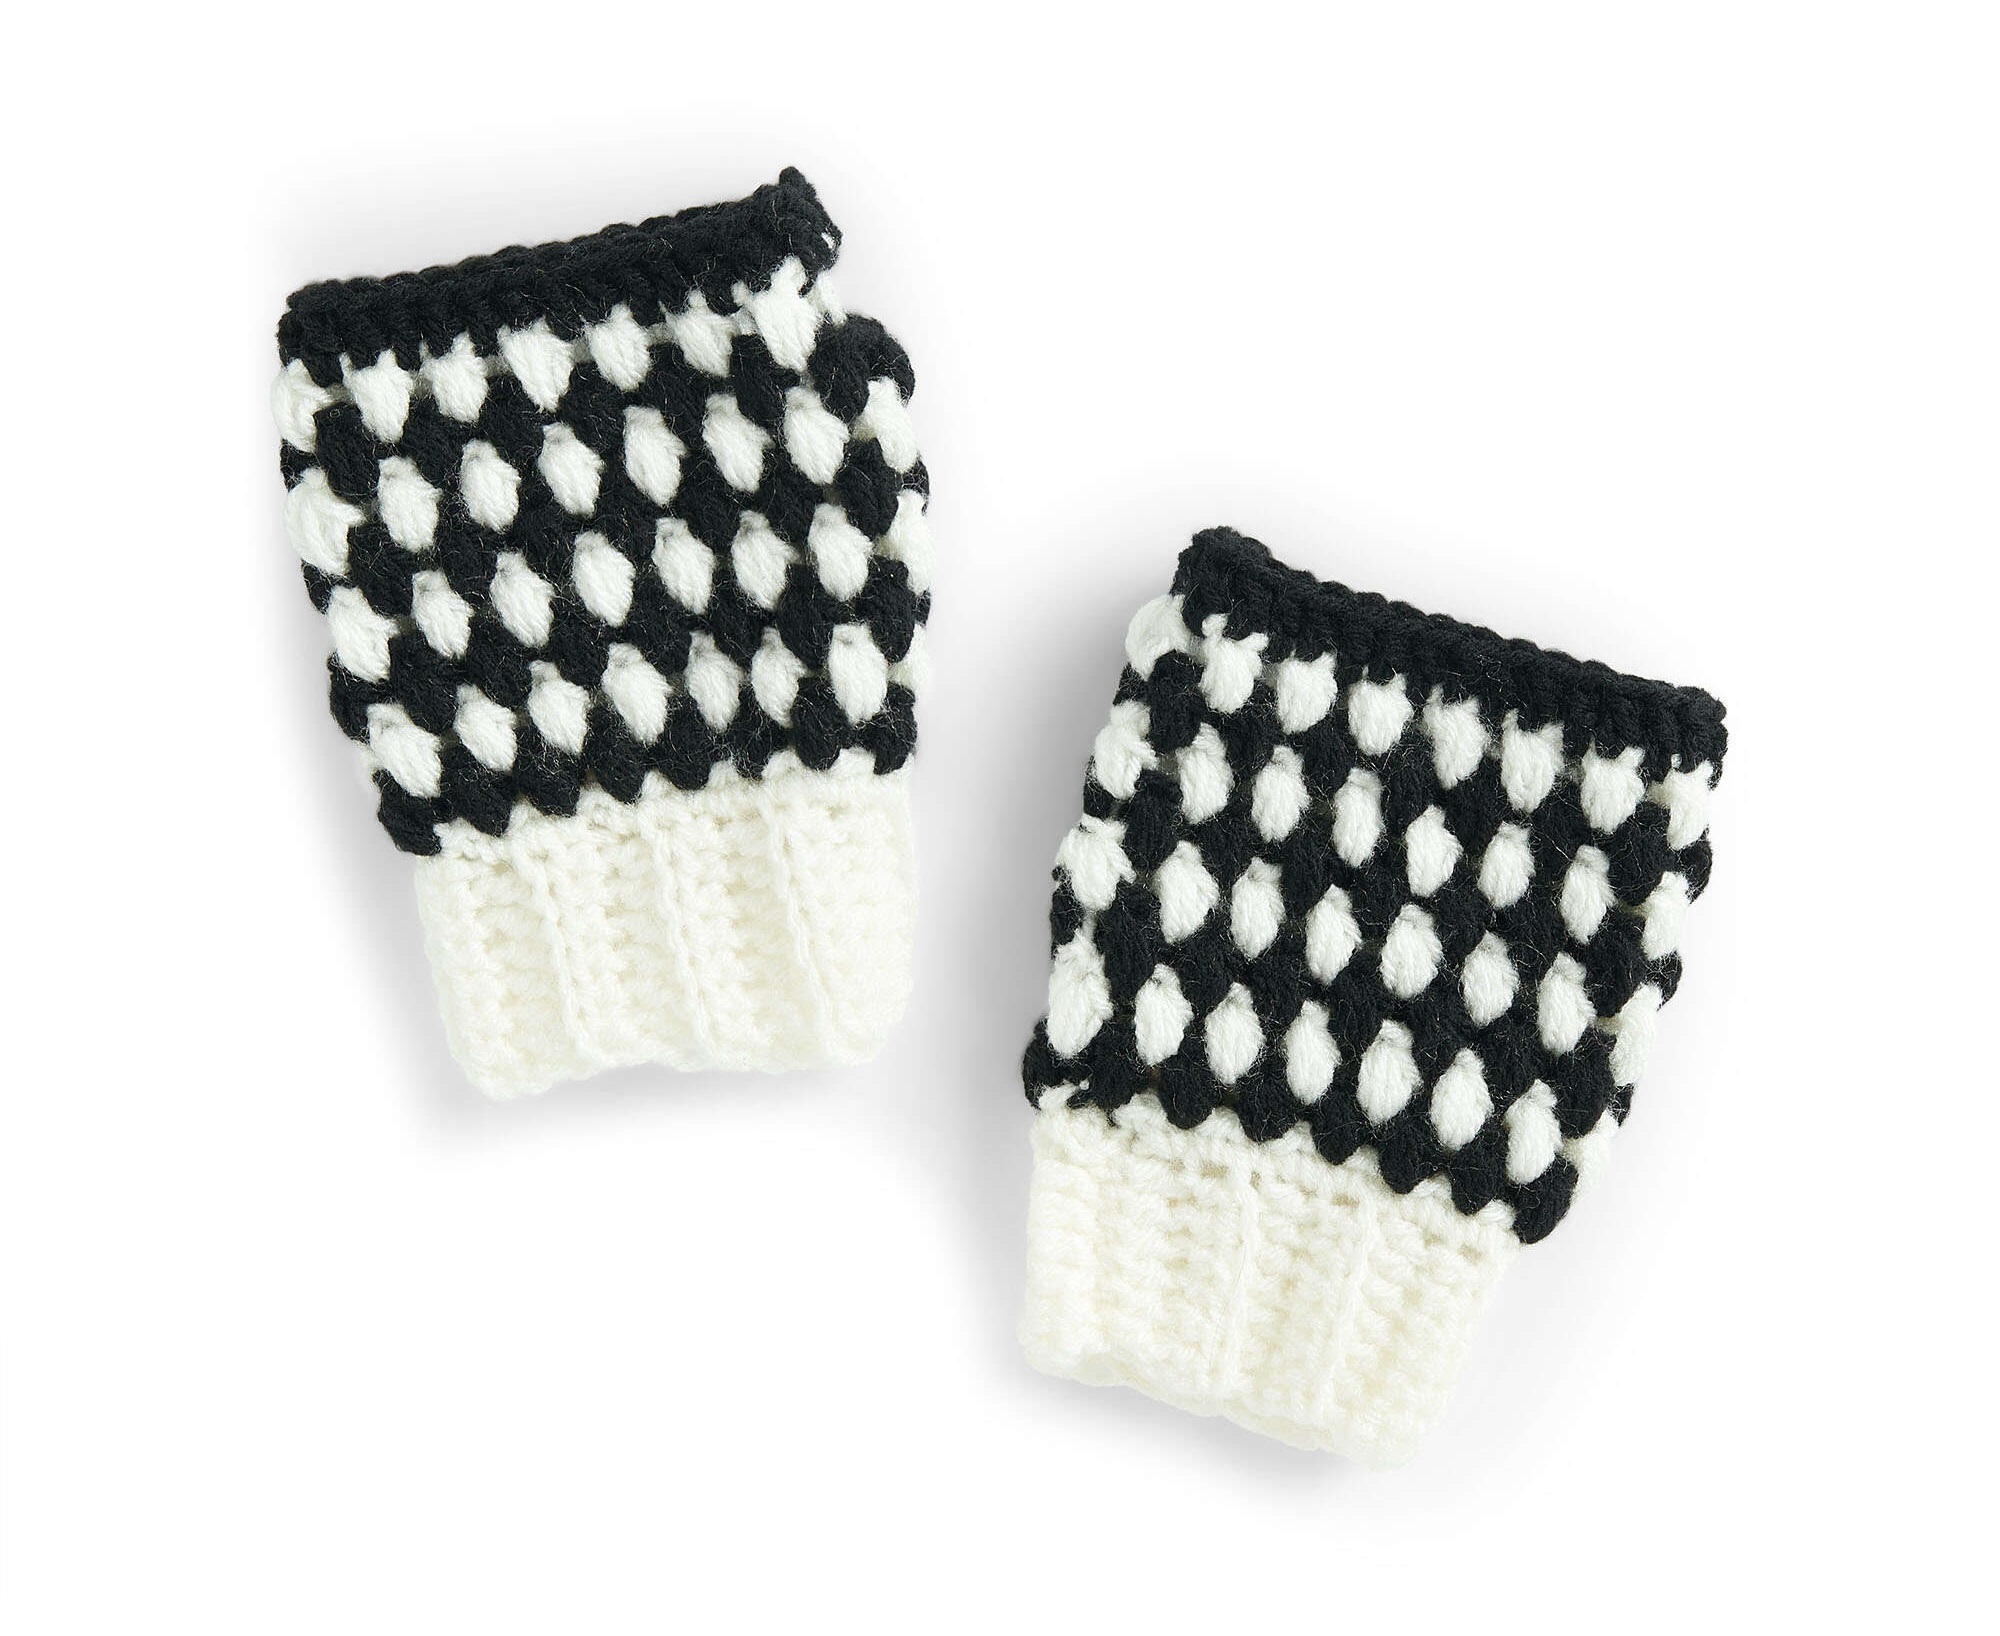
These fabulous fingerless gloves, knitted in black and white in the art of crochet, will create a comfortable outfit that you will never want to take off . This project is attractive in any shade, or in none if you are allergic to color
Abbreviations
❇️ Pc: Chain.
❇️ Pa: High point.
❇️ Mpa: Half high point.
❇️ Hdcbl: Half double crochet only in the back loop.
❇️ Pb: Low point.
❇️ Pr: Sliding point.
Materials
❇️ Black (A) – 1 (1) ball.
❇️ Soft White (B) – 1 (1) ball.
❇️ US I/9 size hook [5.5mm].
❇️ Knitting needle.
Note: With 1 ball of A and 1 ball of B you get 4 (3) pairs of gloves.
Measures
❇️ Sizes: Child 3/5 years (adult).
To fit the circumference of the hand
❇️6 (7.5)” [15 (19) cm]
Caliber
❇️ 8 puff stitches and 8 rows = 10 cm [4″] in the pattern.
Instructions
❇️ The fists are worked in rows.
❇️ The back of the gloves is worked in rows.
❇️ To change colors, work through the last 2 loops on the hook and trace the new color through the last 2 loops, then proceed with the new color.
❇️ Wear the color that is not being used loose on the wrong side of the work.
❇️ Pc 3 at the beginning of the round counts as a tr.
Gloves (make 2 alike)
Fist
❇️ With B, pc 7 (9).
❇️ Row 1: 1 hdc in the 3rd pc from the hook. 1 hdc in each pc until the end of the pc. Tour. 5 (7) mpa.
❇️ Row 2: Pc 2. 1 hdcbl in each stitch until the end of the row. Tour.
❇️ Repeat the last row 10 (14) more times.
❇️ With the right sides facing each other, fold the first and last row together. Pc 1. Work pr through both thicknesses to join the cuff on the row. Don’t button up.
❇️ Continue in laps as follows:
glove body
❇️ Row 1: With B, sc 1. Work 24 (30) sc evenly around the side edge of the cuff. Join A with a tr to the first sc. Don’t break B.
❇️ Round 2: With A, sc 3. (Puff stitch in the next sc. Skip the next sc) 12 (15) times. Join B with a sl st to the top of the first puff stitch. 12 (15) puff stitches.
❇️ Round 3: With B, pc 4 (counts as dc and pc space 1). (Puff stitch between the next 2 puff stitches) 12 (15) times. Join A with a pr to the 3rd pc of pc 4.
❇️ Row 4: With A, pc 3. Puff stitch between the dc and the first puff stitch. (Puff stitch between the next 2 puff stitches) 11 (14) times. Join B with a sl st to the top of the first puff stitch.
❇️ Repeat the last 2 rounds 1 (2) more time(s).
❇️ Next round: (Thumb round) With B, pc 5 (counts as dc and pc space 2). Skip the first 2 puff stitches. (Puff stitch between the next 2 puff stitches) 10 (13) times. Join A with a pr to the 3rd pc of pc 5.
❇️ Next round: With A, tr in sc space 2. Sc 3. 2 dc in sc space 2. 1 dc in the top of the next puff stitch. (1 dc between the next 2 puff stitches. 1 dc on top of the next puff stitch) 10 (13) times. Join with a sl st to the 3rd pc of pc 3. Fasten.