Why would this project?
✅ The crochet raffia bucket hat is an exciting and practical project that can be customized to suit your personal needs and tastes. With its unique design and intricate details, this hat will not only keep you cool and comfortable in hot weather, but will also make you look stylish and fashionable.
✅ Raffia is an ideal material to use in crochet during spring and summer, since it is a breathable, resistant and easy material to work with. In addition, it is an ecological and sustainable option, since it is obtained from palm tree leaves.
✅ The advantages of raffia to use in crochet , including its durability, breathability and sustainability.
So if you’re looking for an exciting and practical crochet project for this spring and summer, sit back, prepare your crochet hooks and learn how to make this beautiful crochet raffia bucket hat.
Abbreviations
✅ V: Return.
✅ Pc: Chain.
✅ Pb: Low point.
✅ Aum: Increase.
✅ (…): At the end of each round you will find the number of points you must have at the end of it.
✅ […] x: When a part of the instructions is repeated throughout the “round”, the number of times it must be repeated will be placed in parentheses x.
Materials
✅ Raffia yarn – 100 gr.
✅ 4.00 mm hook (G US).
✅ Thread needle.
✅ Point marker.
Measures
✅ The hat measures approximately 57 cm in circumference.
Instructions
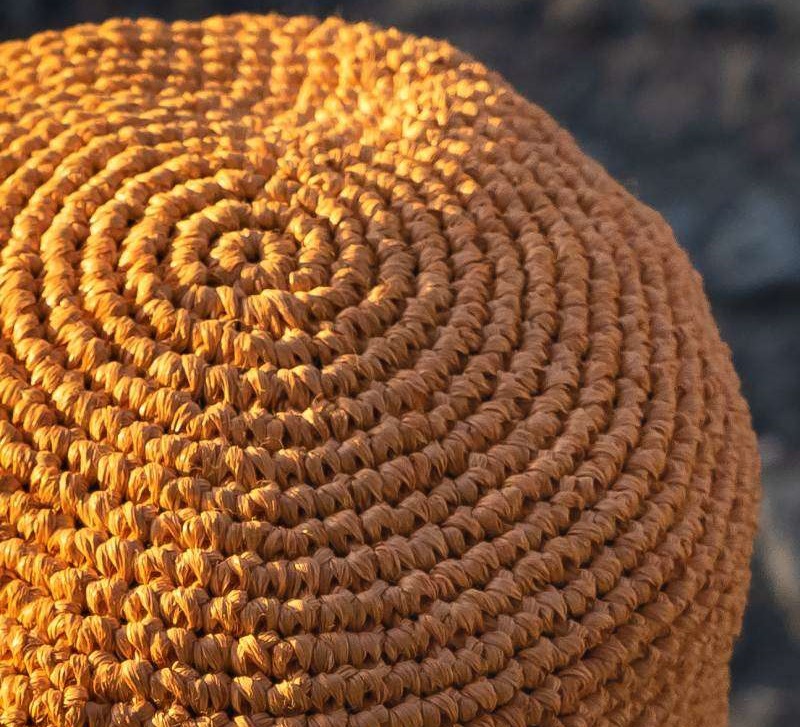
The hat is worked in one piece, from top to bottom and in spiral turns.
When you weave spiral rows, you start with a magic ring and continue working in a continuous spiral. This means that you continue crocheting directly into the first stitch of the previous round to start the next round.
You should mark the first stitch of the round so you know where the round begins and move the marker up each round as you work.
Cap
Use the 4.00 mm hook (G US) and the chosen thread.
This pattern begins at the crown and moves toward the wing in a spiral.
To start, make a magic ring.
R1: 8 sc in a ring, pull the tail to tighten the ring, place the marker. (8)
V2: [Pb-aum] x 8. (16)
R3: [Sc-inc, sc] x 8. (24)
V4. [2 sc, sc-inc] x 8. (32)
R5: [Sc-inc, 3 sc] x 8. (40)
R6: 2 sc, [sc-inc, 4 sc] x 7, sc-inc, 2 sc. (48)
R7: SC in each stitch around. (48)
R8: 4 sc, [sc-inc, 5 sc] x 8, sc-inc, sc. (56)
R9: [6 sc, sc-inc] x 8. (64)
V10: SC in each stitch around. (64)
R11: [Sc-inc, 7 sc] x 8. (72)
R12: 2 sc, [sc-inc, 8 sc] x 7, sc-inc, 6 sc. (80)
R13-14: SC in each stitch around. (80)
R15: 6 sc, [sc-inc, 9 sc] x 7, sc-inc, 3 sc. (88)
R16-30: SC in each stitch around. (88)
Keep working the wing.
To the
R31: 10 sc, [sc-inc, 21 sc] x 4, sc-inc, 11 sc. (92)
R32-33: SC in each stitch around. (92)
R34: 6 sc, [sc-inc, 11 sc, sc-inc, 10 sc] x 3, sc-inc, 11 sc, sc-inc, 4 sc. (100)
R35-36: SC in each stitch around. (100)
R37: [Sc-inc, 12 sc, sc-inc, 11 sc] x 4. (108)
R38-39: SC in each stitch around. (108)
Cut the thread and make an invisible closure.
Weave the ends.