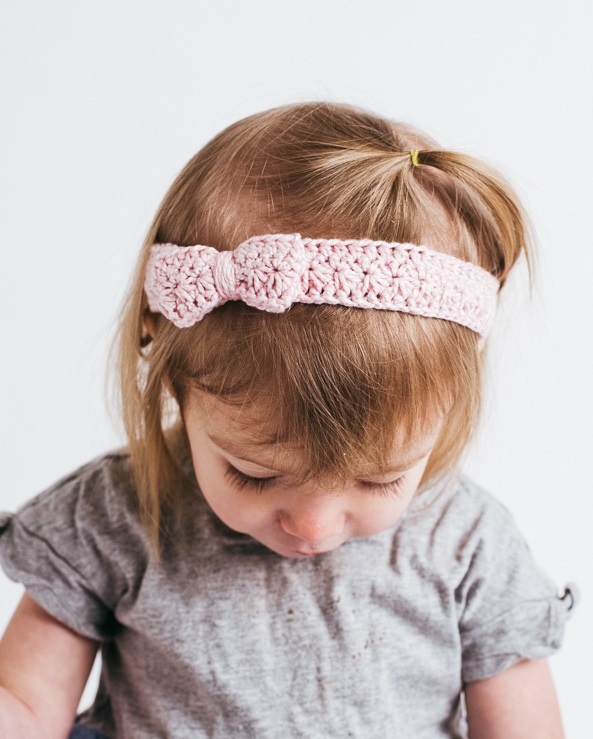
This sweet and delicate headband with crochet bow decoration is the perfect accessory to put on your little princess. Combine it with the perfect outfit and create endless versions for greater variety
Abbreviations
✅ Pc: Chain.
✅ Pb: Low point.
✅ Pr: Sliding point.
✅ Fsc: Base low point.
✅ Mpa: Half high point.
Materials
✅ Blush – 1 skein.
✅ US E/4 (3.5mm) and US G/6 (4mm) size hook.
✅ Sewing pins with colored heads.
✅ Point markers.
✅ Tapestry needle.
✅ Scissors.
Measures
✅ This pattern can be adjusted to any head size, simply by making longer chain loops to tie to the head.
Caliber
✅ 25 points = 4” [10 cm].
Instructions
The fsc row is essential so that the headband has a little bounce and elasticity. Take your time to create even points.
It is suggested that you go up one hook size only for the fsc portion of the pattern.
Safety Warning: Babies should only wear the headband under supervision and should never be put to bed with it on.
First loop of chain
With the smallest hook, tighten pc 55 (will not work on these pc points).
Diadem
Row 1: Switch to larger hook, fsc 85, turn. (85fsc)
Row 2: Switch to smaller hook, 3 pc, initial daisy stitch, starting at 2nd pc from hook, continue with subsequent daisy stitches until end of row. At the end of the row, sc in the same stitch as the last ray of final daisy stitch, turn. (42 daisy points)
Row 3: Pc 1, place the marking in this sc stitch, *2 sc in the center of the “eye” of the daisy stitch, skip 1 stitch; repeat from * to the end of the row, pr in the first bars of the first stitch, turn. (84 bp)
Row 4: Stc 1, skip 2 stitches, hdc in each stitch until 2 sts before the end of the row, stc 1, sl st in the marked st st of row 3. Fasten. (84mpa)
Second chain loop
Fasten the thread with a sl st in the eye of the daisy stitch (at the end without a chain loop), pc 55. Fasten, tie a double knot at the end of both loops and trim the ends near the knot.
Use these 2 long pcs to tie the headband to your head.
Bow
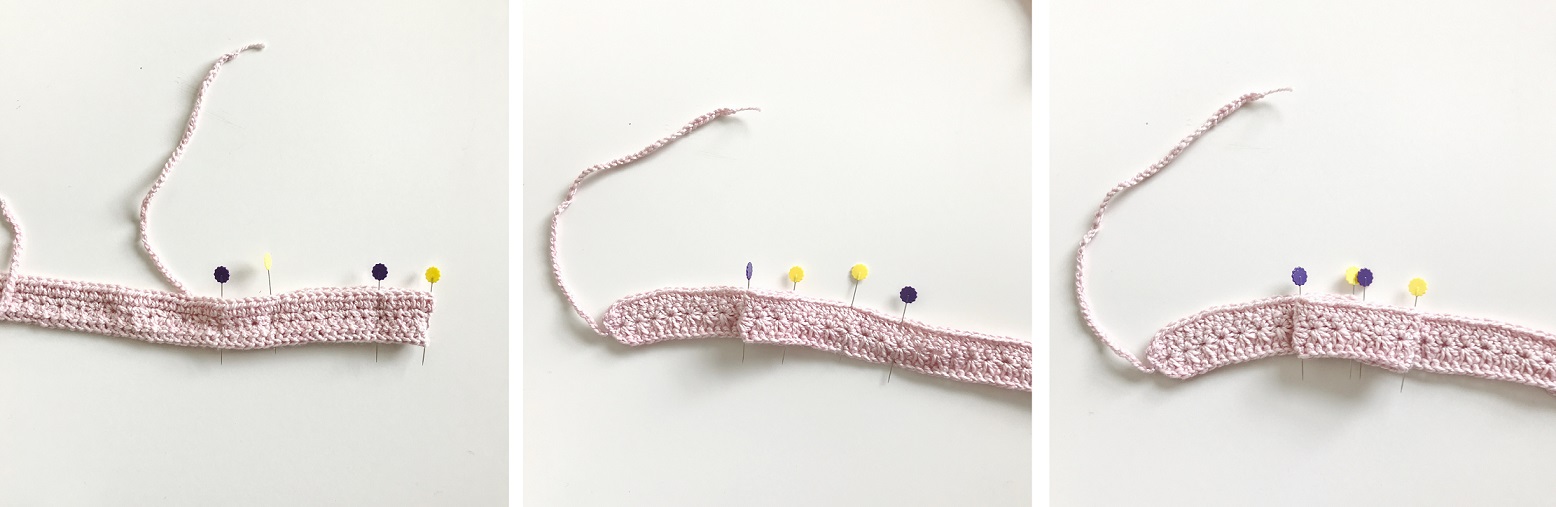
To make the bow, place pins of the main color (yellow in the photos) through the center eye of each of the 11th and 20th daisy points.
Place a contrast color pin (purple in the photos) in each of the 14th and 23rd daisy points.
With the correct side facing you, fold the back of the headband on the yellow pins and forward on the purple pins (see photos below) so that the bow ends up in the correct position.
Cut 27.5” / [70 cm] of thread and thread it through the tapestry needle, knotting the end.
Wrap the thread around the center of the bow and around each side of the bow to secure it.
Sew a few stitches through both sides of the bow to hold it together and remove the pins.
Continue wrapping the thread around the center until you’re happy with the look.
Weave the end onto the wrong side.
Finish
Weave in any excess ends.