Crochet the Brow Ridges (2x)
The brow ridges are crocheted in White in rows with chain stitches. Crochet a total of 2 brow ridges.
- Crochet the brow ridges in rows in White.
- Row 1: Crochet 3 chain stitches (3 stitches).
- Finish: Cut the yarn generously and leave a long tail for sewing.
Assembling
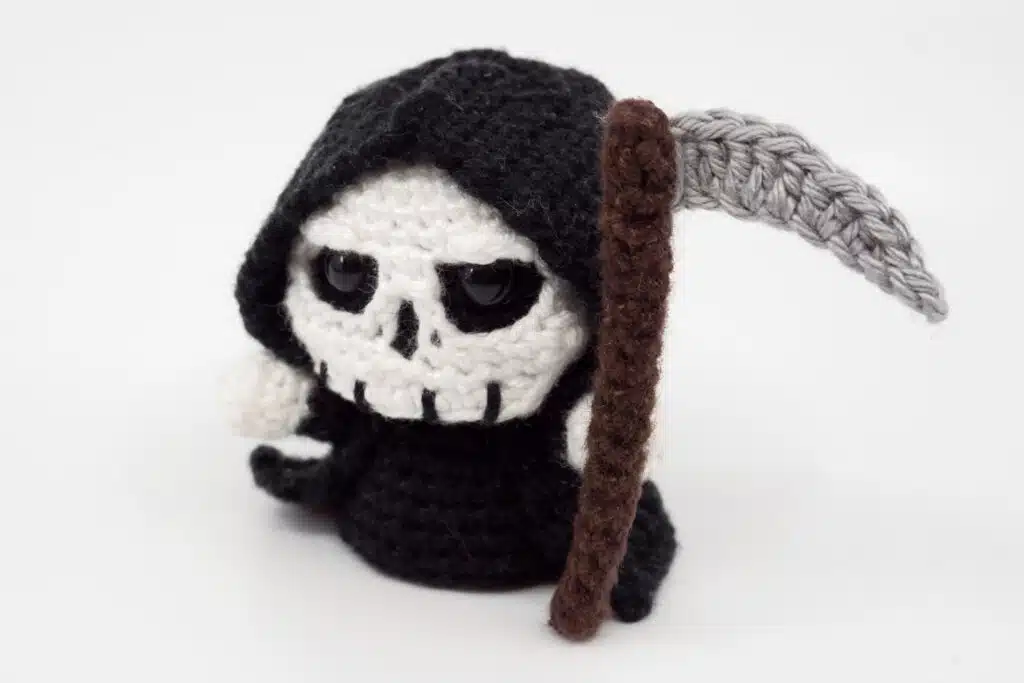
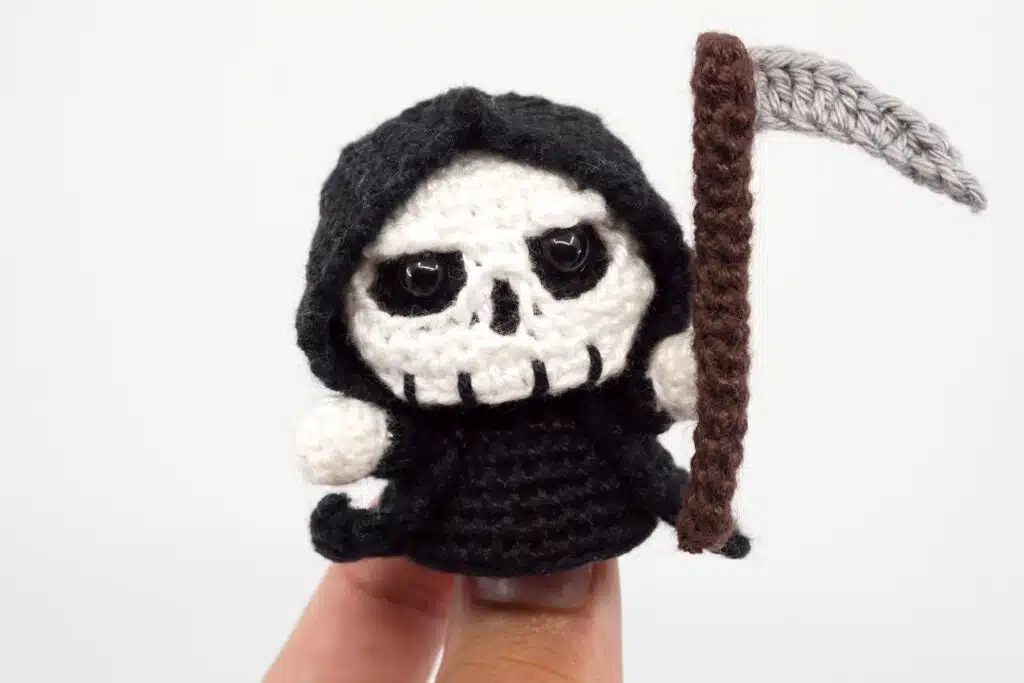
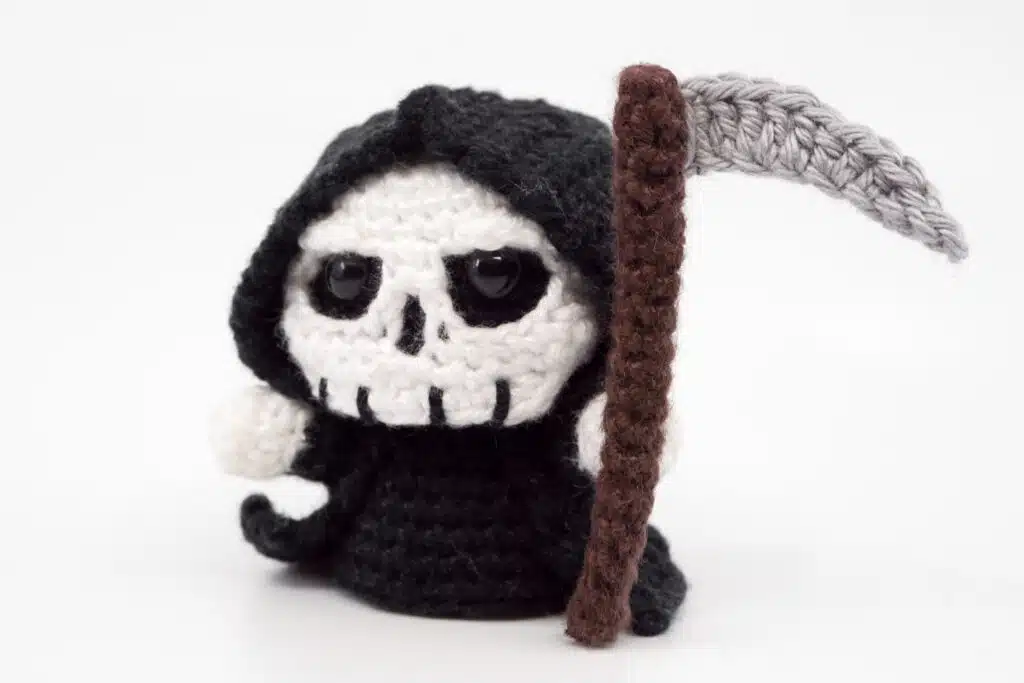
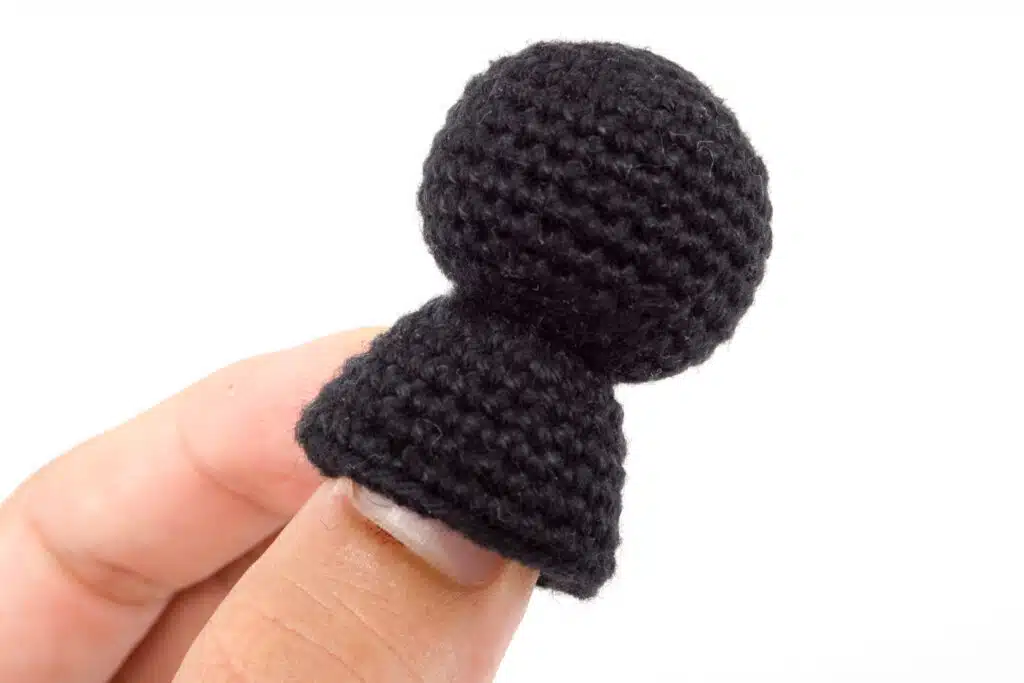
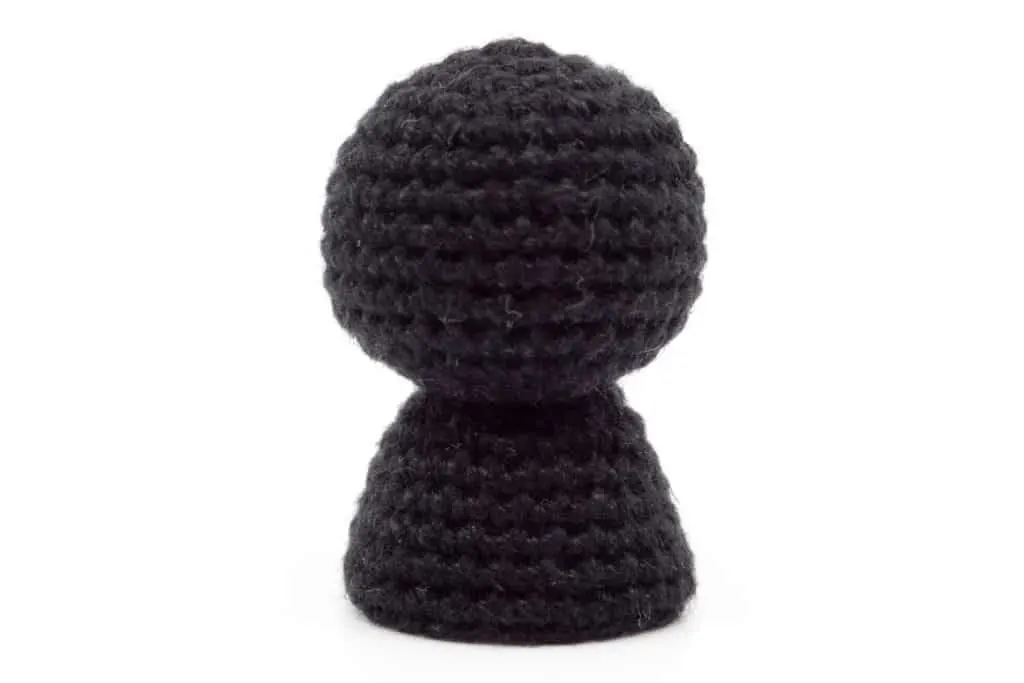
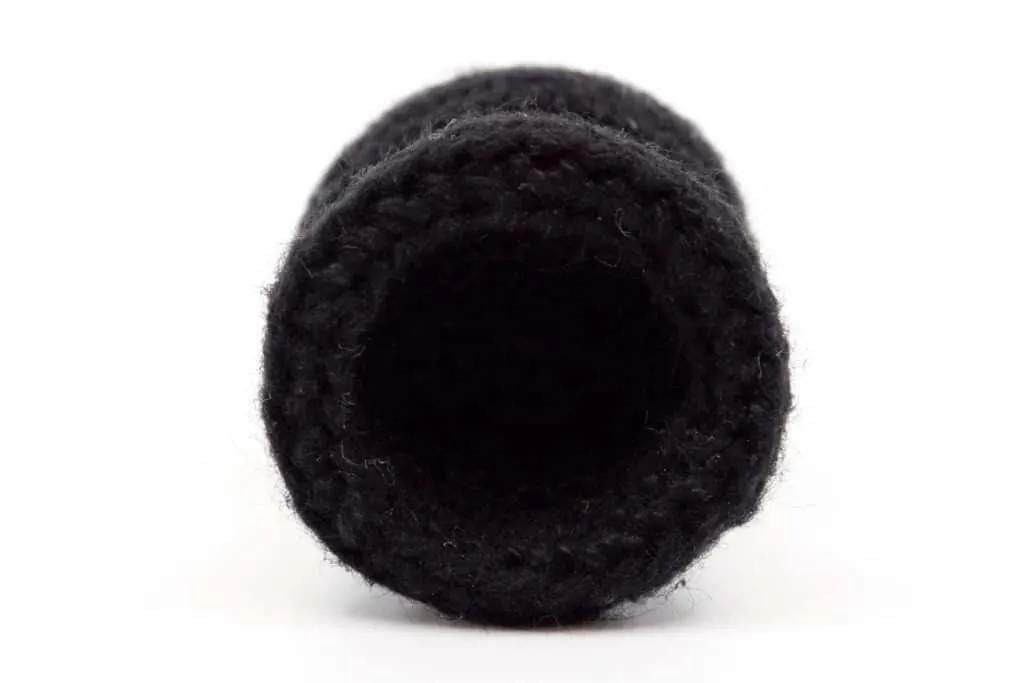
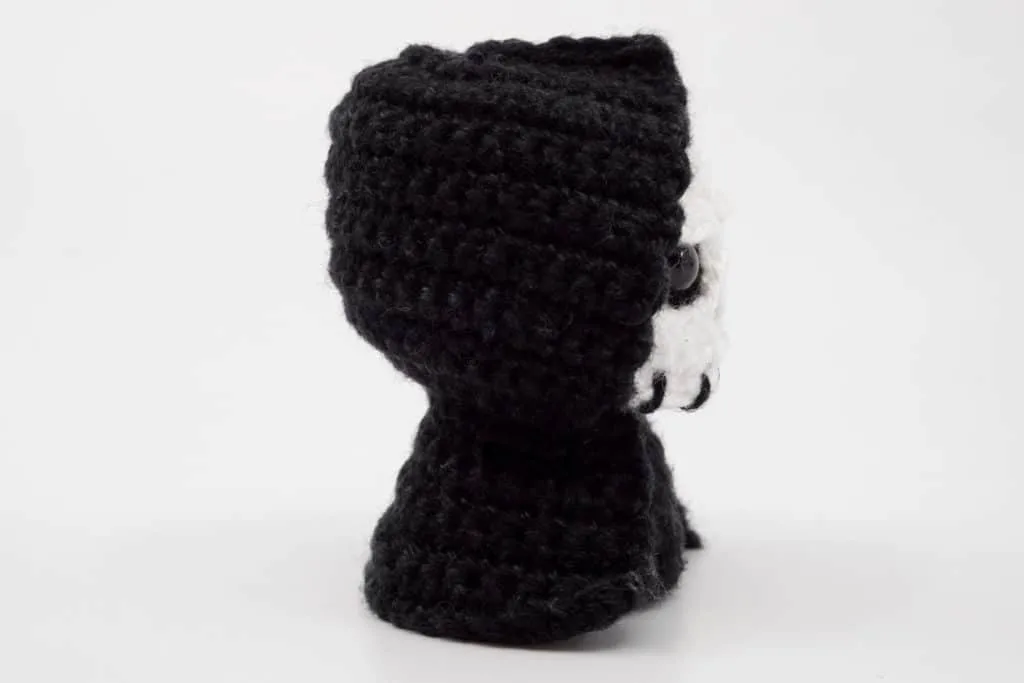
Body: Press the bottom of the body inwards, as shown in the pictures, to achieve a stable stand of the Grim Reaper. The body should fold over at the stitch edges.


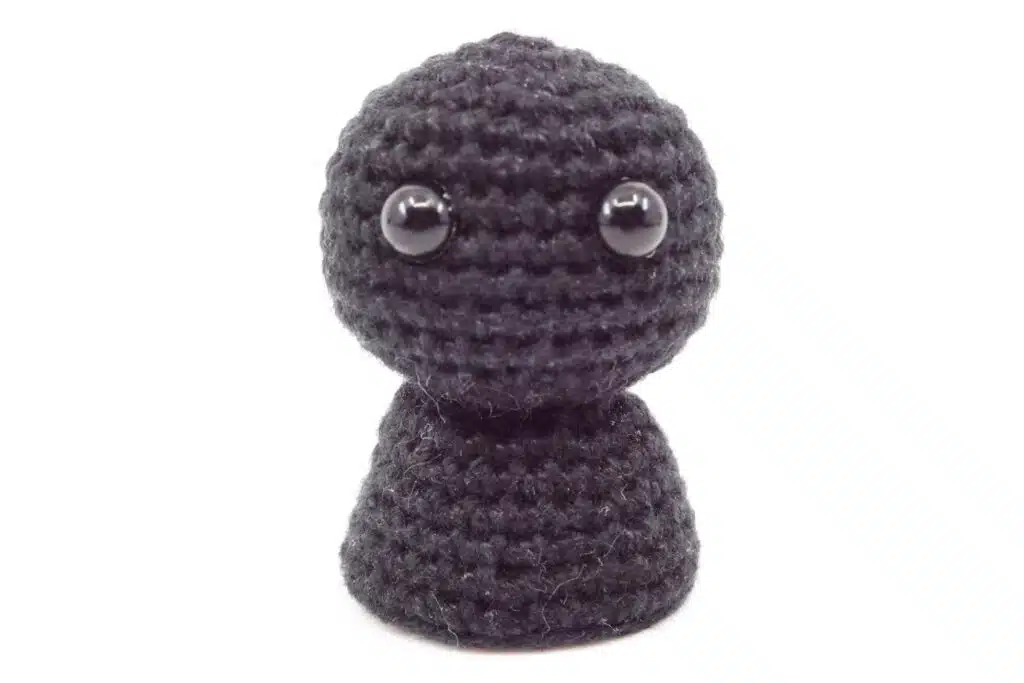
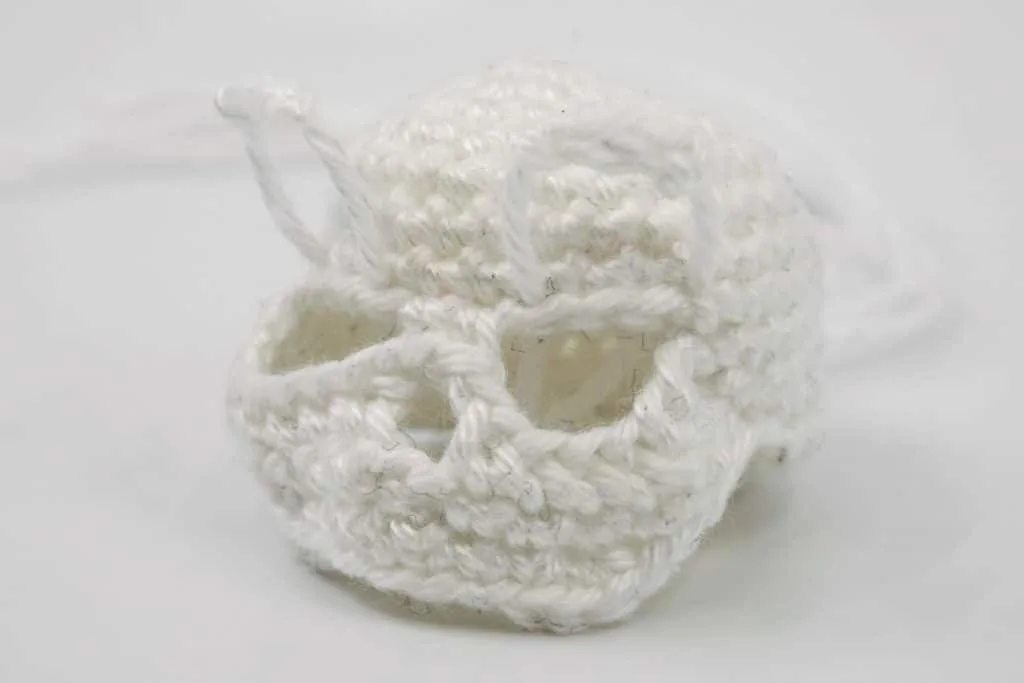
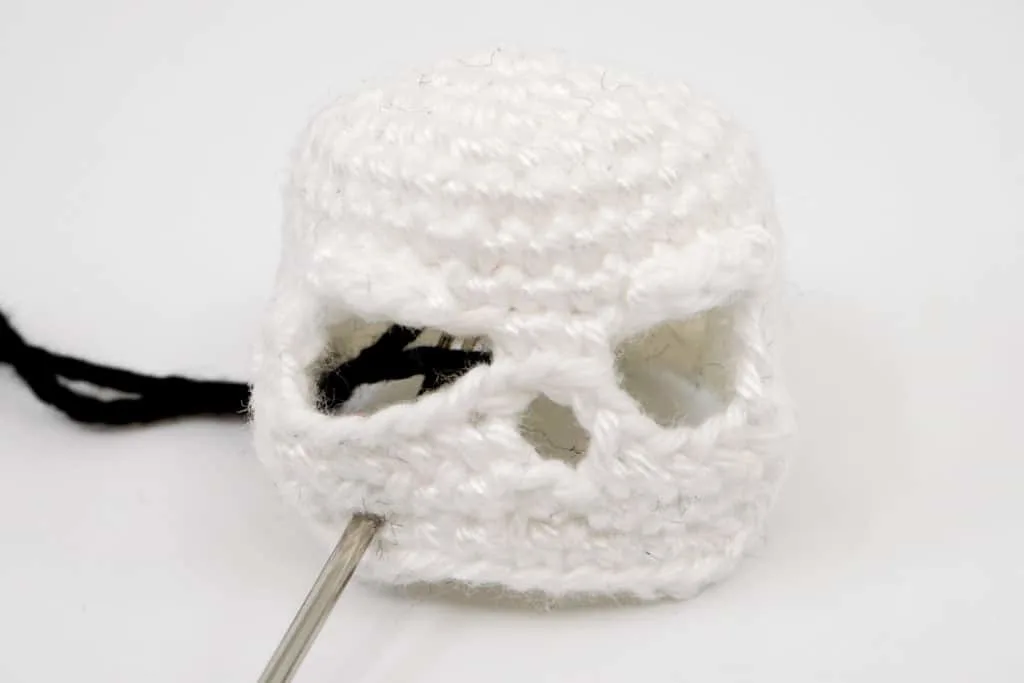
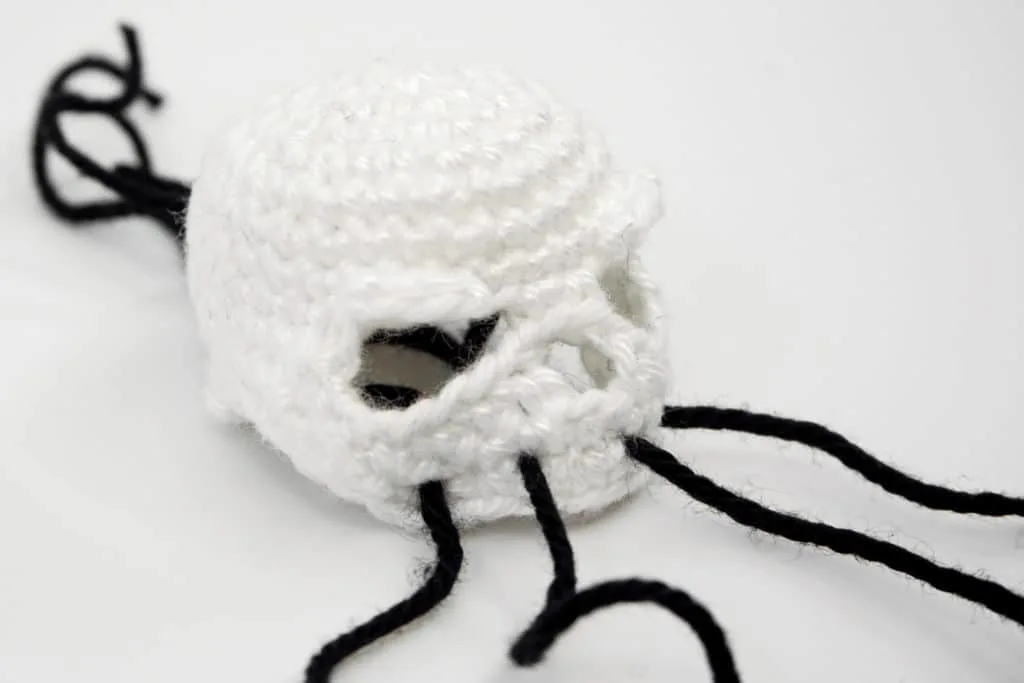
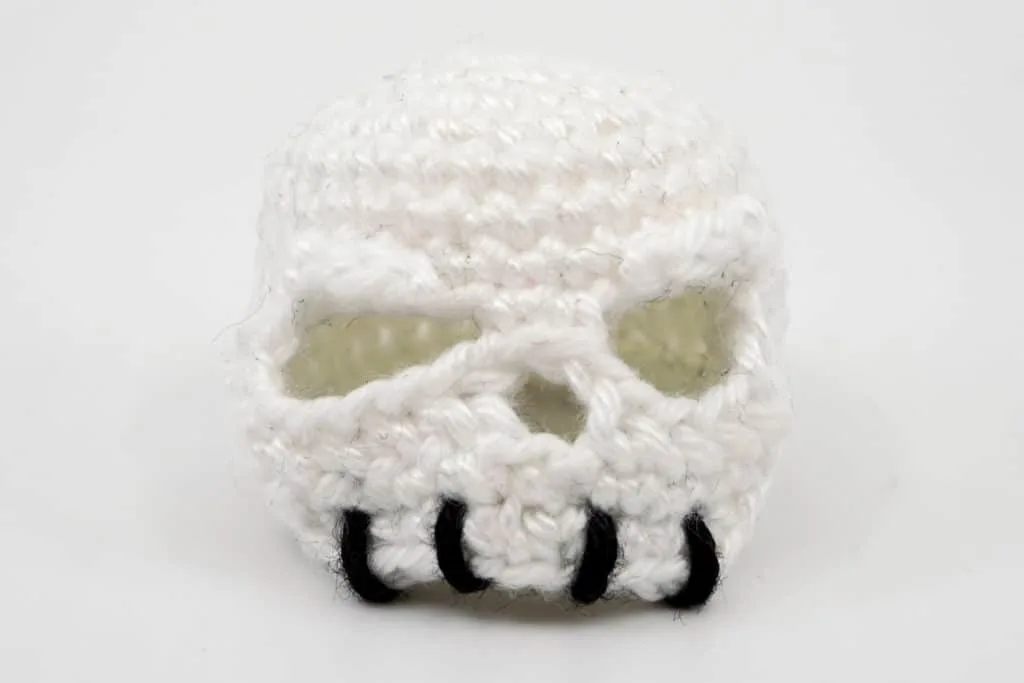
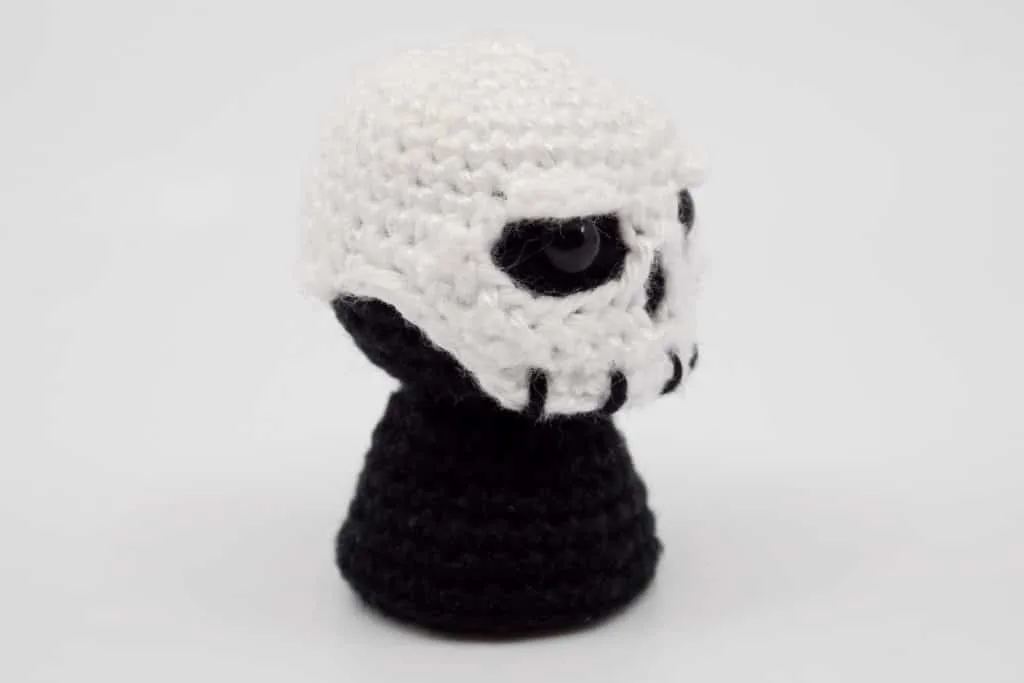
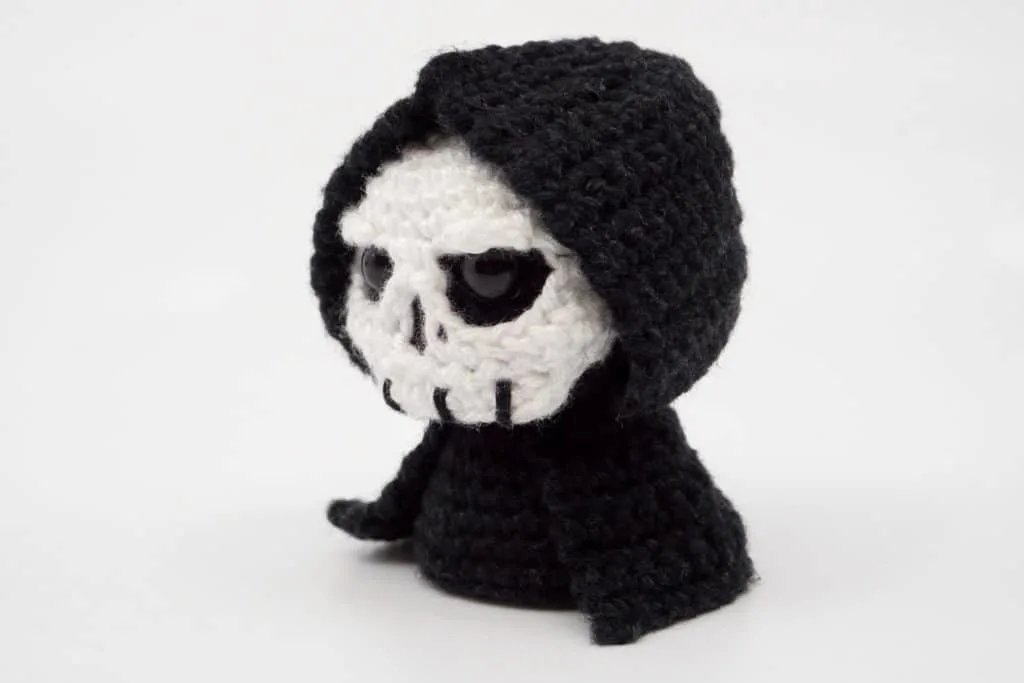
Eyes: Attach the safety eyes after the 7th stitch row counting from the top center of the head. The eyes are 4 stitches apart from each other. Back to the crochet pattern.

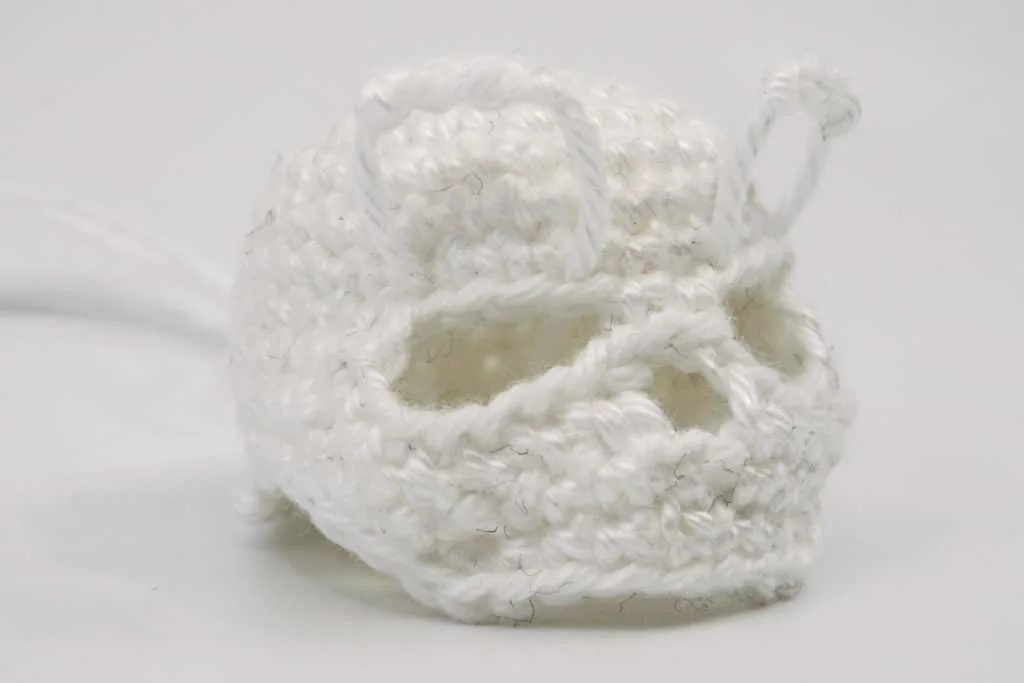
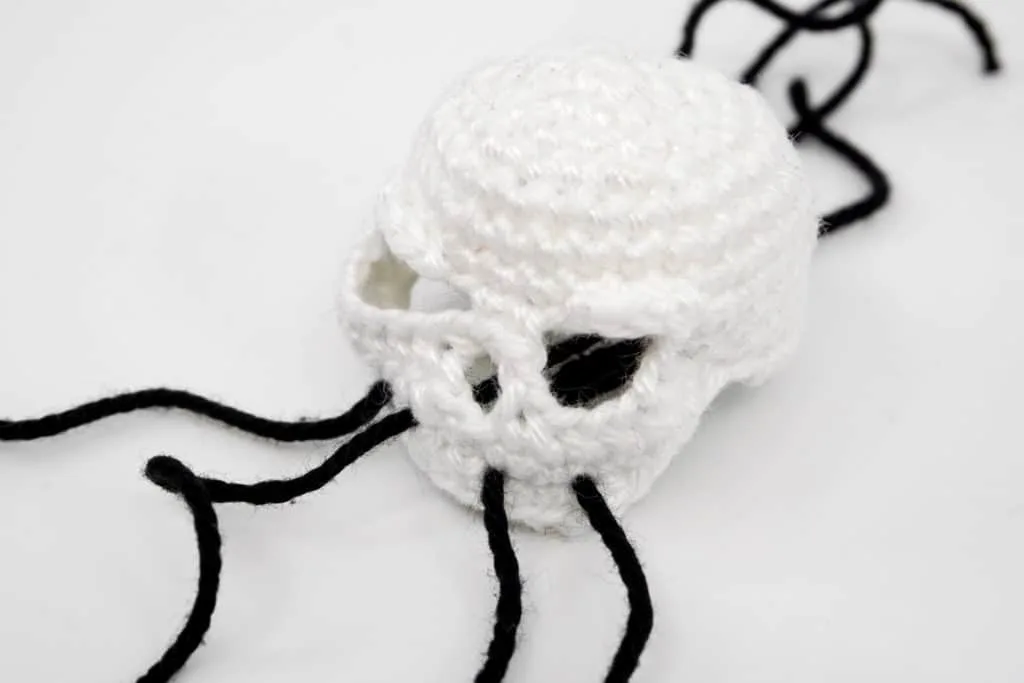
Brow Ridges: Pull a thread of each brow ridge through the stitch in the 1st upper row of each eye socket closest to the nose. From there, pull the second thread through a stitch 3 stitches left or right from the first pulled through thread. Knot the threads together on the inside, but not too tightly, otherwise the skull will be distorted. Cut the remaining threads just before the knot.

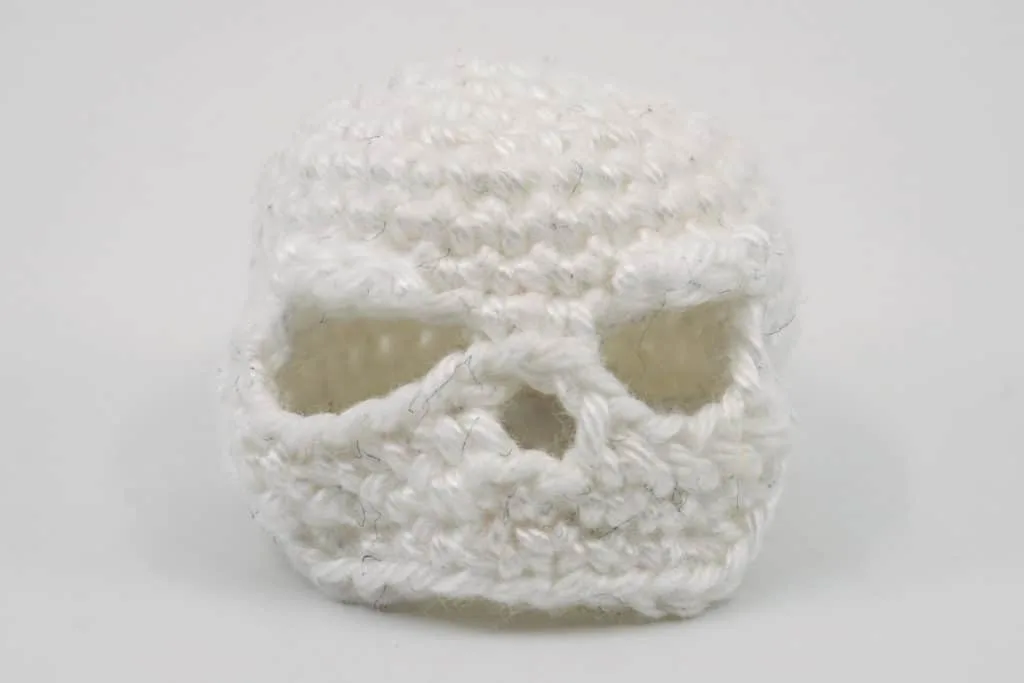
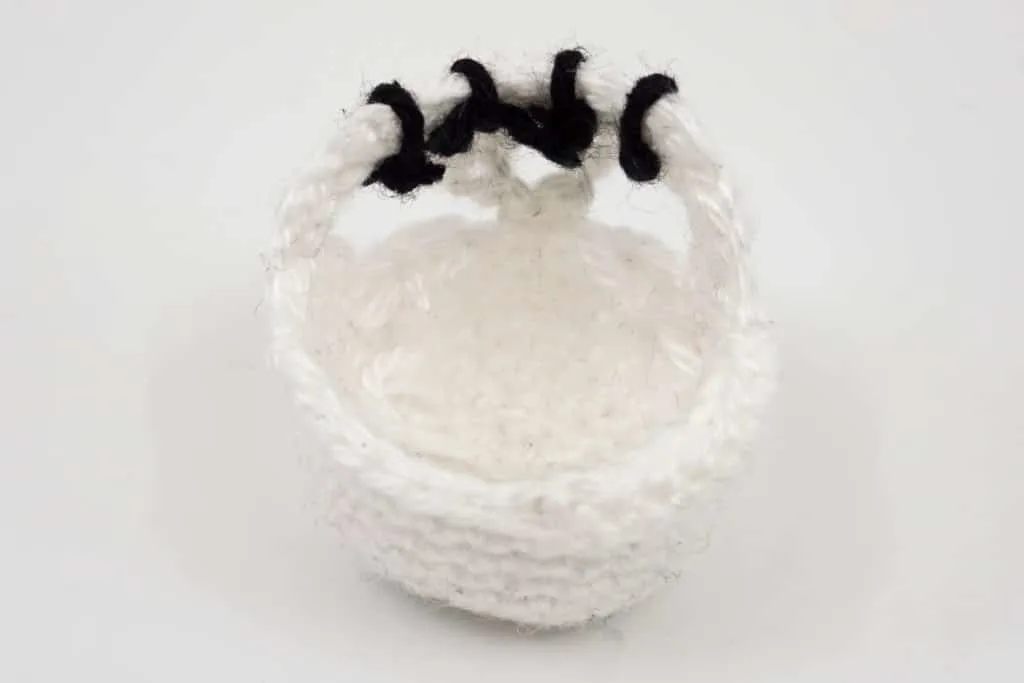
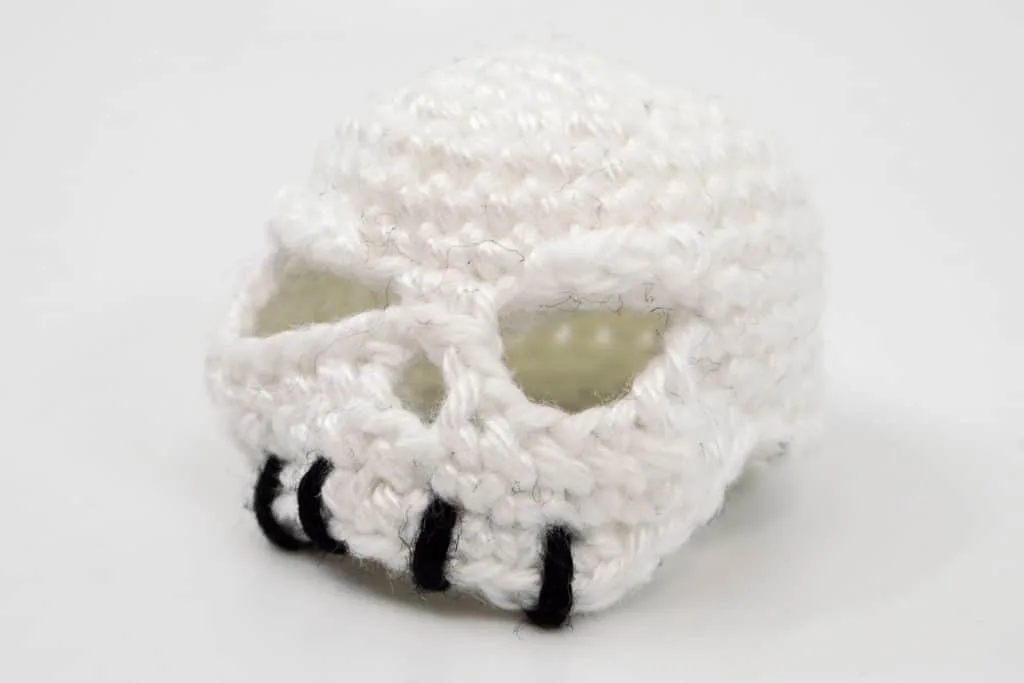
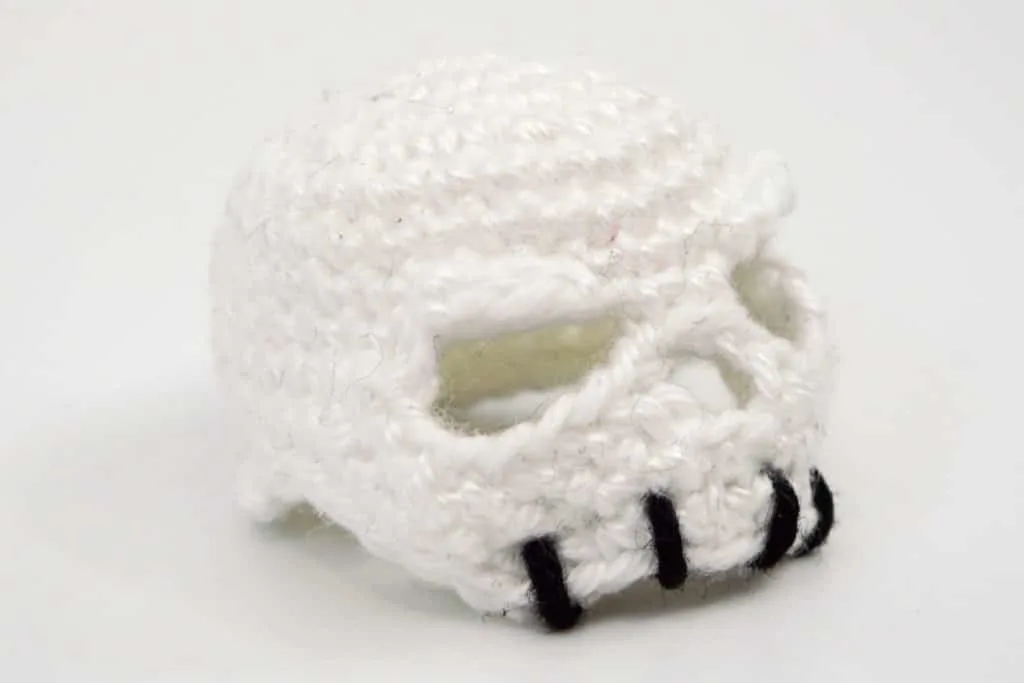
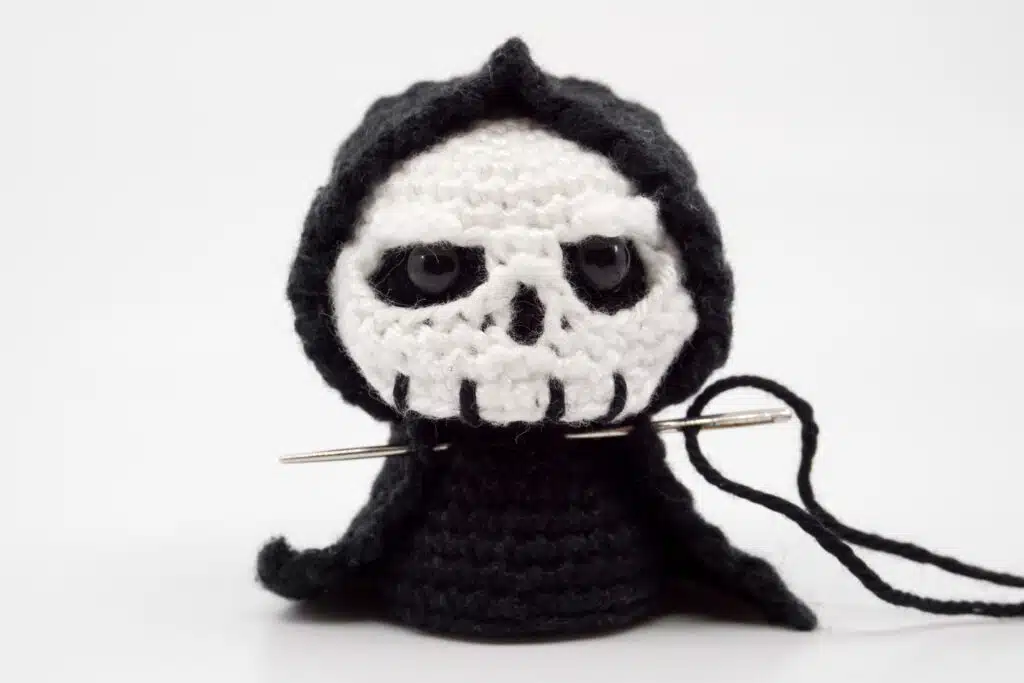
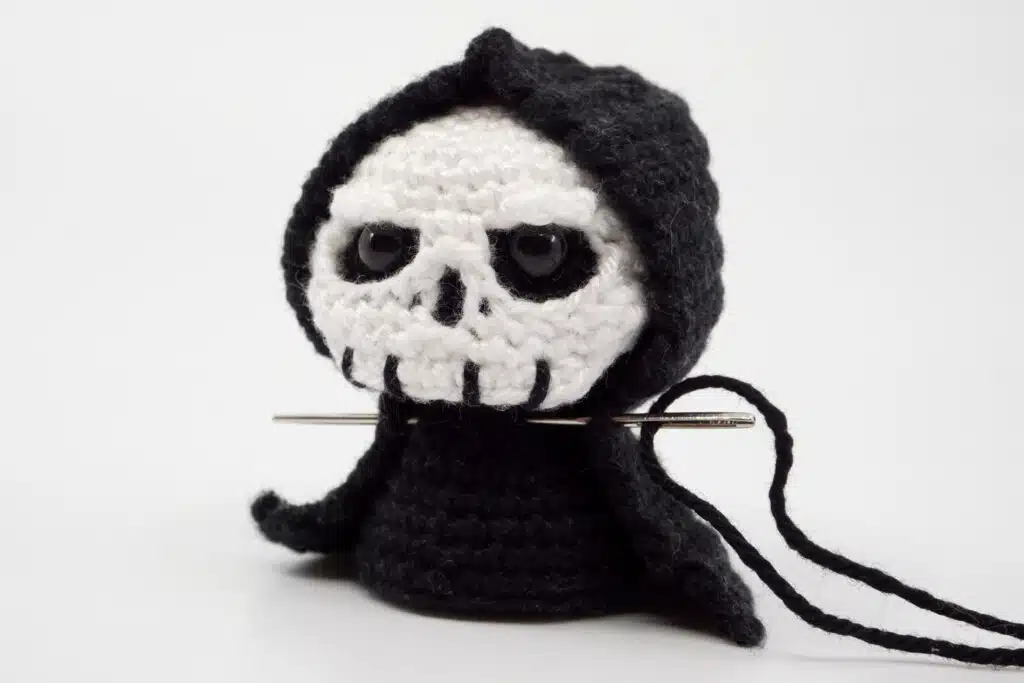
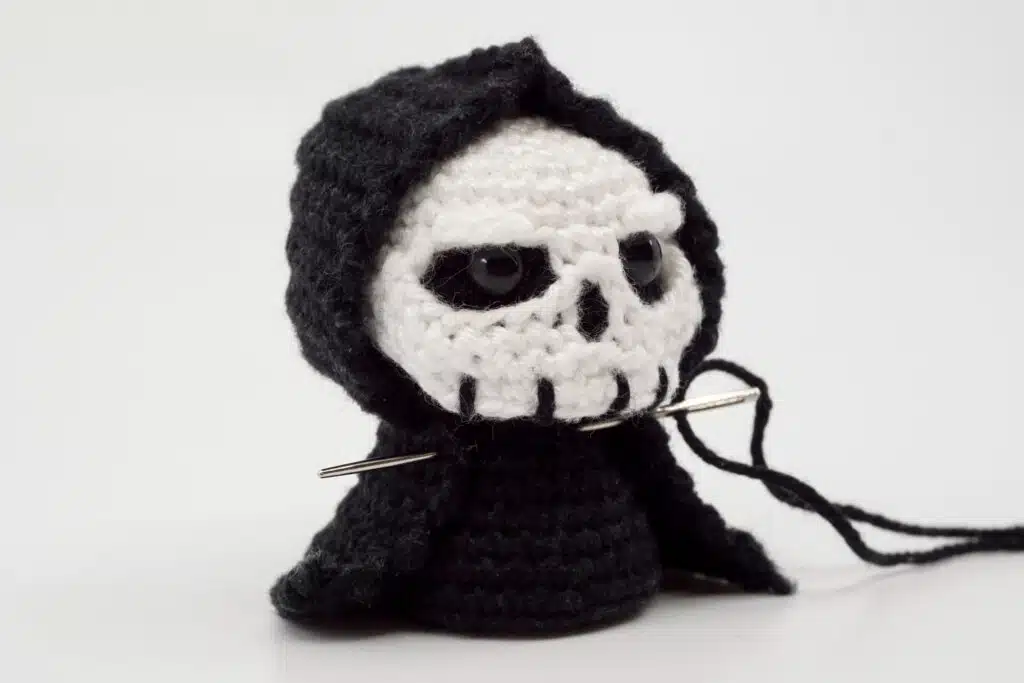
Teeth: Use a tapestry needle to pull a Black thread through 4 points on the underside of the skull, as shown in the pictures.
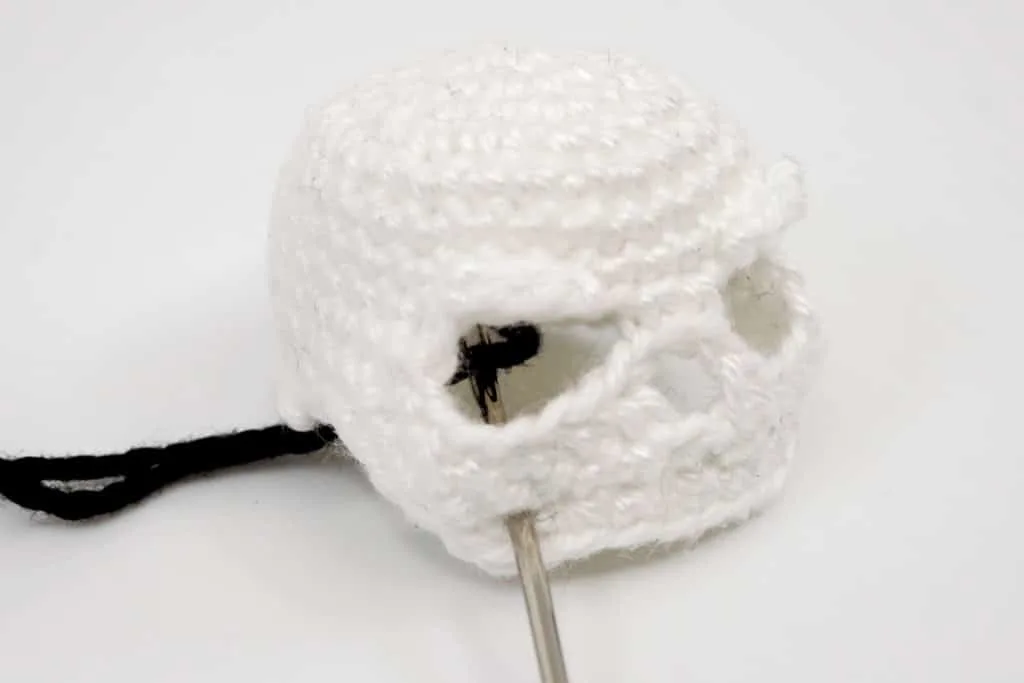
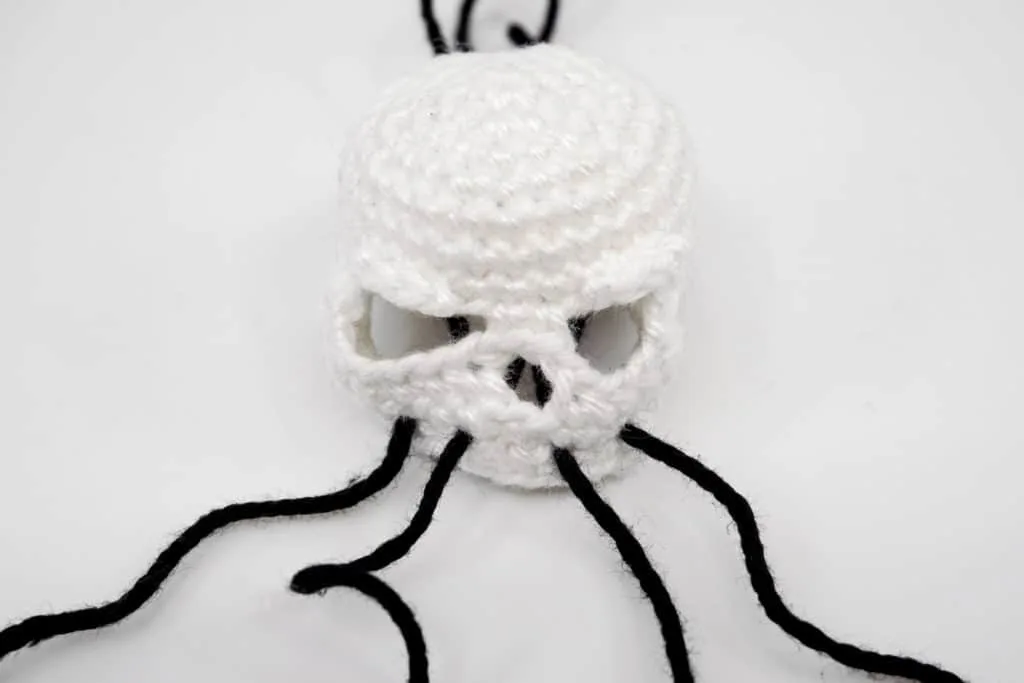
Then knot the two ends of the threads together and cut the ends directly at the knot.
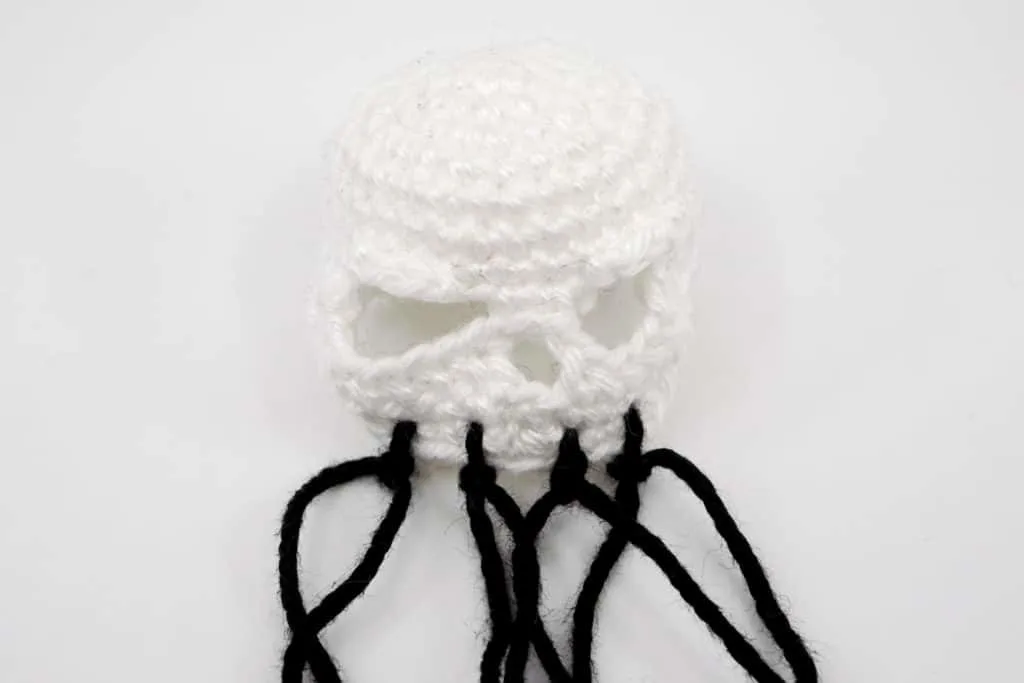
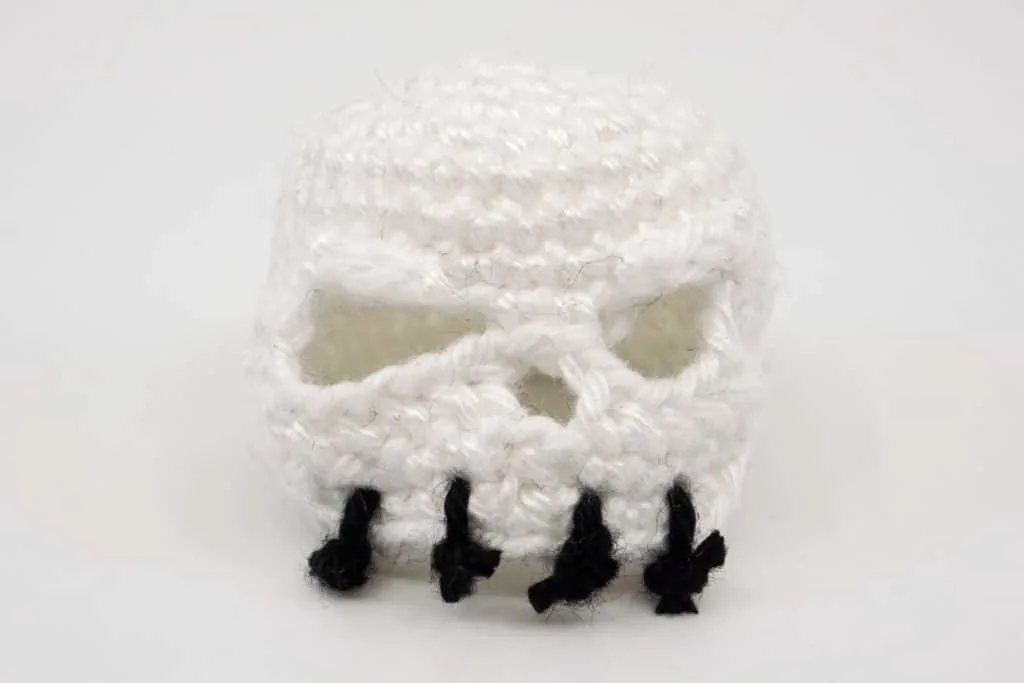
Move the knots to the inside of the skull so that they are no longer visible from the outside.
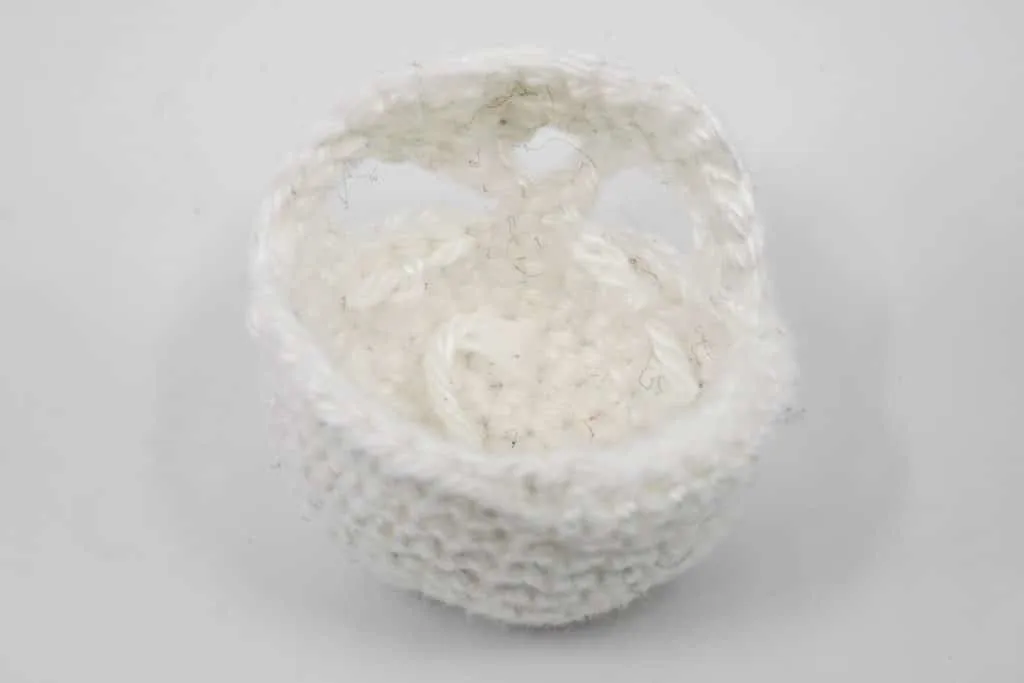
Finally, pull the skull onto the head of the Grim Reaper. If necessary, it can also be sewn on.

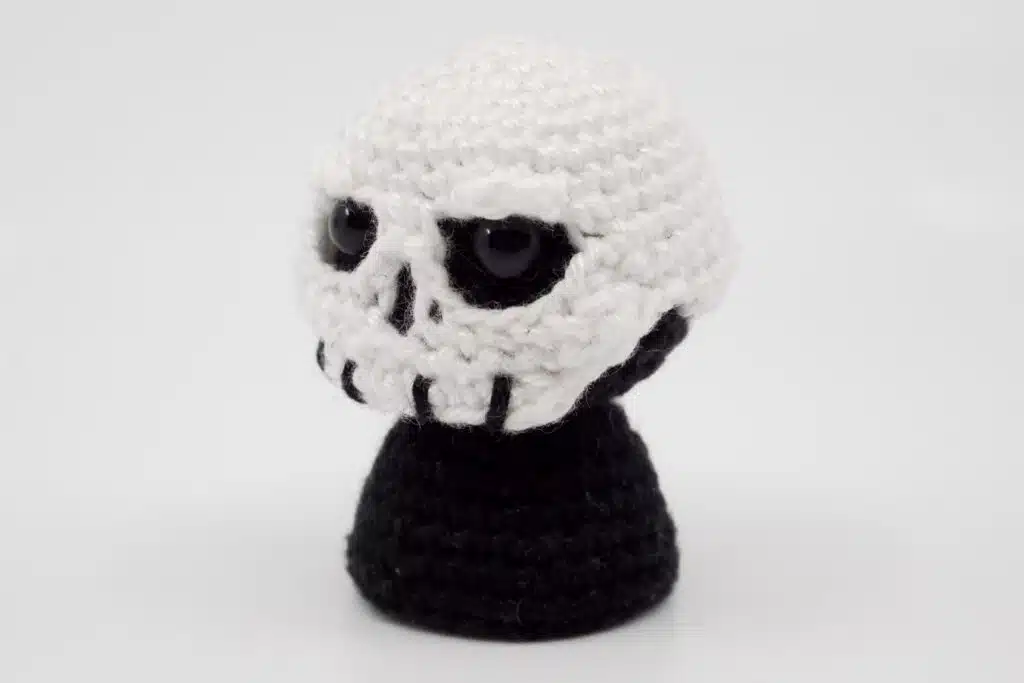
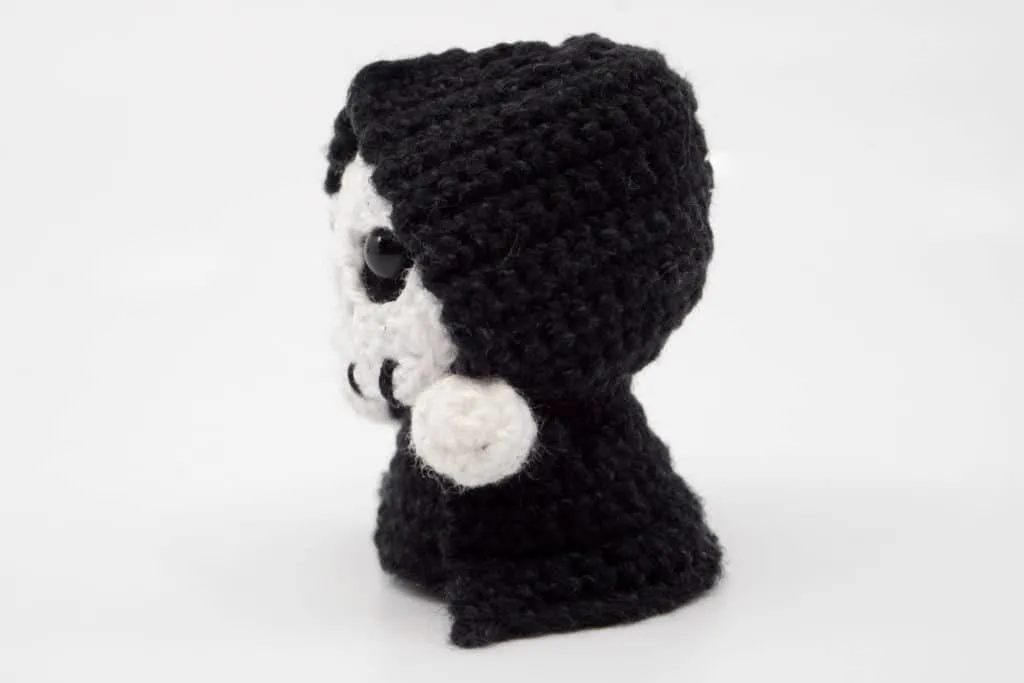
Cloak: Wrap the cloak around the body with the opening facing forward and the hood over the head with the skull and sew it to the body with a Black thread.


Arms: Next, sew the arms to the right and left onto the cape a bit under the hood of the cloak.
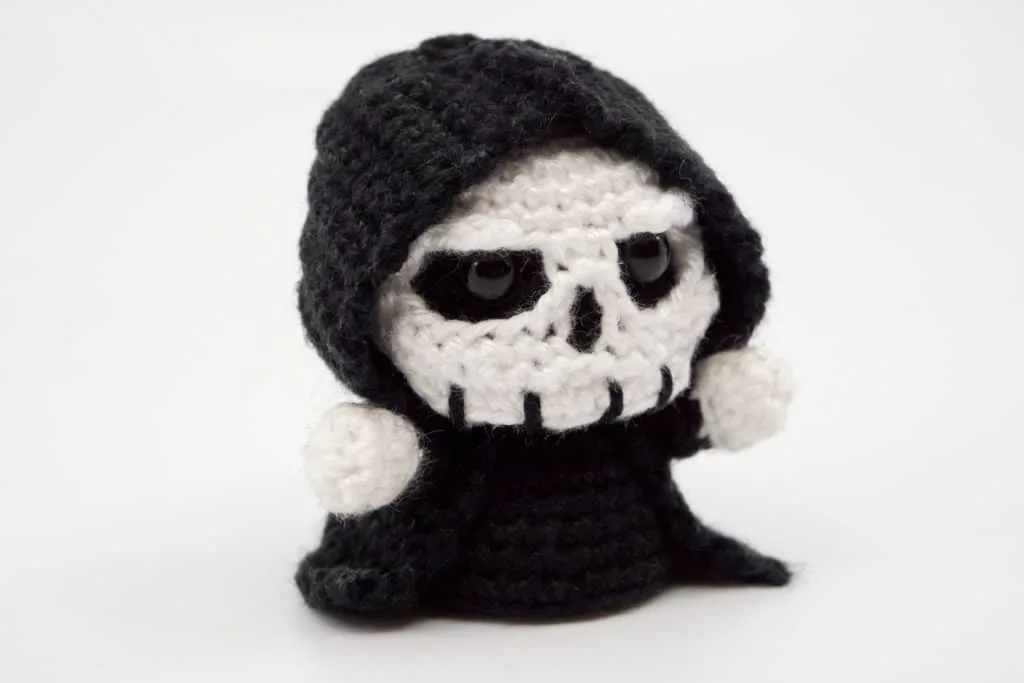


Scythe: Sew the blade of the scythe to the beginning of the staff that started with the Magic Ring.
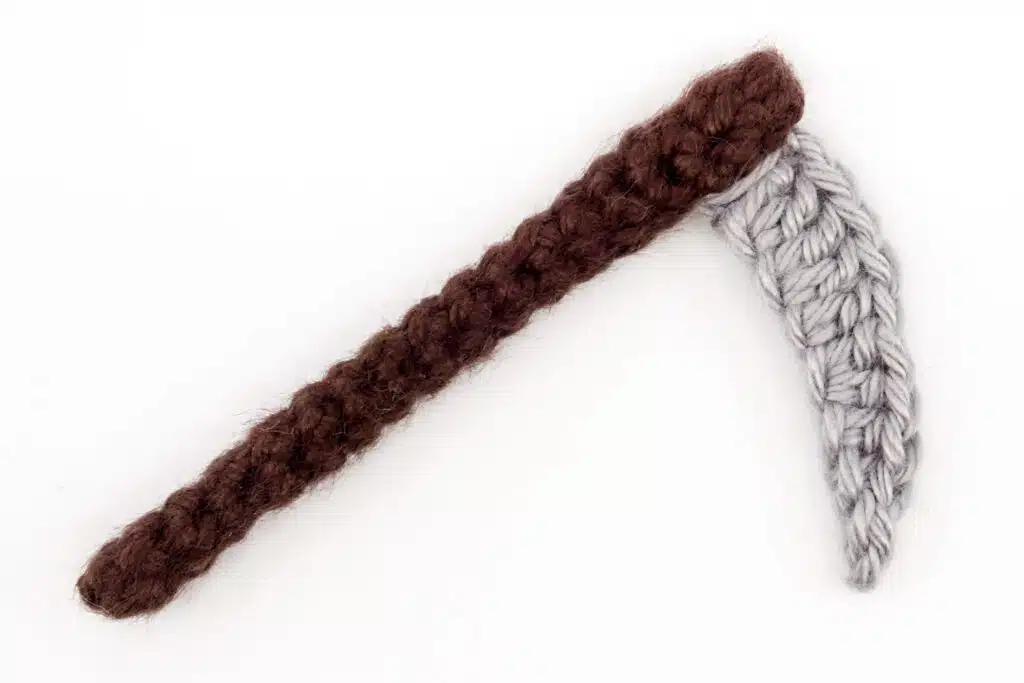
Then sew the finished scythe onto the left or right hand.
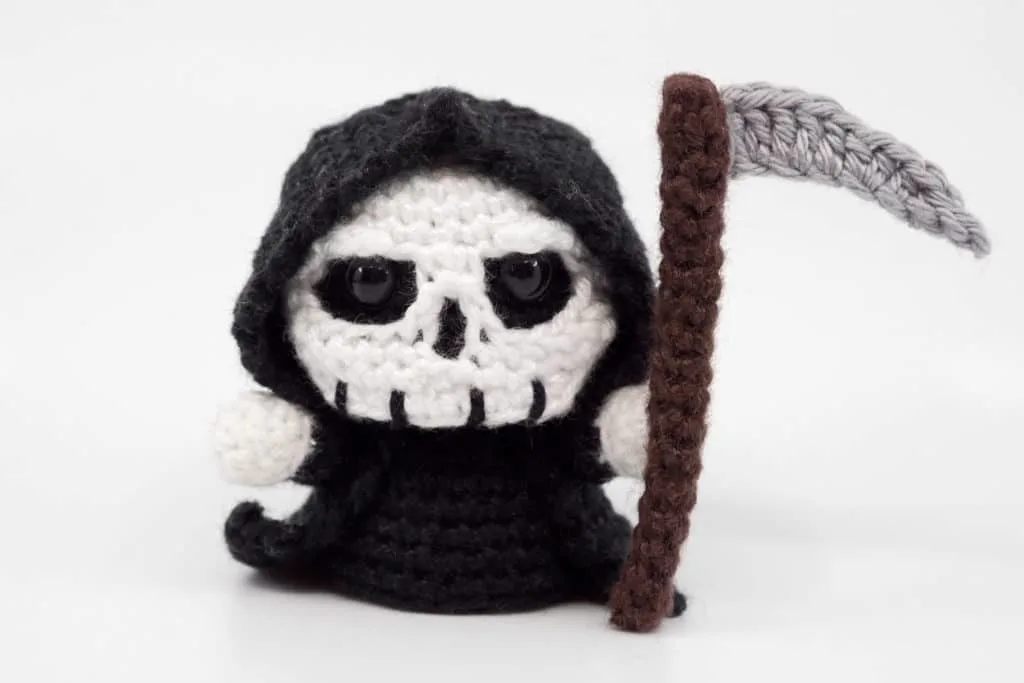

DONE!