
ull of flavor and woven sweetness, this beautiful chocolate chip cookie is the perfect amigurumi for dessert lovers. Accompany it with a little knitted milk or any other accessory to add flavor to your collection
Abbreviations
✅ Pc: Chain.
✅ Pb: Low point.
✅ Pr: Flat/sliding point.
✅ * *: Repeat.
Materials
✅ Goldmine – 1 skein.
✅ Raspberry – 1 skein.
✅ Black – 1 skein.
✅ Sequoia – 1 skein.
✅ 4 mm hook.
✅ Scissors.
✅ Darning needle.
✅ Tape measure.
✅ 2 12 mm safety eyes (for each cookie).
✅ Polyfill filling.
Measures
✅ Height: 4 inches.
✅ Width: 4 inches.
Instructions
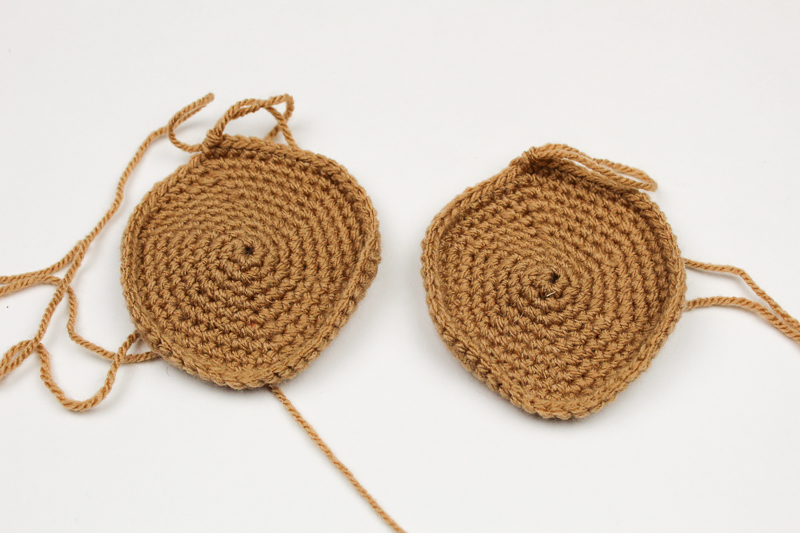
Body (beam 2)
Start with the color Goldmine.
Round 1: 6 sc in a Magic Ring (6).
Round 2: *Inc* around (12).
Round 3: *Sc, inc* around (18).
Round 4: *Pb2, inc* around (24).
Round 5: *Sc 3, inc* around (30).
Round 6: *Sc 4, inc* around (36).
Round 7: *Sc 5, inc* around (42).
Round 8: *Sc 6, inc* around (48).
Round 9: *Sc 7, inc* around (54).
Round 10: SC around (54). With one panel, you’re not done yet! You will use the working thread to join both panels.
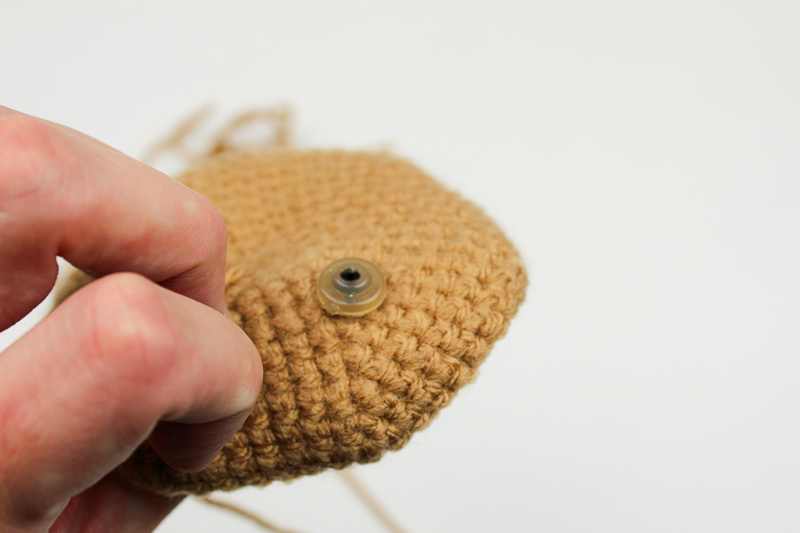
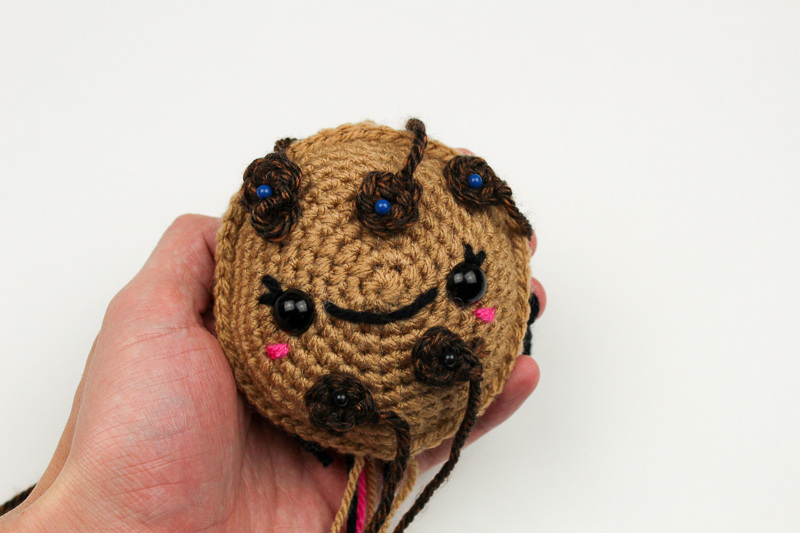
Chocolate chips (make 5 for each cookie)
Round 1: 6 sc in a magic ring (6). Pr on the first point. Finish off.
Assembly
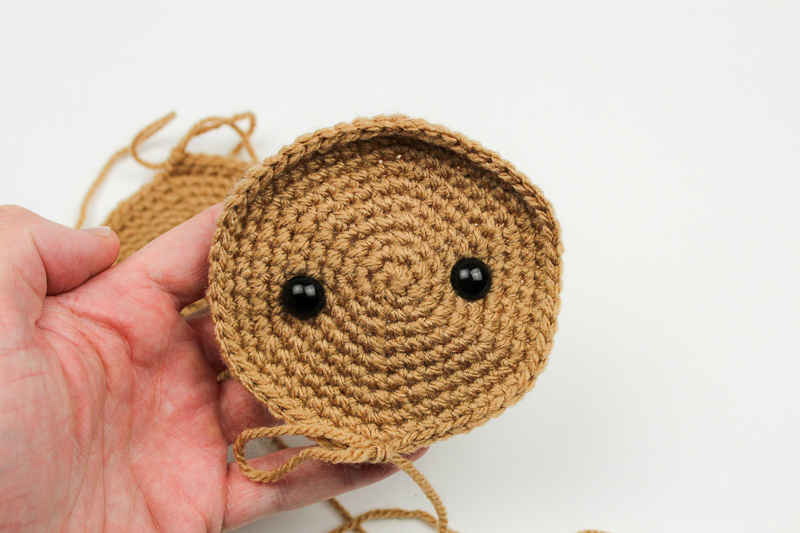
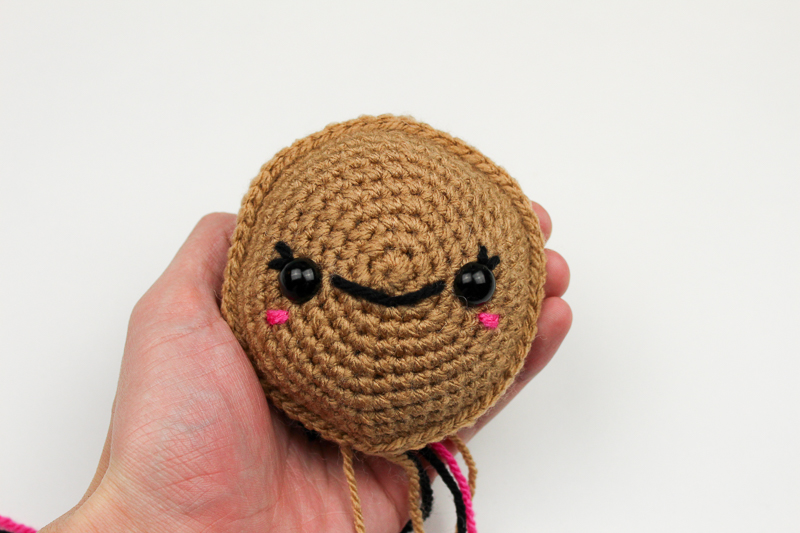
Before joining, insert the safety eyes. A good way to find where to put them is to start from the center hole. The eyes will be placed 4 points from the center hole on both sides. So both eyes will be 8 points apart, not including the center hole (If you count it as one point, they would be 9 points apart). But you can also decide where to place them.
Placing both panels back to back, line them up and put the hook through the next stitch as you normally would – also insert the hook through the other panel (as seen below), sc in both.
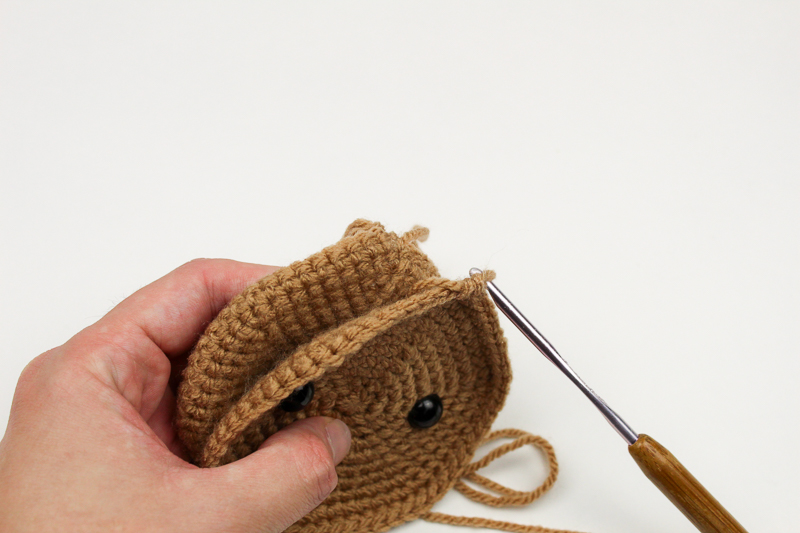
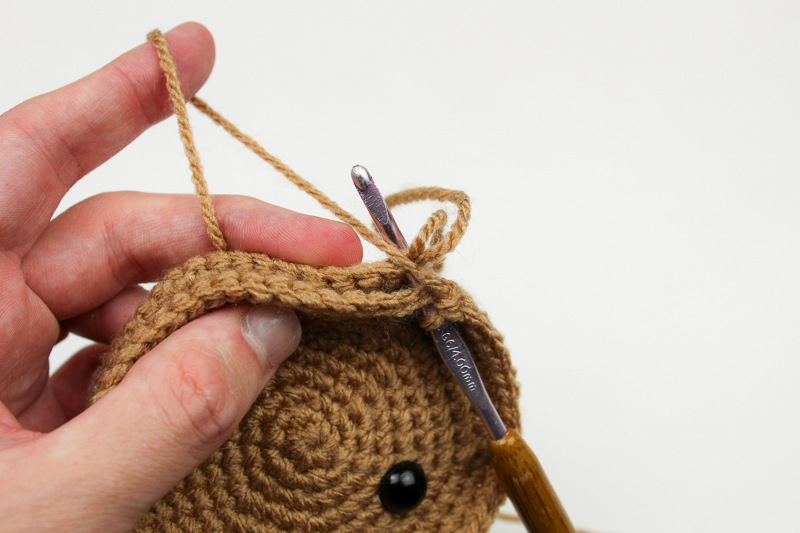
Loop and pull. You will have two loops left to make a sc.
Continue working sc in each corresponding stitch.
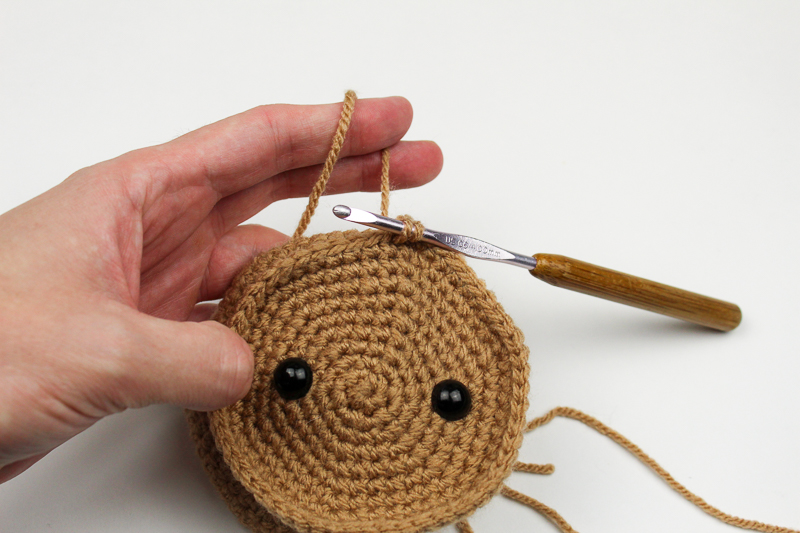
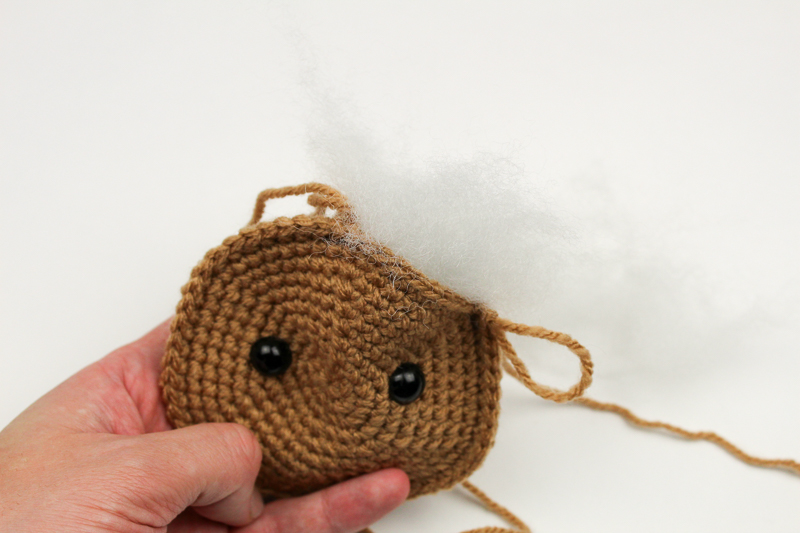
Before you get to the end, make sure you start filling. You can fill it firmly (chubbier cookies) or without firmness (less chubby).
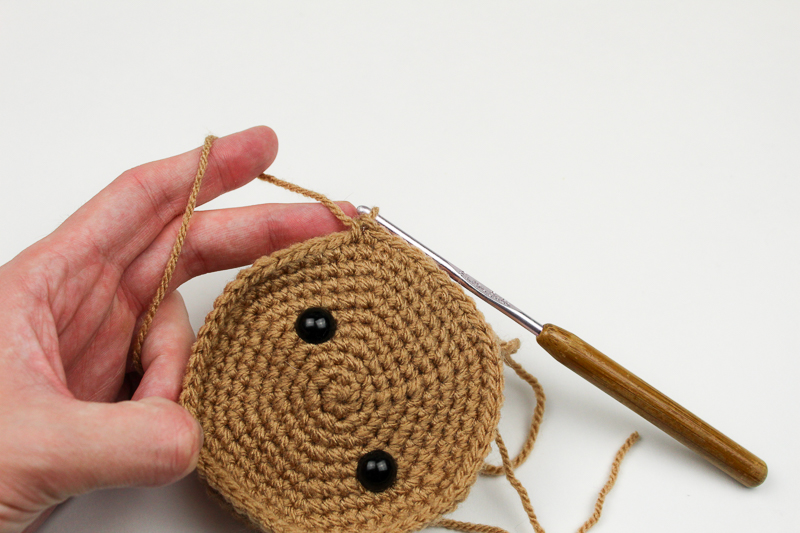
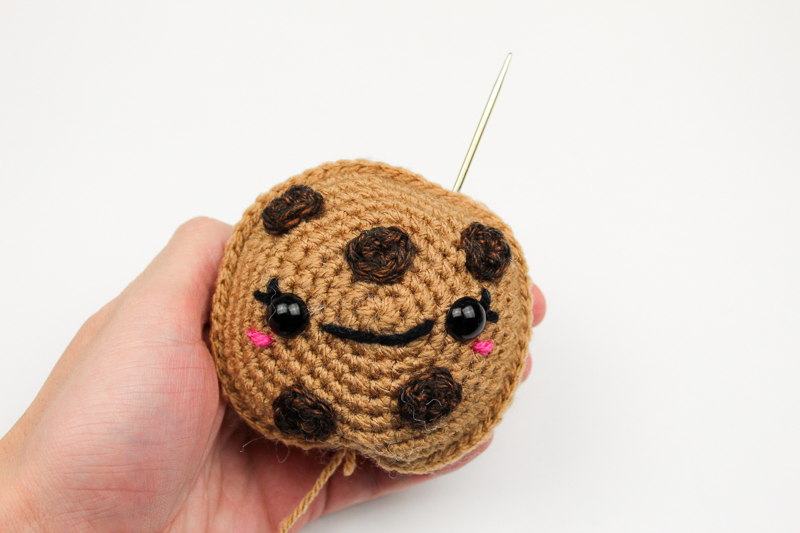
To place our chocolate chips, having the face on will make it easier to place them. With your thread and darning needle, embroider the smile, eyelashes and blush.
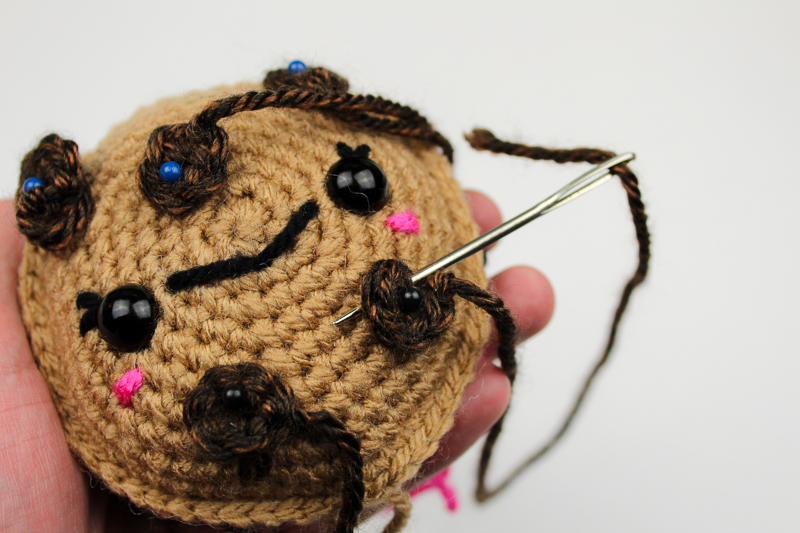
Now you can sew the chocolate chips to the cookie. The use of pins can be very useful for this part, you can choose where you will place them. You will have to go over and under to sew them.
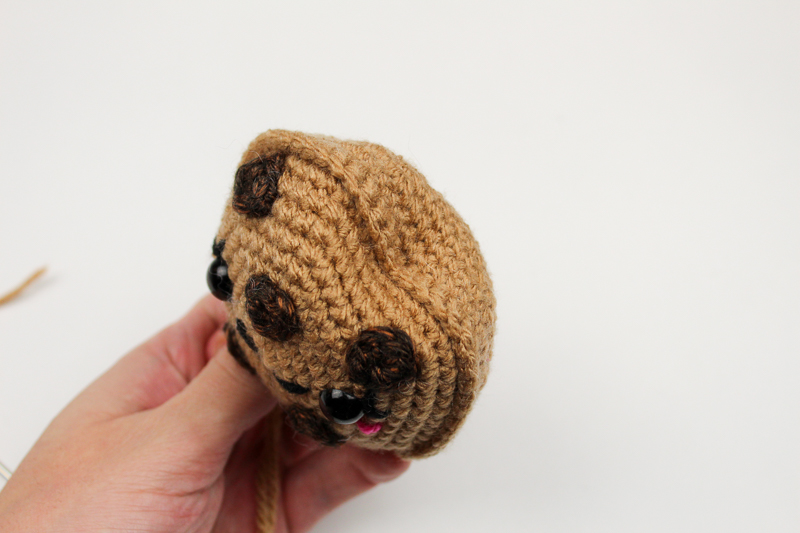
bite mark
If you want to add a “bite” to your cookie, pull the string/tail from the bottom (at an angle) to the top.
Returning directly to the piece (1 or 2 points away from the last one), pull across the body once more to where you started.
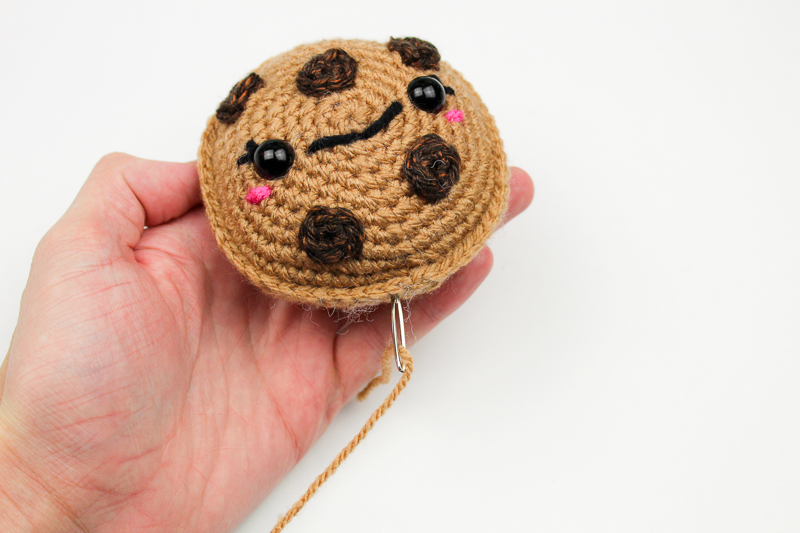
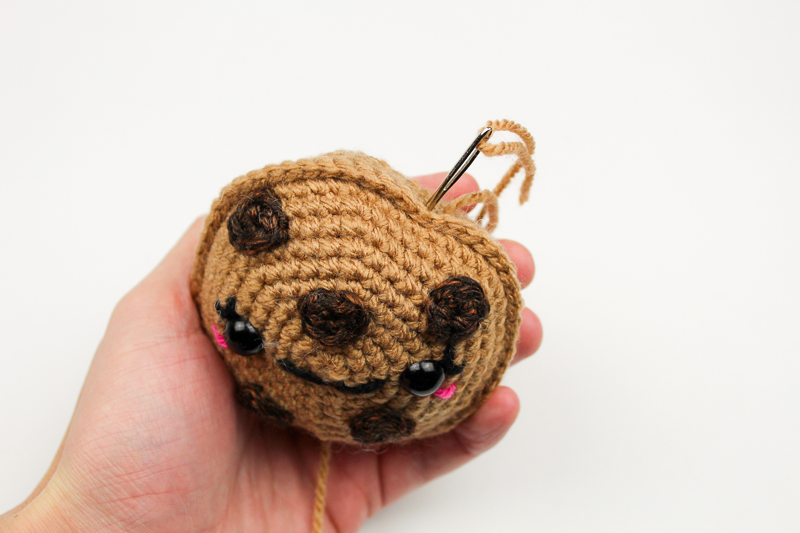
Pull hard so it pulls in
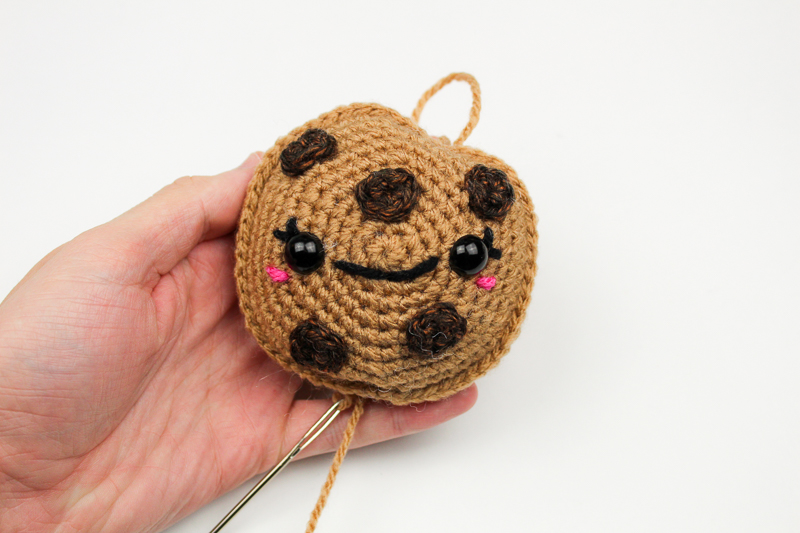
Tie the ends at the other end and weave the tails. You should now have the bite mark ready.