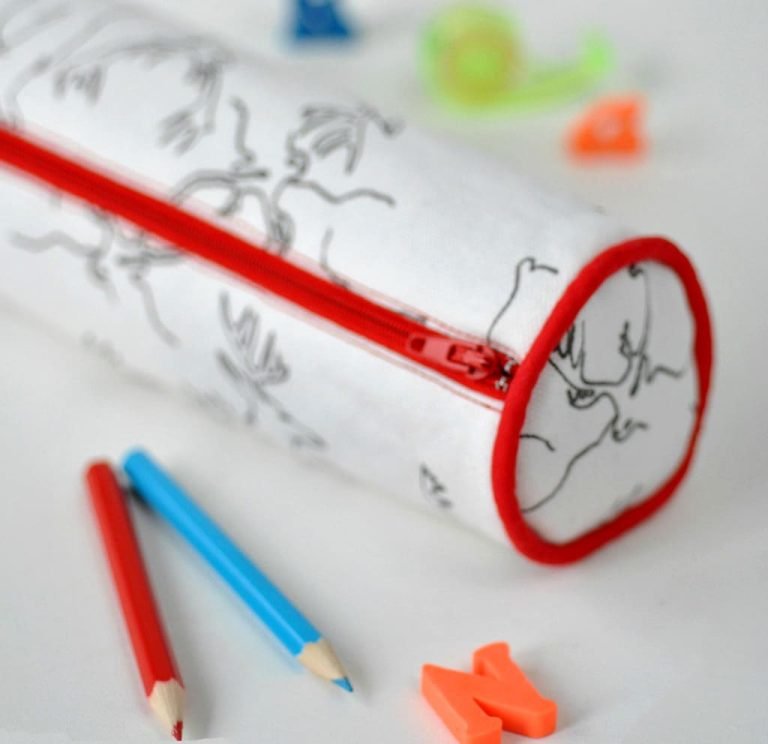
Today I wanted to share with you the Piped Tube Pencil Case Sewing Tutorial… A great gift you could make for Christmas as a pencil case or make up bag!
You will need…
white & grey deer fabric
41 cm piping cord
red & white spot fabric
20 cm closed end nylon zip (red)
all purpose sewing thread
43 cm Bias binding (red)
vlieseline fusible batting h630
How-to step by step…
Step 1
Start by cutting out the following pieces as illustrated above.
Step 2
Cut out the lining panels and piping cord as above.
Step 3
Cut out the following high loft fusible fleece pieces as above and using an iron fuse them to the centre of the wrong side of the outer panels.
Step 4
Place your outer left fabric panel face up on a flat surface. Place your zipper face down along the top edge. Pin in place. Using a zipper foot, sew as close to the zipper as you can along the edge. Turn the zip to the outside and top stitch a decorative line down the side of the zipper teeth.
Step 5
Place your outer right fabric panel face up on a flat surface. Place your zipper face down along the top edge. Pin in place.
Step 6
Using a zipper foot, sew as close to the zipper as you can along the edge. Turn the zip to the outside and top stitch a decorative line down the side of the zipper teeth.
Step 7
Place the right sides of the outer fabric panels together, lining up the raw edges, pin to secure. Using a 1cm seam allowance stitch the panels together.
Step 8
Press the seam allowances open.
Step 9
Wrap the tape, right side out, around the cord. With the raw edges even, pin and then machine baste close to the cord, with the zipper foot or piping foot on your machine.
Step 10
Clip the raw edges of the piping. Repeat with remaining piping and tape.
Step 11
Starting at the base of the end panel, pin the piping around the edge of the end panel on the right side, with the piping facing inward, and the basting just inside the seam line. Using the zipper foot or piping foot, machine baste along the previous basting line. Leave 5cm (2in) unstitched at each end, remove the basting at one end, and pull back the bias tape. Trim the cord so that the ends butt up, then turn under one end of the bias tape and lap it over the other end as you wrap the bias tape around the cord, machine baste.
Step 12
Apply piping to remaining end panel as before.
Step 13
Clip the ends of the zipped section and pin or clip the piped end panel to the zipped section, with right sides together and raw edges even. With the zipper foot or piping foot on the machine, stitch along the seam line, hugging the cord. Undo the zip so you can turn right side out later.
Step 14
Repeat with the remaining end.
Step 15
Trim off the seam allowance.
Step 16
Leave to one side whilst you work on the lining.
Step 17
Press the seam allowance (1cm) back on the long edges of the lining rectangle. Clip the raw edges of the lining rectangle and with right sides together pin one of the lining circles to one of the ends of the lining rectangle leaving a 1cm gap. Using a 1cm seam allowance stitch the circle in place.
Step 18
Repeat with the remaining circle.
Step 19
Turn the lining right side out and place the outer pencil case wrong sides together inside the lining. Align the openings together and clip or pin in place.
Step 20
Slip stitch the lining to the outer pencil case along the zip.
Step 21
Turn the pencil case right side out so that the outer fabric is on the outside. Voila!


