
ATTENTION: The pattern, in whole or in parts, may not be published, resold, translated, changed or exchanged in any way whatsoever!
Needed Techniques
- Slip Knot
- Magic Ring
- Slip Stitch
- Single Crochet (sc)
- Half Double Crochet
- Increase
- Decrease
Needed Materials and Tools
To order the materials click on the respective link (affiliate link).
- Colors: magenta, lilac
- This pattern was crocheted using the “Schachenmayr Catania” yarn (100% Cotton, Meterage: 125 m, Yarn Ball Weight: 50 g, Yarn Weight: Sport – 5ply / Fine (2)) in the following colors:
- Fuchsia (Fuchsia (128)), Mallow (Malve (399))
- 3.0 mm Crochet Hook
- Scissors
- Tapestry Needle
- Stitch Marker
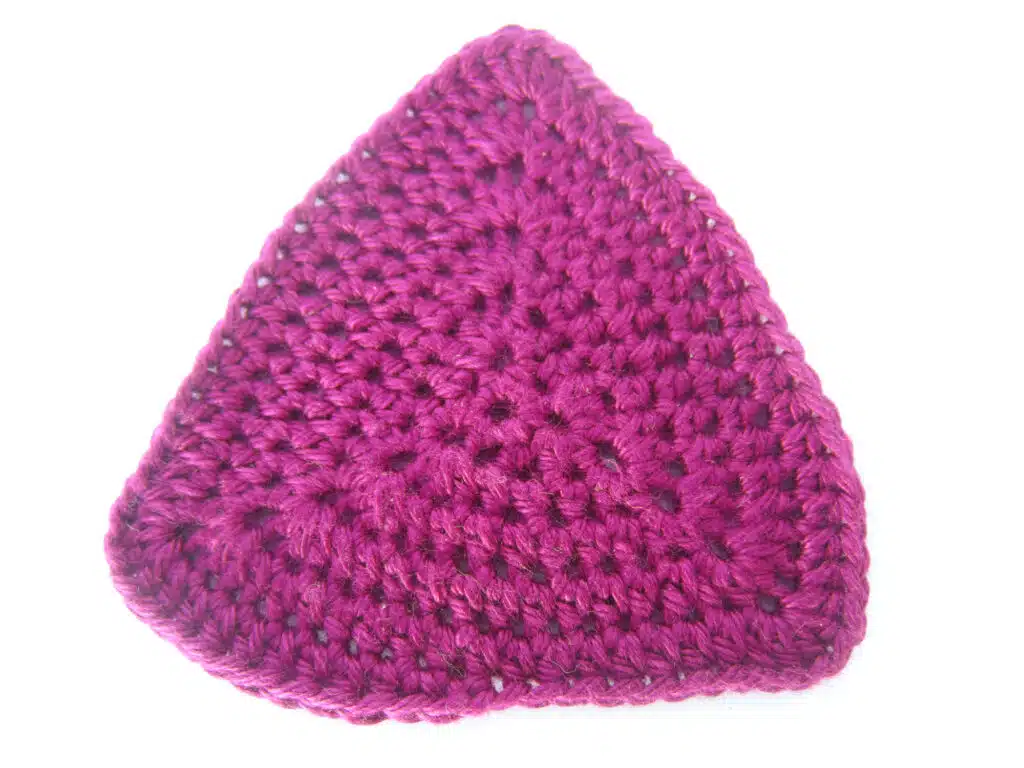
Crochet the Triangular Coaster
The triangle coaster is crocheted in Fuchsia in spiral round with single crochet stitches, half double crochet stitches and one slip stitch at the end.
If you want to crochet a larger coaster, crochet until you have reached your desired size and then crochet the slip stitch.
Use the check boxes to mark your finished rounds, rows and steps.
- Crochet the Triangular Coaster in Fuchsia in spiral rounds.
- Round 1: 1 sc and 5 half double crochet into the magic ring (6 stitches).
- Round 2: From now on crochet only half double crochet stitches. [1 half double crochet, 5 half double crochet into next stitch] repeat till end of round (18 stitches).
- Round 3: 3 half double crochet, 5 half double crochet into next stitch, [5 half double crochet, 5 half double crochet into next stitch] repeat 2 times, 2 half double crochet (30 stitches).
- Round 4: 5 half double crochet, 5 half double crochet into next stitch, [9 half double crochet, 5 half double crochet into next stitch] repeat 2 times, 4 half double crochet (42 stitches).
- Round 5: 7 half double crochet, 5 half double crochet into next stitch, [13 half double crochet, 5 half double crochet into next stitch] repeat 2 times, 6 half double crochet (54 stitches).
- Round 6: 9 half double crochet, 5 half double crochet into next stitch, [17 half double crochet, 5 half double crochet into next stitch] repeat 2 times, 8 half double crochet (66 stitches).
- Round 7: If you want to crochet a larger coaster, skip this round and continue further down with round 8. Crochet only 1 sc and 1 slip stitch.
- Finish: Cut the yarn and weave in the leftover yarn.
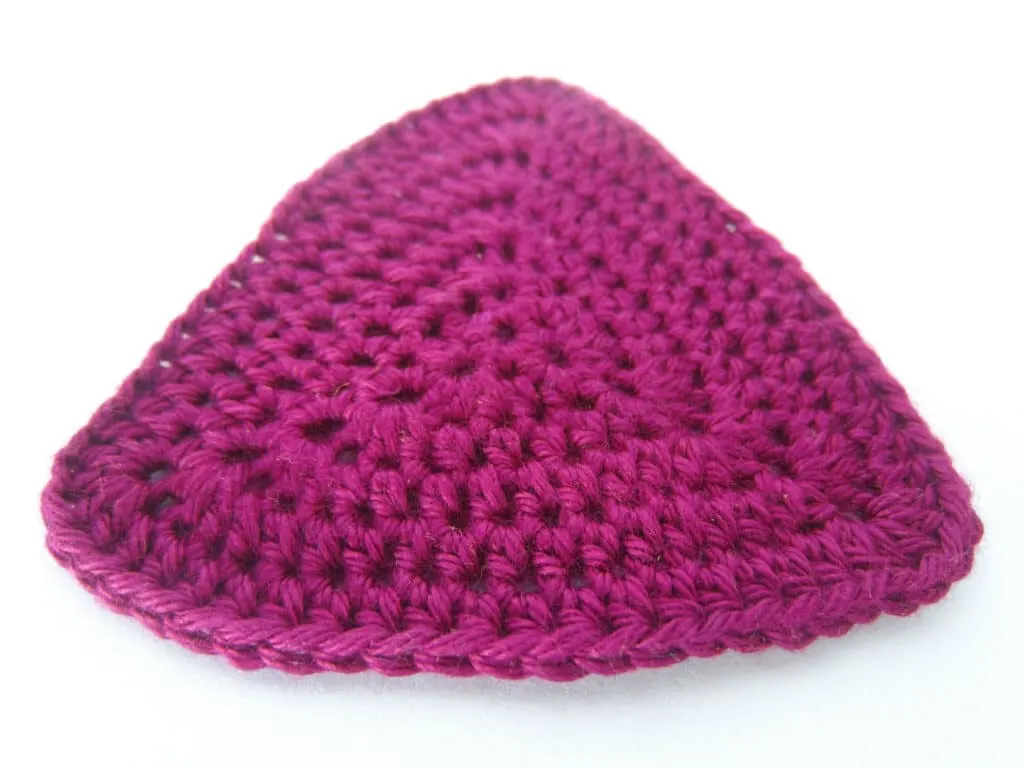
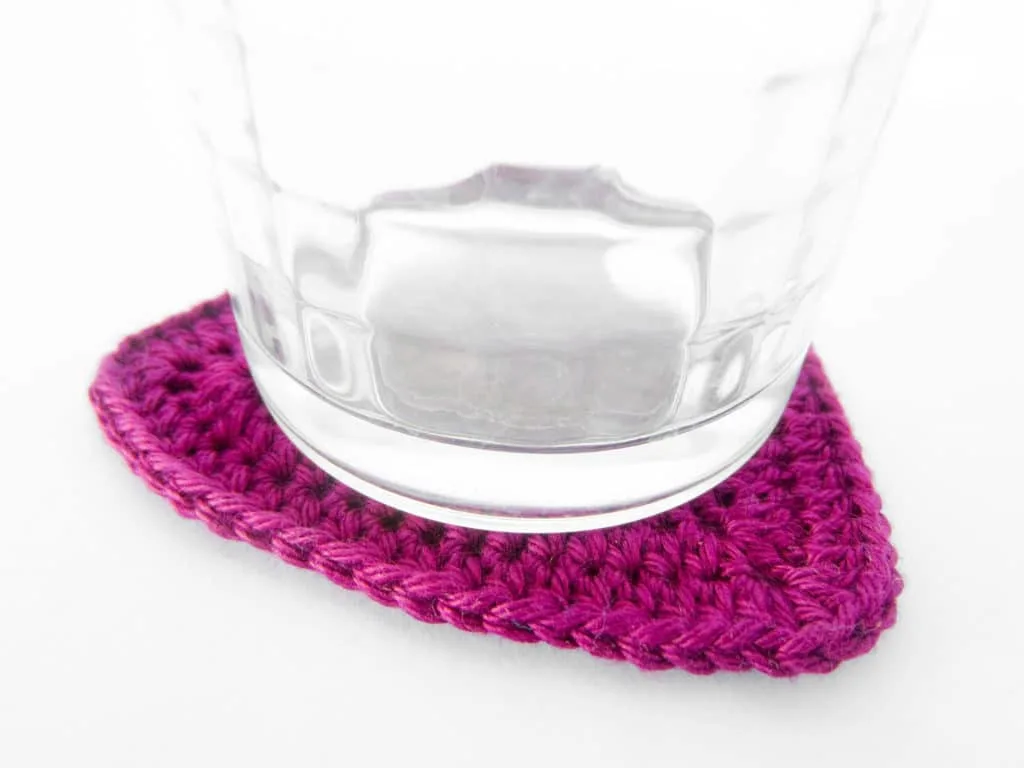
Done is the actual triangular coaster which does its job perfectly even without a spiral pattern.
If you want to crochet larger coasters or potholder, simply continue crocheting the following rounds until you have reached your desired size.
- Round 8: 11 half double crochet, 5 half double crochet into next stitch, [21 half double crochet, 5 half double crochet into next stitch] repeat 2 times, 10 half double crochet (78 stitches).
- Round 9: 13 half double crochet, 5 half double crochet into the next stitch, [25 half double crochet, 5 half double crochet into next stitch] repeat 2 times, 12 half double crochet (90 stitches).
- Round 10: 15 half double crochet, 5 half double crochet into next stitch, [29 half double crochet, 5 half double crochet into next stitch] repeat 2 times, 14 half double crochet (102 stitches).
- Round 11: 17 half double crochet, 5 half double crochet into next stitch, [33 half double crochet, 5 half double crochet into next stitch] repeat 2 times, 16 half double crochet (114 stitches).
- Round 12: 19 half double crochet, 5 half double crochet into next stitch, [47 half double crochet, 5 half double crochet into next stitch] repeat 2 times, 18 half double crochet (126 stitches).
- Round 13: 21 half double crochet, 5 half double crochet into next stitch, [51 half double crochet, 5 half double crochet into next stitch] repeat 2 times, 20 half double crochet (138 stitches).
- Round 14: Crochet only 1 sc and 1 slip stitch.
- Finish: Cut the yarn and weave in the leftover yarn.
Crochet Surface Slip Stitches
Crocheting surface slip stitches is a relatively easy technique, with which you can upgrade almost all crochet pieces.
Before the actual technique is explained and you start crocheting, always remember the following two rules, so that the coaster does not deform during crocheting:
- Always use the same crochet hook size for the surface slip stitches as was used for the actual crochet piece or a bigger one.
- Do not crochet the surface slip stitches too tight, but “loosely” onto the crochet piece, because otherwise your work will warp.
Keep these two rules in mind from the beginning and you will have no problems with the final result of your work. Now let us beginn with the actual technique.
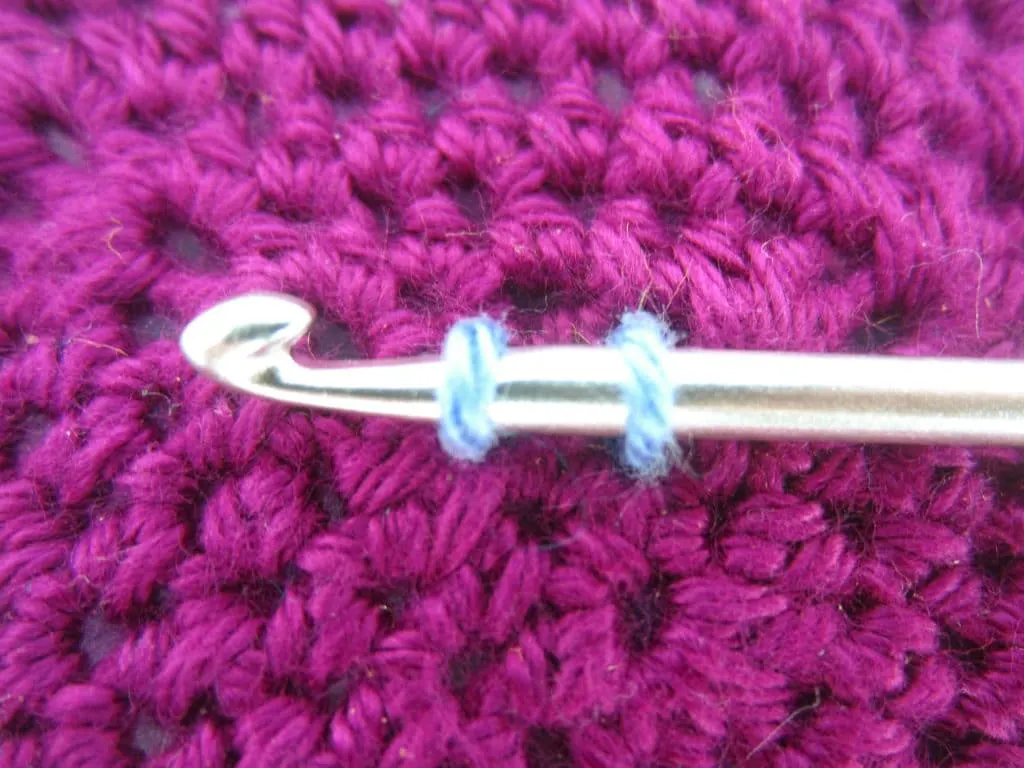
- Step 1: Take the Mallow yarn and pull it through the middle of the crochet piece. Fasten the yarn with a slip knot onto the crochet hook. Pull the yarn until the slip knot disappears through the hole. You have 1 loop on the crochet hook.
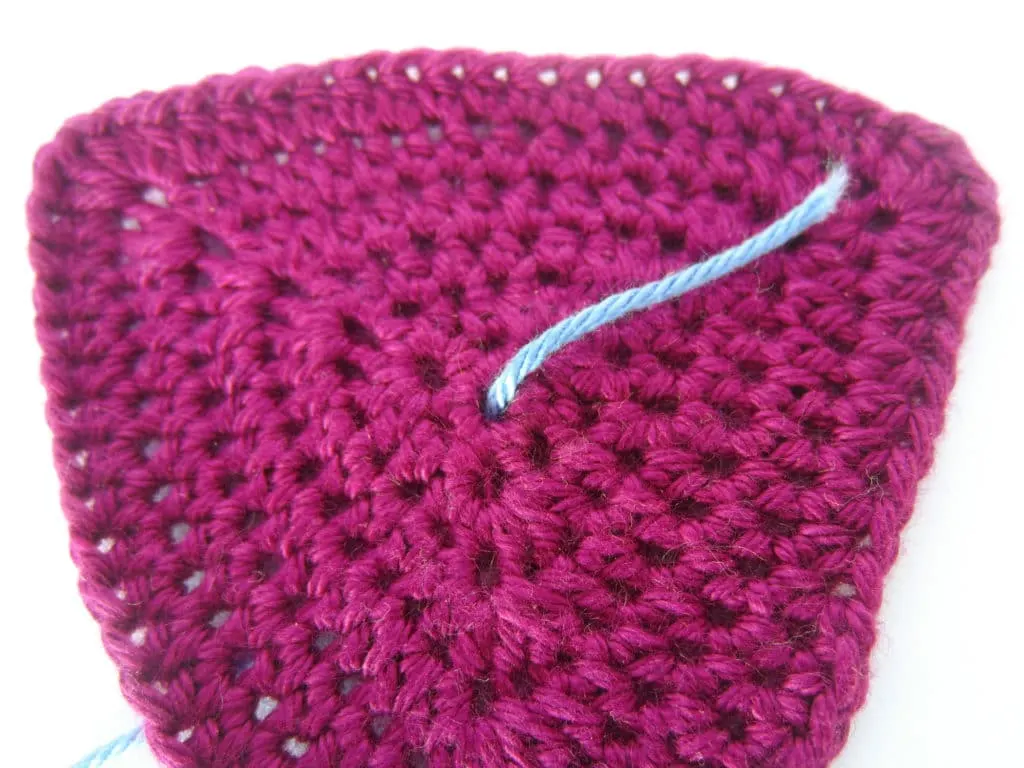
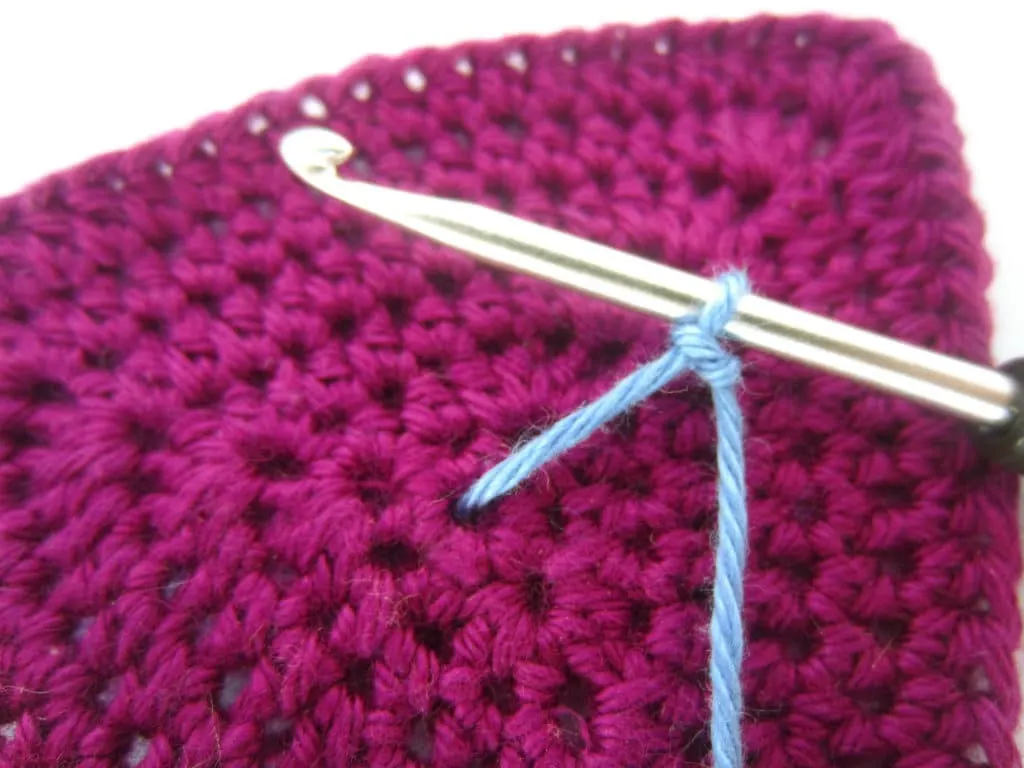
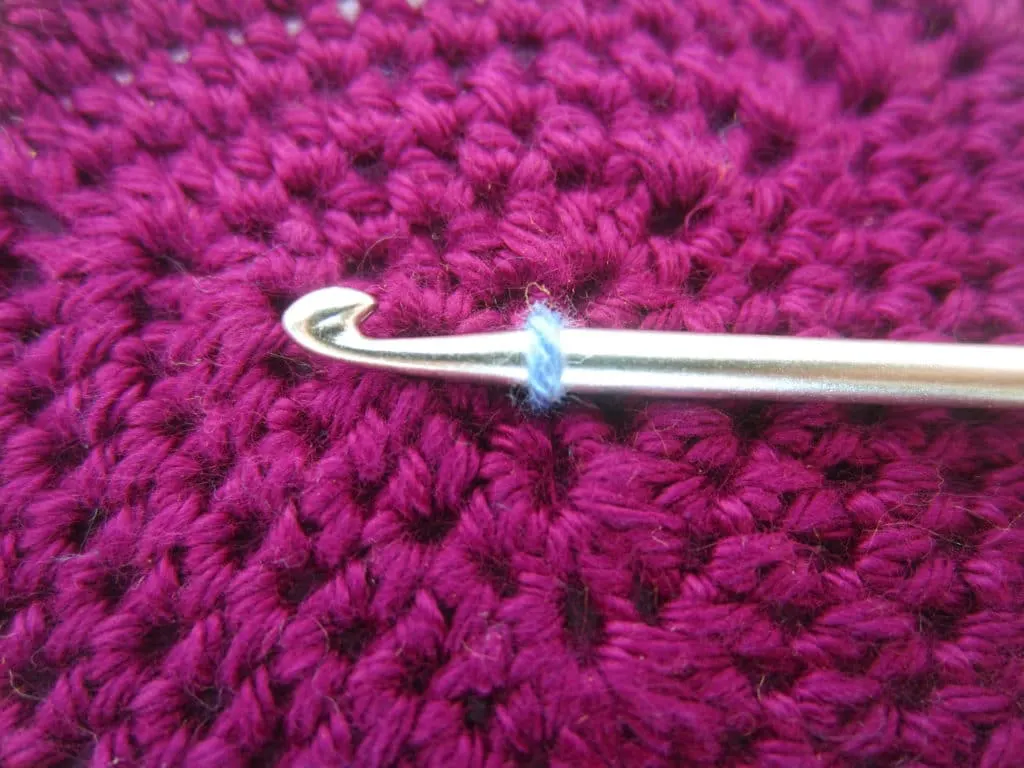
- Step 2: Push the crochet hook through an adjacent stitch next to the middle. Yarn over and pull the just picked up thread through the pushed through stitch and the loop on your crochet hook. You have crocheted your first surface slip stitch. Make sure that the loop through which you pull the thread is long enough so that the surface slip stitch does not become too short and the crochet piece warps.
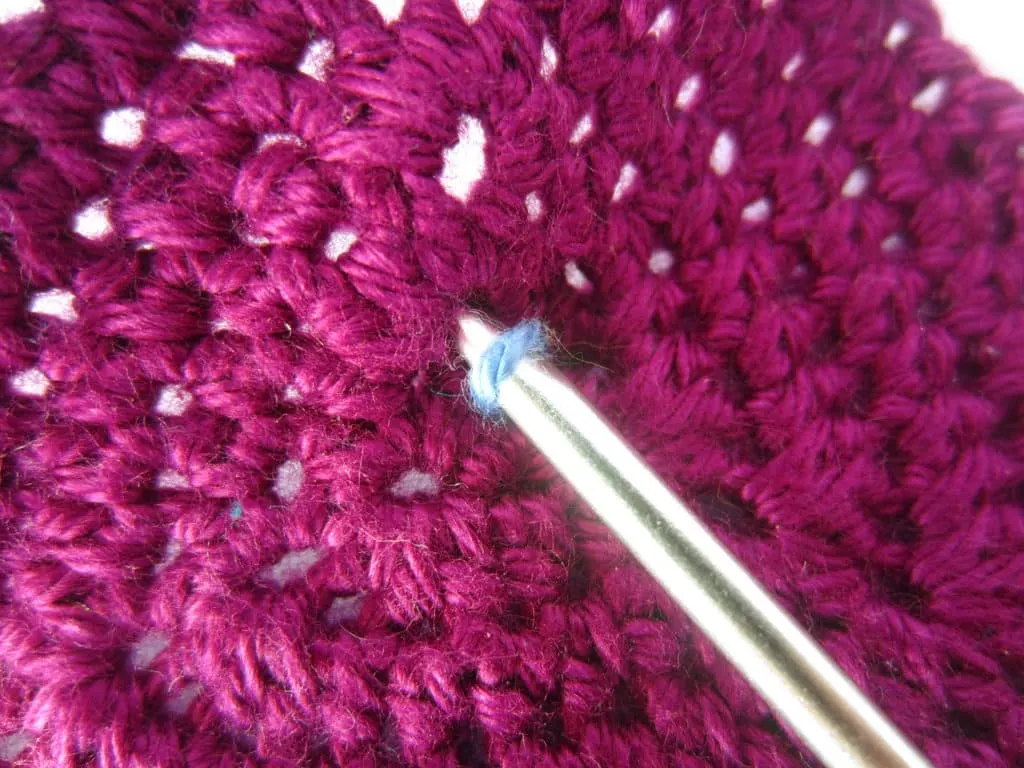
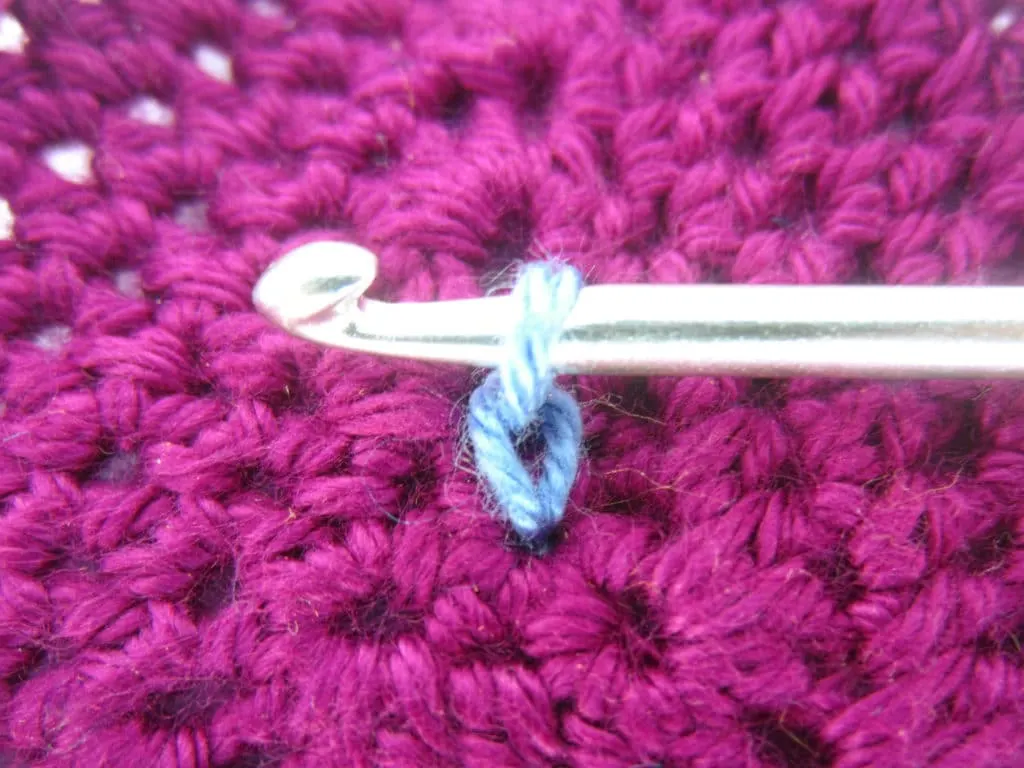
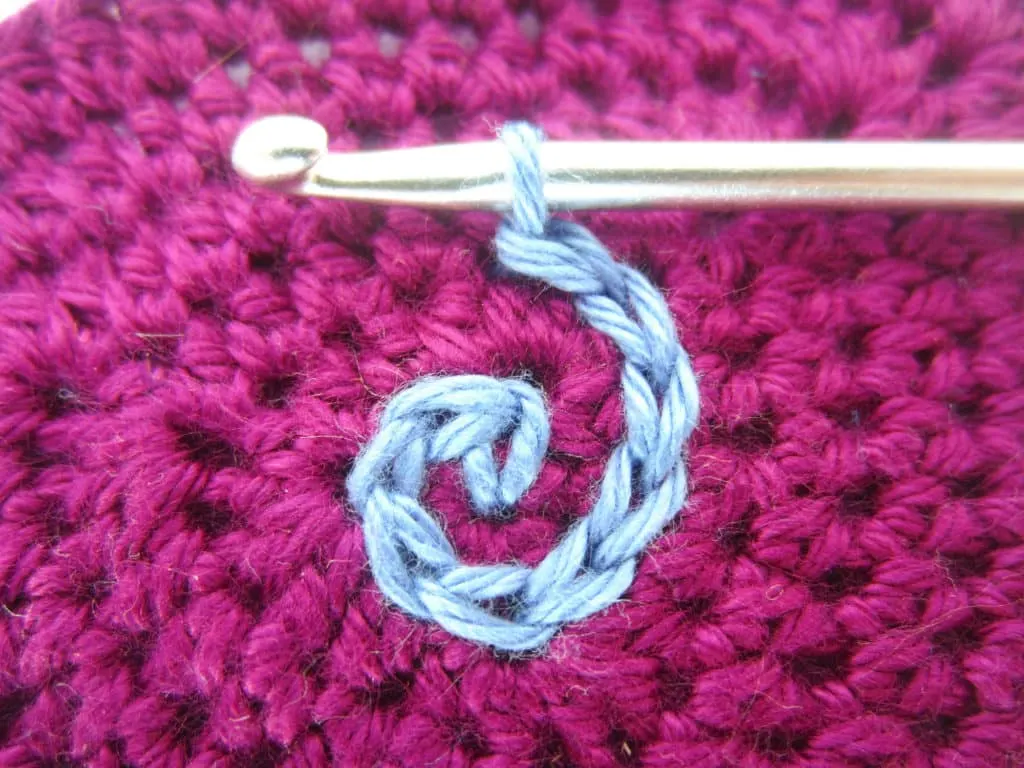
- Step 3: This procedure is now continued with the next adjacent stitch and then counter-clockwise with all further stitches.
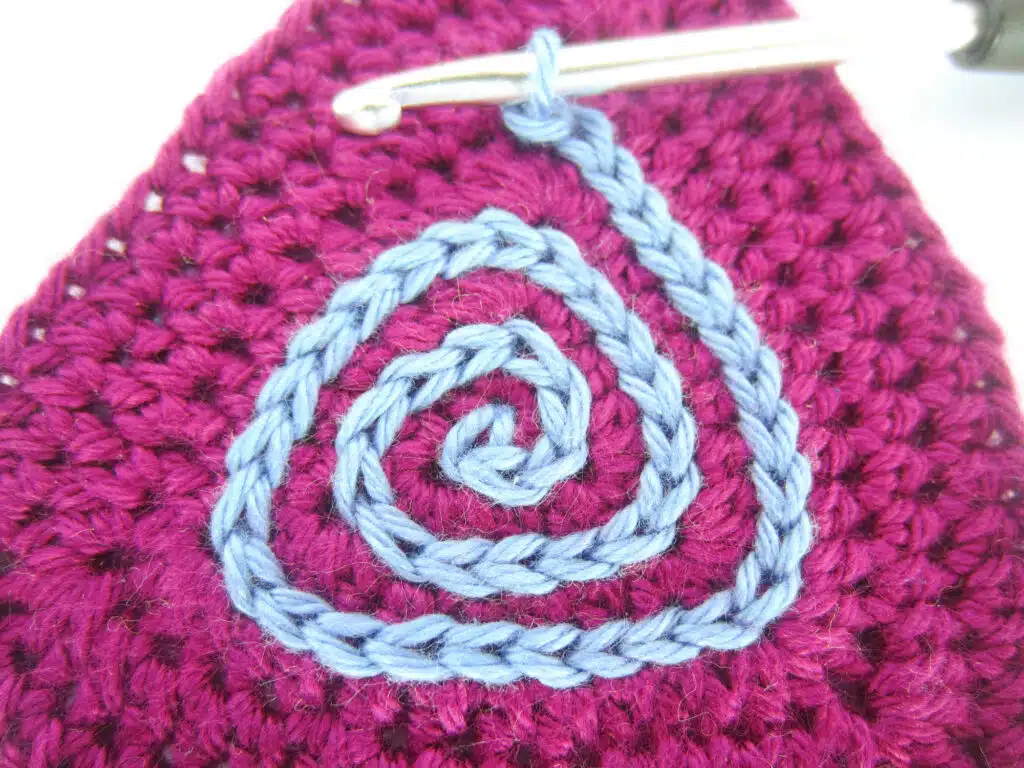
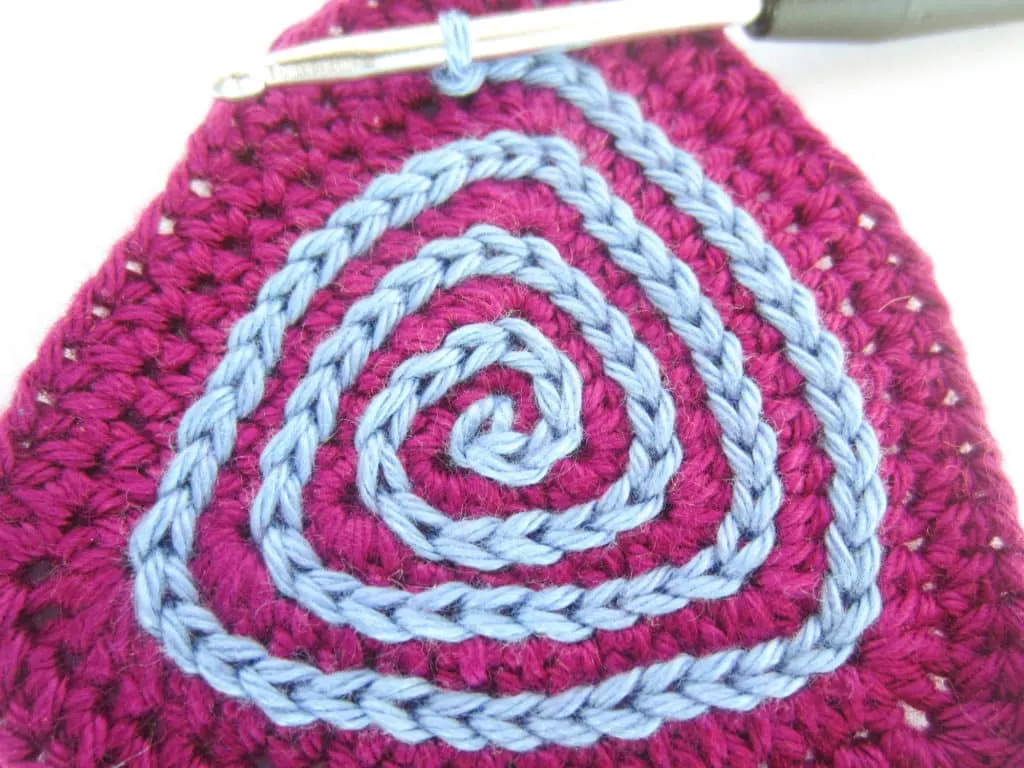
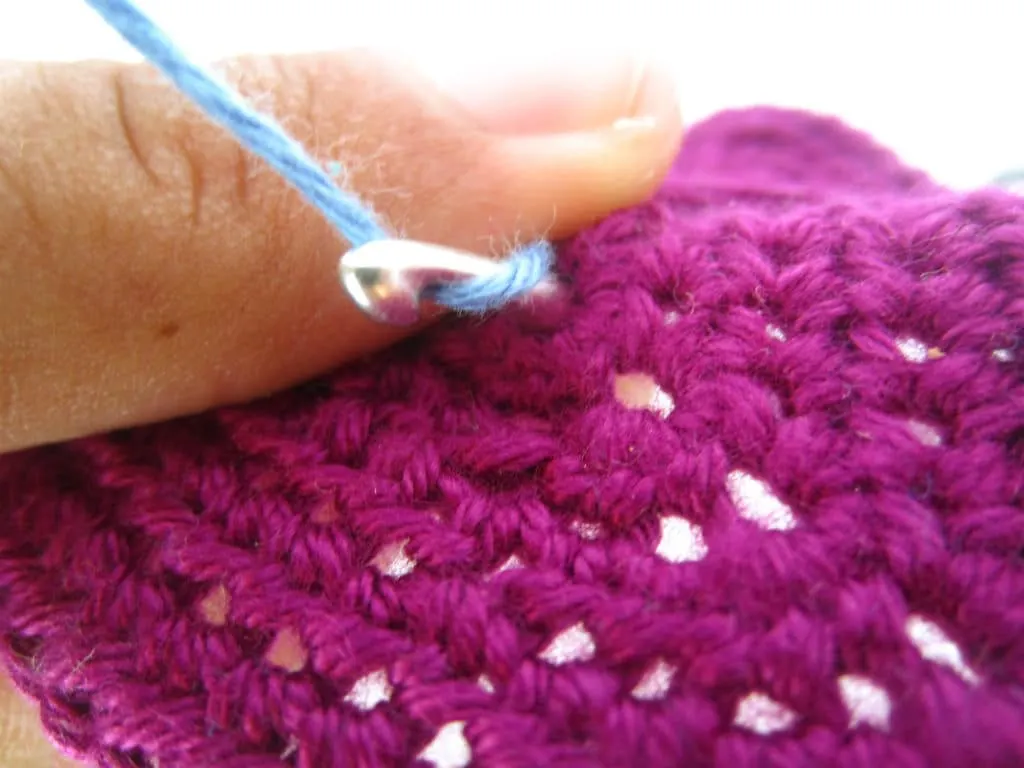
- Step 4: You can either crochet the surface slip stitches just until you reach the outer triangle (see picture) or continue crocheting into the outermost stitches from there.
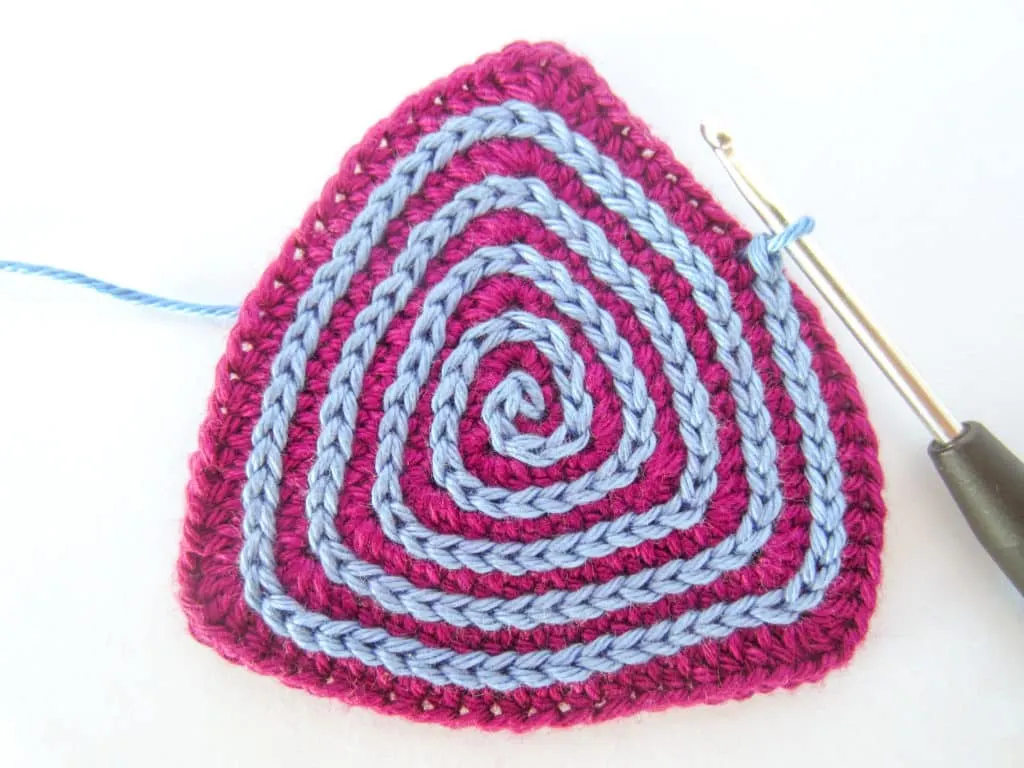
- Step 5: Finish your spiral by crocheting the last surface slip stitch into the stitch of the previous round in which a surface slip stitch was already crocheted. Then cut the thread, weave in and hide the remaining thread.