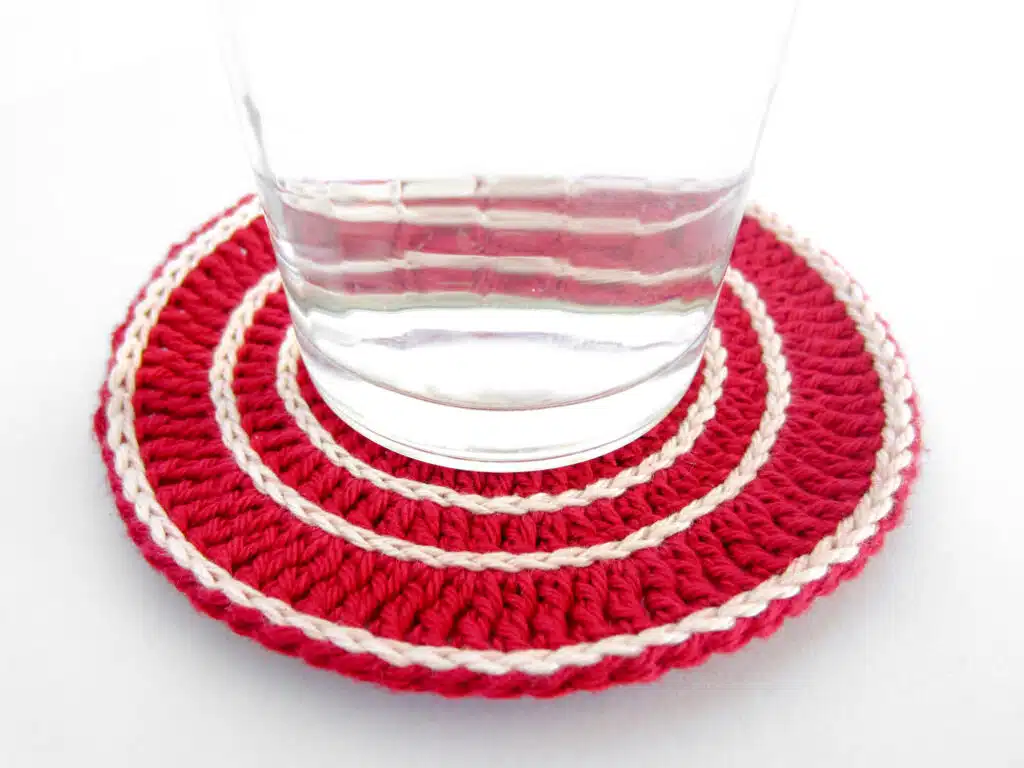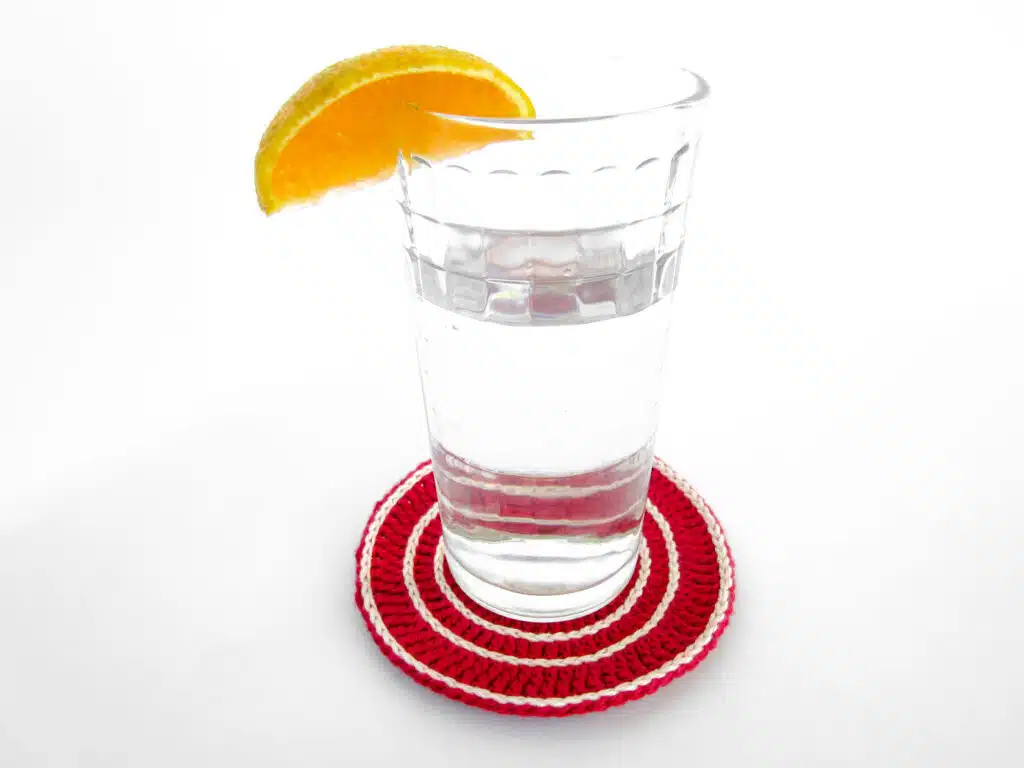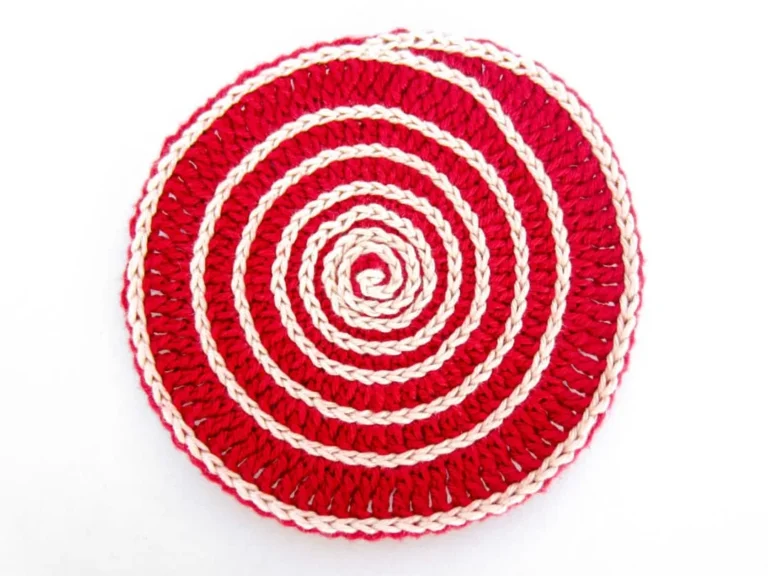
Crocheting surface slip stitches is a relatively easy technique, with which you can upgrade almost all crochet pieces.
Before the actual technique is explained and you start crocheting, always remember the following two rules, so that the coaster does not deform during crocheting:
- Always use the same crochet hook size for the surface slip stitches as was used for the actual crochet piece or a bigger one.
- Do not crochet the surface slip stitches too tight, but “loosely” onto the crochet piece, because otherwise your work will warp.
Keep these two rules in mind from the beginning and you will have no problems with the final result of your work. Now let us beginn with the actual technique.
- Step 1: Take the Soft Apricot yarn and pull it through the middle of the crochet piece. Fasten the yarn with a slip knot onto the crochet hook. Pull the yarn until the slip knot disappears through the hole. You have 1 loop on the crochet hook.

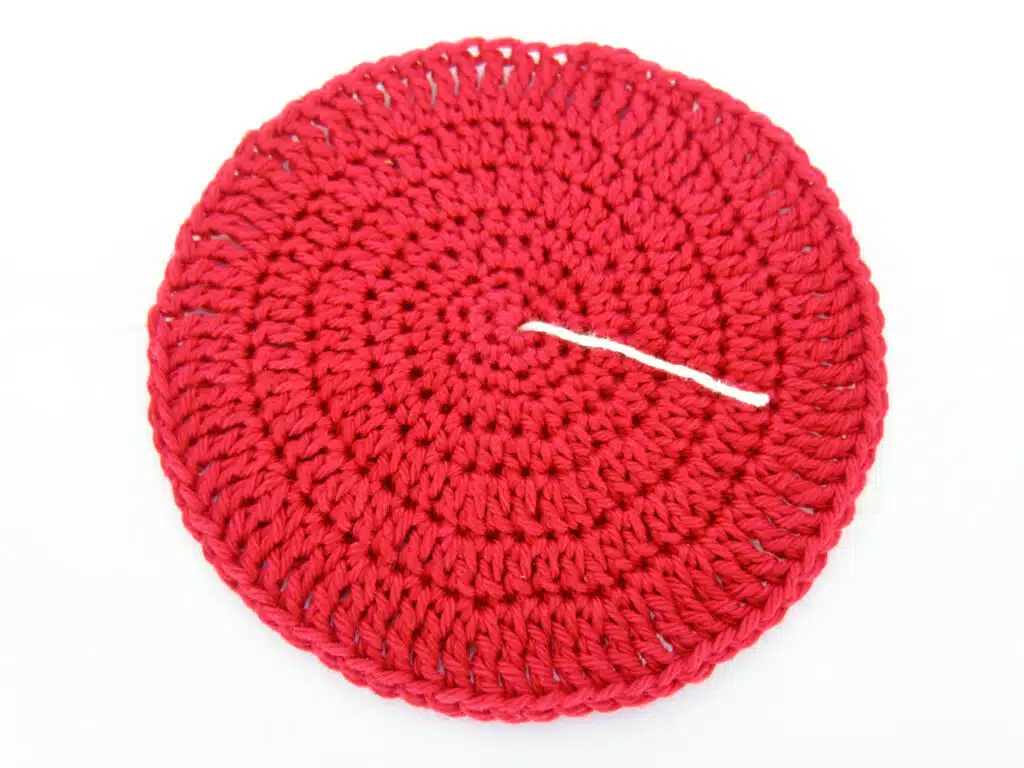


- Step 2: Push the crochet hook through an adjacent stitch next to the middle. Yarn over and pull the just picked up thread through the pushed through stitch and the loop on your crochet hook. You have crocheted your first surface slip stitch. Make sure that the loop through which you pull the thread is long enough so that the surface slip stitch does not become too short and the crochet piece warps.

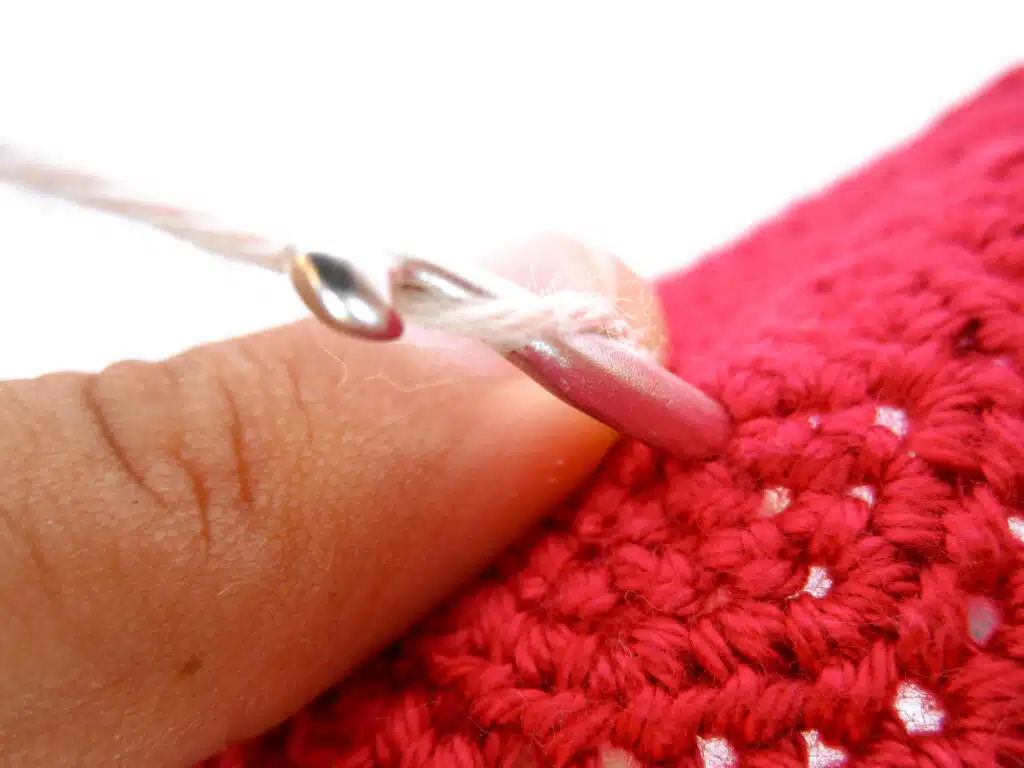

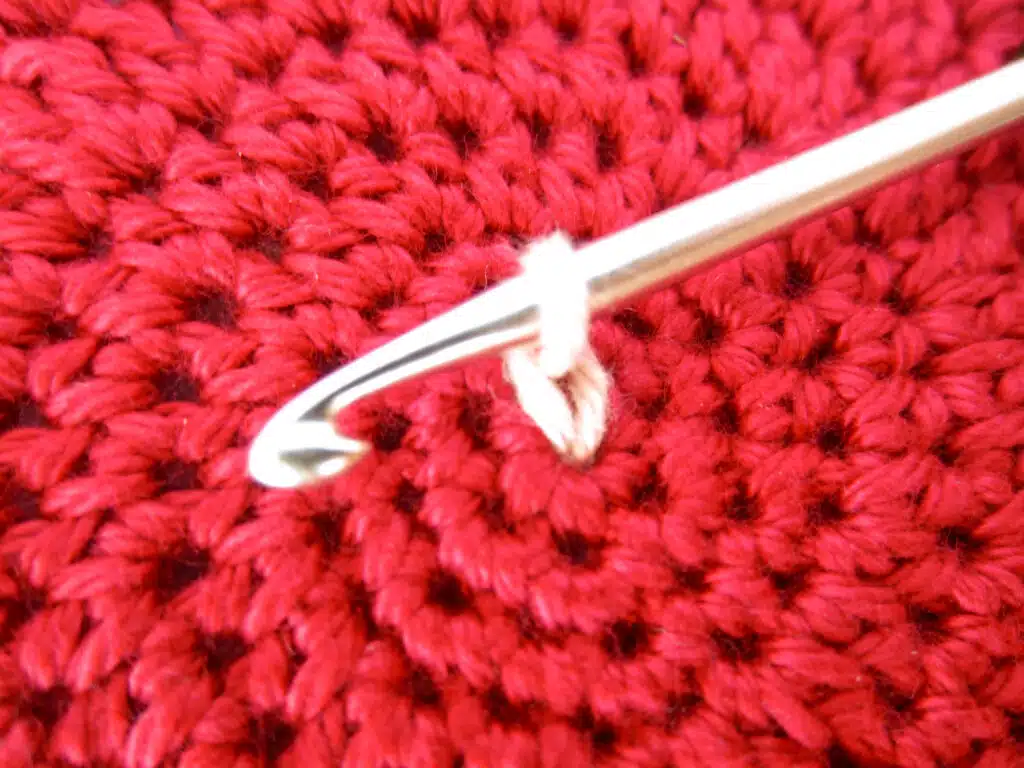
- Step 3: This procedure is now continued with the next adjacent stitch and then counter-clockwise with all further stitches.
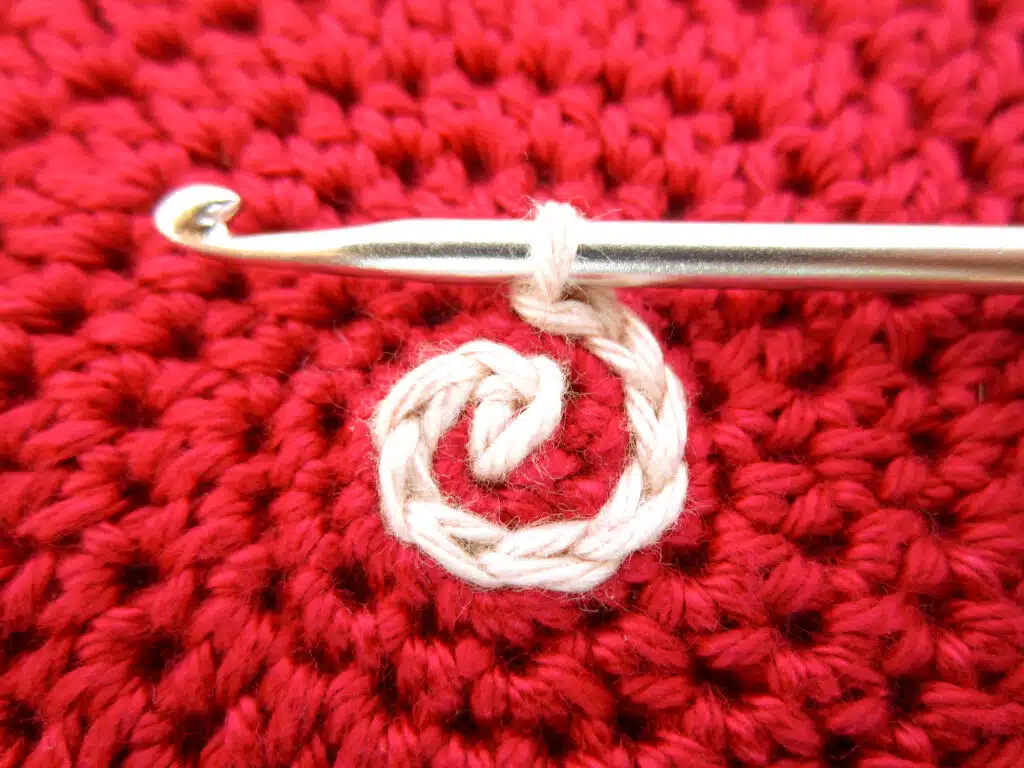
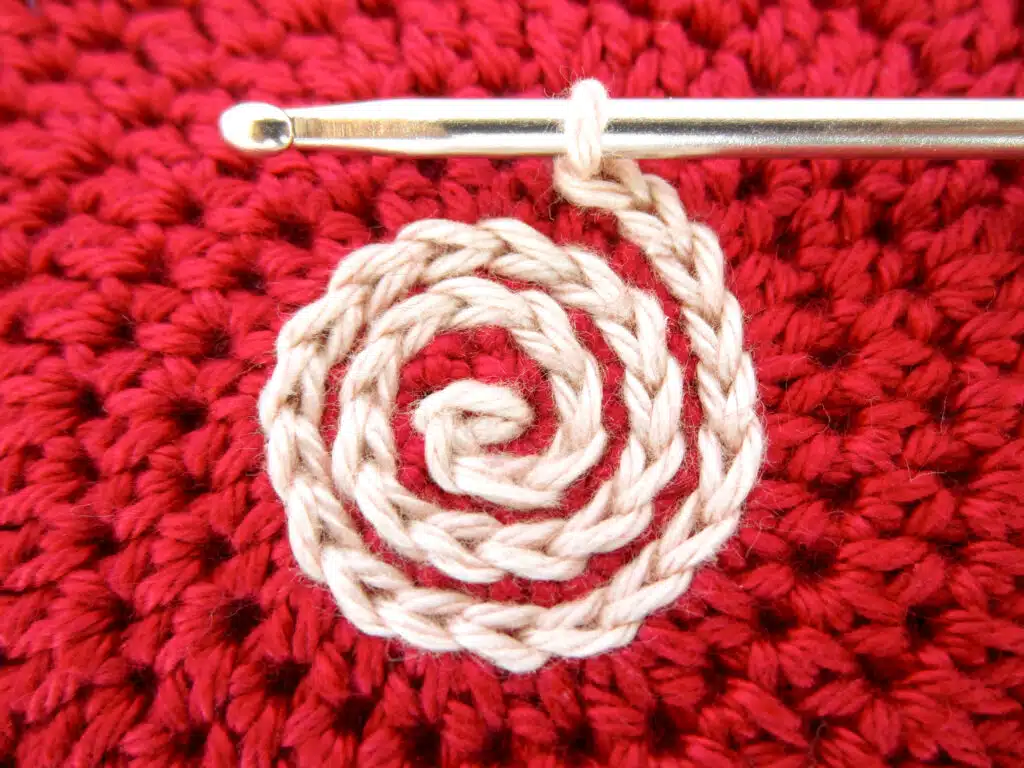

- Step 4: You can either crochet the surface slip stitches just until you reach the outer ring (see picture) or continue crocheting into the outermost stitches from there.


- Step 5: Finish your spiral by crocheting the last surface slip stitch into the stitch of the previous round in which a surface slip stitch was already crocheted. Then cut the thread, weave in and hide the remaining thread.


DONE!
