A pretty patchwork tote with pom pom trim, herringbone tape handles edged with mini pom pom trim and a button and loop fastening at the front. The bag is fully lined with added cotton wadding for structure.
Check out my sewing techniques for extra tips on :
How to cut and sew bias strips
How to make bias binding with a bias binding maker
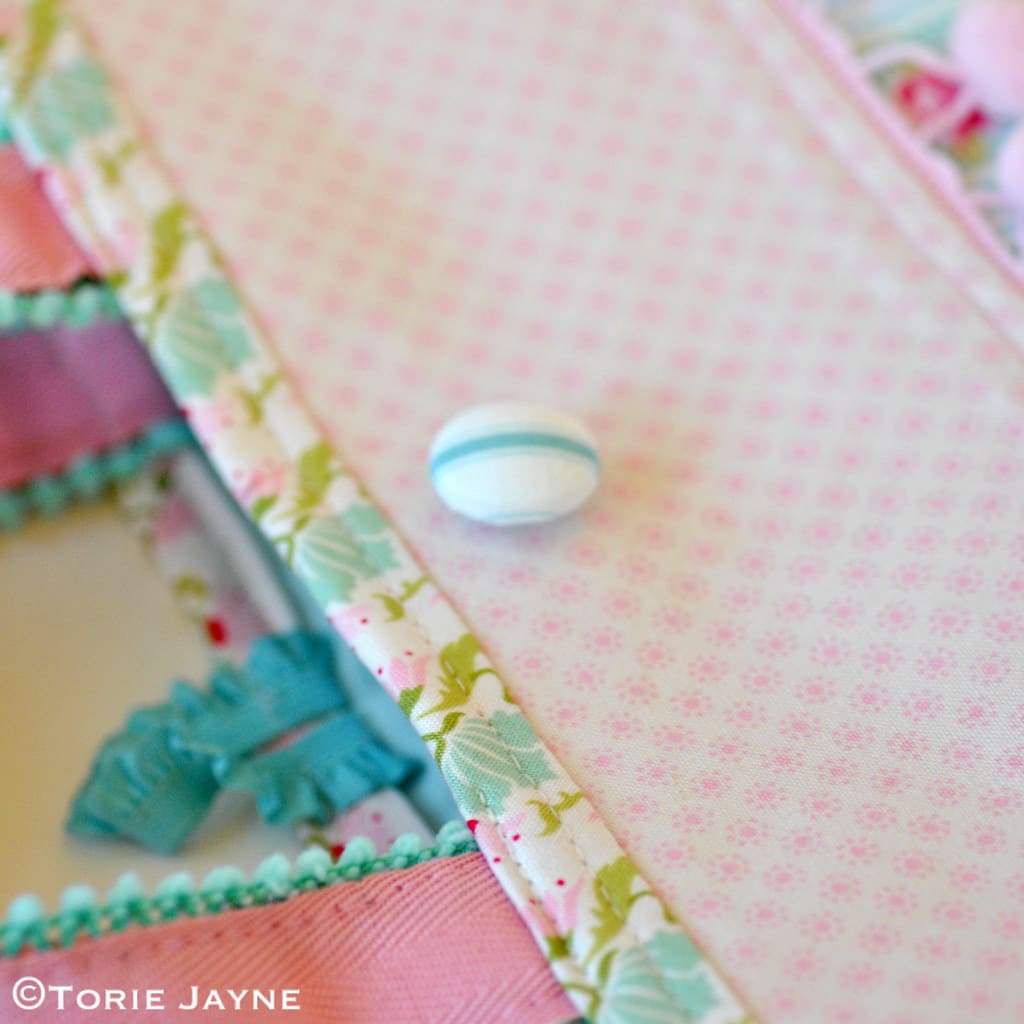
How to make a covered button with a button kit
You will need…
tilda nina pink fabric
tilda winterbird rose stripe
tilda lining pink fabric
duck egg blue poly cotton
pink polyester herringbone tape
pale pink pom pom trim
self cover buttons
self cover button tool
How-to step by step…

Step 1
Cut out the following pieces as illustrated above. Iron fusible interfacing to the back of the four main pieces.

Step 2
Cut out the following as above

Step 3
Pin the pom pom trim at the top of the front panel, so that the tape sits in the centre of the 1cm seam allowance.

Step 4
Baste stitch the pom pom trim in place.

Step 5
Pin the front top panel to the front lower panel, right sides together.

Step 6
Using a 1cm seam allowance stitch the front panels together.

Step 7
Press the seam upwards

Step 8
Place the stitched front panel on top of the cotton wadding front piece. Pin to secure in place.

Step 9
Top stitch 6mm above front seam.

Step 10
Baste stitch the wadding to the front stitched panels.

Step 11
Repeat steps 3 to 11 with the back pieces. Pin the stitched front panel to the back stitched panel, right sides together.

Step 12
Using a 1cm seam allowance, stitch the front panels to the back panels, along sides and base.

Step 13
At the left bottom corner of the bag, match the side seam with the bottom seam. Flatten and finger press the creases. It should form a triangle. Draw a line 5cm up from the tip.

Step 14
Stitch along the line you marked.

Step 15
Trim off the corner point, leaving a small seam allowance. Repeat with other bottom corner.

Step 16
Turn bag the right side out and leave to one side whilst you work on the lining.

Step 17
Pin the front lining to the back lining. Using a 1cm seam allowance, stitch the front panels to the back panels, along sides and base.

Step 18
At the left bottom corner of the bag, match the side seam with the bottom seam. Flatten and finger press the creases. It should form a triangle. Draw a line 5cm up from the tip. Stitch along the line you marked. Trim off the corner point, leaving a small seam allowance. Repeat with other bottom corner.

Step 19
Place the lining inside the outer bag, wrong sides together. Matching up the side seams, and raw edges at top.

Step 20
Baste stitch the two together around bag opening.

Step 21
Place the small pom pom trim between the two pieces of tape. Pin to secure and stitch the straps together making sure to catch in the pom pom trim.

Step 22
Repeat with the other side so the strap has pom pom trim either side. Repeat steps 21 to 22 with other strap.

Step 23
Pin raw ends of one strap to the inside of the bag at the back panel. Baste stitch in place.

Step 24
Fold the elastic loop in half and pin in the centre of the strap lining up the raw edges. Baste stitch in place. Pin and baste stitch remaining handle to the inside of the bag on the front panel.

Step 25
Fold the binding in half lengthwise, wrong sides together and press. Unfold and then bring the long edges in to meet the center crease. Press again. Refold on the original crease and press again or use a bias binding maker. Turn the end of the bias binding strip up 5mm for a neat finish and pin to the outside of the bag, wrapping the end so it just covers where you started.

Step 26
Stitch the binding to the bag using a 9mm seam allowance, backstitching at the start and finish.

Step 27
Fold the binding over to the inside and pin in place. Top stitch binding down.

Step 28
Pull the handles and loop upwards, pin in place. Bar tack the handles and loop in place.
Step 29
Hand stitch the covered button to the front of the bag. Placement is at centre front and about 2.5cm down from the top edge.

Step 30
Your new bag is now ready to be used.


