Head
Row 1: (In Purple) am 6 (6)
Row 2: [Increase]x 6 (12)
Fila 3: [Aum, pb]x 6 (18)
Fila 4: Pb, [aum, 2 pb] x5, aum, pb (24)
Fila 5: Pb, [aum, 3 pb]x 6 (30)
Fila 6: 2 Pb, [aum, 4 pb] x5, aum, 2 pb (36)
Rows 7-10: Sc 36 (36)
Fila 11: [Aum, 5 pb]x 6 (42)
Rows 12-13: 42 sc (42)
Fila 14: [5 Pb]x 6 (36)
Fila 15: 2 Pb, [dism, 4 pb] x5, dism, 2 pb (30)
Fila 16: [Dism, 3 pb]x 6 (24)
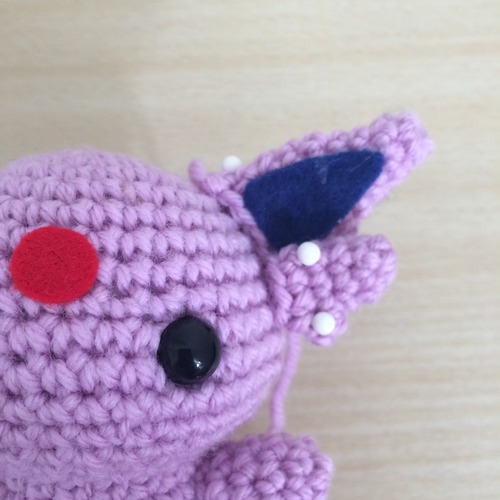
Finish off leaving a tail to sew. Insert the safety eyes between rows 11 and 12, with approximately 7 or 8 stitches between them.
Body
Row 1: (in Purple) am 6 (6)
Row 2: [Increase]x 6 (12)
Fila 3: [Aum, pb]x 6 (18)
Fila 4: Pb, [aum, 2 pb] x5, aum, pb (24)
Fila 5: [Aum, 3 pb]x 6 (30)
Rows 6-8: 30 sc (30)
Fila 9: [Pb, 3 pb]x 6 (24)
Rows 10-12: 24 sc (24) Close.
Legs (make 2)
Row 1: (In Purple) am 6 (6)
Fila 2: [Aum, pb]x 3 (9)
Rows 3-6: 9 sc (9) Fasten off leaving a tail to sew.
Arms (make 2)
Row 1: (In Purple) am 6 (6)
Fila 2: [Aum, 2 pb] x2 (8)
Rows 3-4: 8 sc (8)
Row 5: Dec, 6 sc, (7) Fasten off leaving a tail to sew.
Main queue
Row 1: (In Purple) am 6 (6)
Rows 2-16: 6 sc (6) Fasten off, leaving tail to sew.
To divide
Row 1: (In purple) 6 am (6)
Rows 2-7: 6 sc (6)

Finish off, leaving glue for sewing. Next, take the smaller piece of the tail and join it to the longer piece, creating the split shape shown below.
Ears (make 2)
Row 1: (In Purple) am 6 (6)
Rows 2-3: 6 sc (6)
Fila 4: [Aum, 2 pb] x2 (8)
Row 5: 8 Pb (8)
Fila 6: [Aum, 3 pb] x2 (10)
Rows 7-9: 10 sc (10) Finish leaving tail to sew.
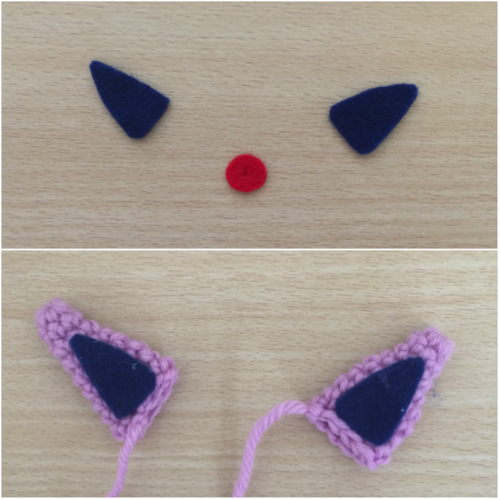
Now take a piece of blue felt and cut out a triangular piece that will be the inside of the ear. Glue this piece in place.
Lower fluffy whiskers
Row 1: (In Purple) am 6 (6)
Rows 2-3: 6 sc (6)
Row 4: 3 sc, popcorn 5 sc*, 2 sc (6)
Row 5: 6 sc (6) Finish off, leaving tail to sew.
Assembly Now that everything is knitted, it’s time to put it together and add the details.
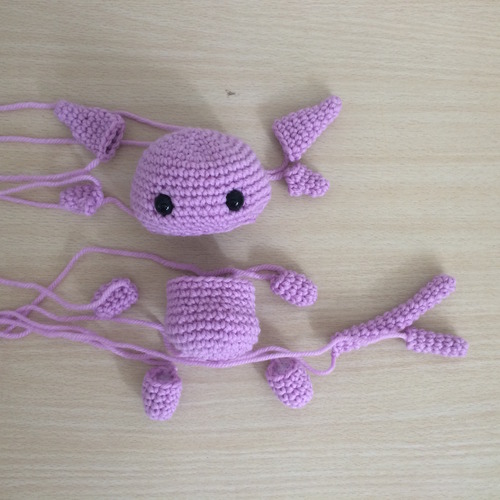
Fill the head, body and legs. The arms, ears and tail do not need padding. We like to pin all the pieces together so I can get an idea of their placement before placing them.
We usually place them in this order: Legs, tail, arm, then head, top of the ear, bottom of the ear. We find it easier to center the ears after we have positioned the head.
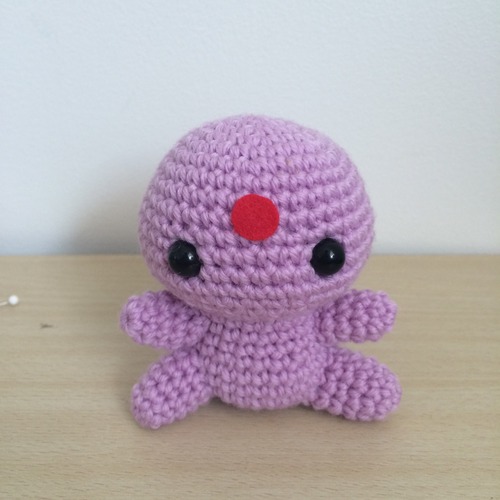
At this time we also cut out a small red circle from felt and glued it on top of the eyes, centered between them. We’ve seen some people use small sticky gems or other items, so you can use whatever you want!
Here are some more photos of how we placed the ears, the main part slightly behind and above the whiskers.
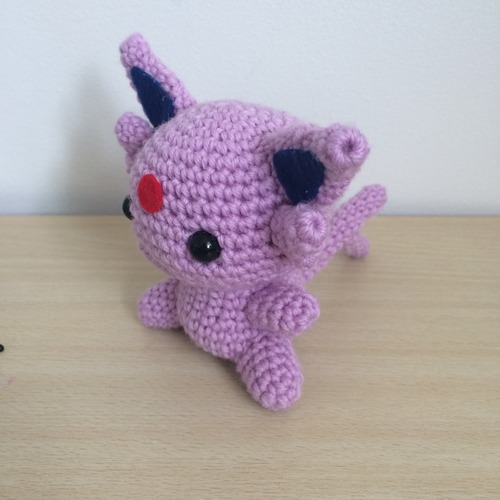
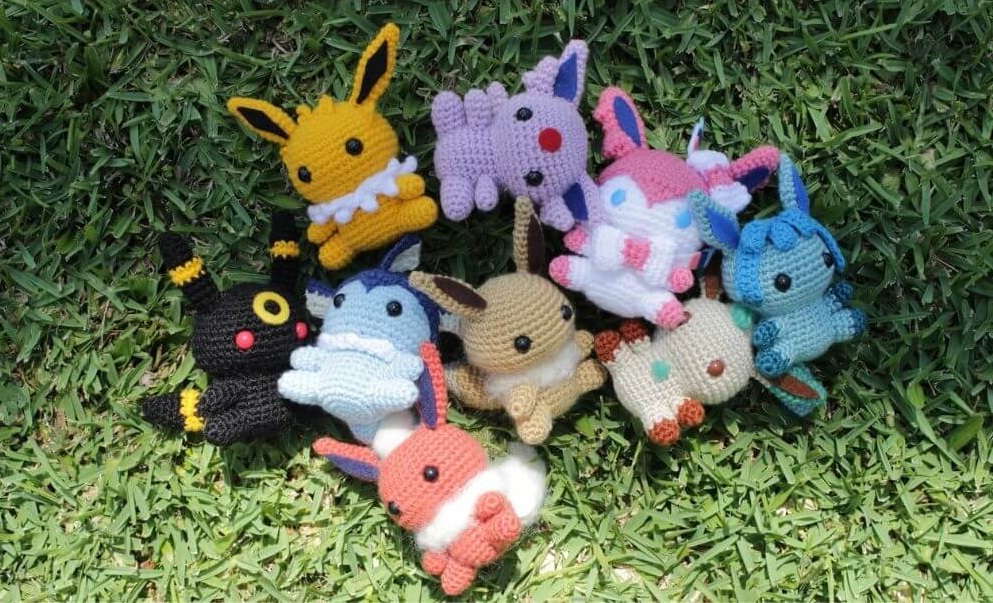
And ready! You would have your Pokémon finished!