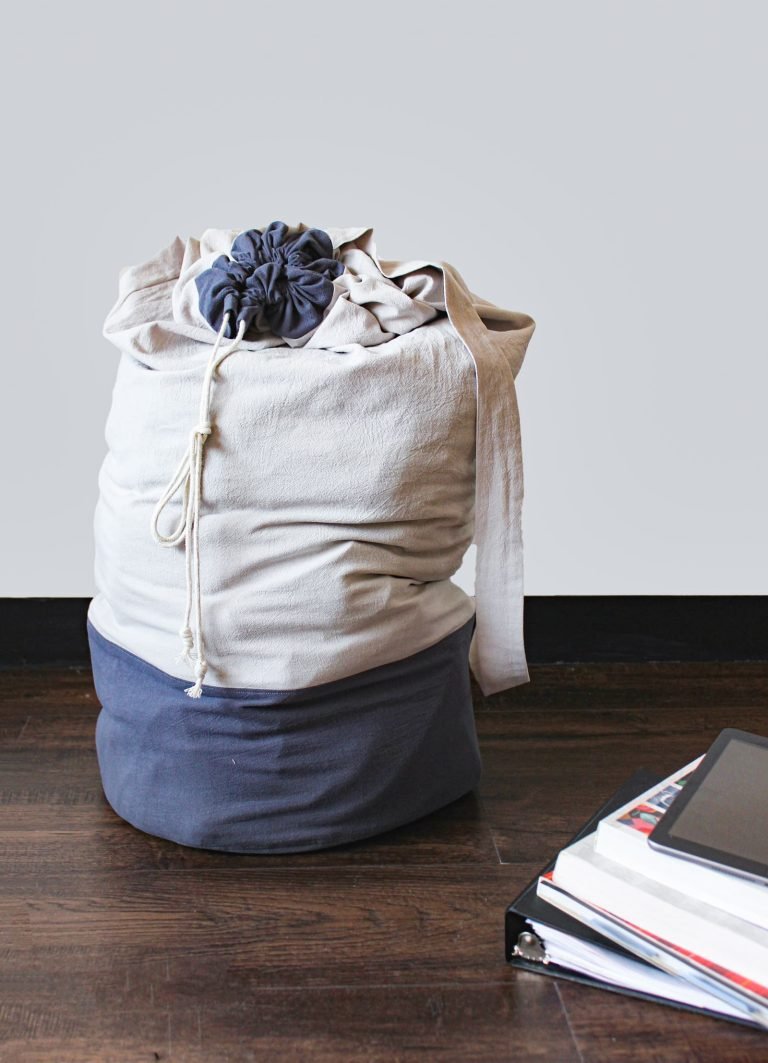
Make this cute and simple laundry bag that you will be proud to showcase in your room and can easily tote around. Pick out your favorite print or color in a medium weight woven fabric, that will go with the rest of your decor.
Here’s What You’ll Need
Laundry bag pattern
1 yard of fabric (canvas, denim, twill or another medium weight woven fabric)
3/4 yard of fabric in a contrasting color (width min 55” )
OR 1 & 3/4 yard of solid fabric if not using the contrast color
Matching thread
Ruler
Scissors
A safety pin
Sewing pins or sewing clips
A fabric pen or taylor’s chalk
Preparing the Pattern Pieces
Cut pieces following instructions below or using the pattern. All seam allowance are included: 3/8”
A – Drawstring Contrast Channel
21 3/8″ + 4 3/4” – On each smaller side of the rectangle, mark two lines: one at 3/8“, the second at 3/4” ) CUT 1 on fold, put a notch at the center.
B – Main Body
20 11/16″ x 24 3/8″ – CUT 1 on fold, put a notch at the center
C – Bottom Contrast Piece
20 11/16 “x 7” – CUT 1 on fold, put a notch at the center
D – Circle Base (Contrast Color)
13 3/4” Diameter – CUT 1
E – Bag Strap
3 7/8” x 26 1/8” – CUT 1
Create the bag strap
Fold bag strap (E) in half, right sides together and sew at 3/8’’ from edge, as image below. Once complete turn inside out for a clean finish and press strap (E).
Create the drawstring channel
To finish the opening edges, fold each shorter edge twice at 3/8’’ toward the wrong side of the fabric and press. Sew pressed edge at 1/8″.
Overlock longer sides. Fold in half and press.
Create the bag
Main Body (B): Overlock the edges, fold in half, right sides in and stitch together at 3/8”. Repeat step 5 with the bottom contrast piece (C)
Assemble A to B right sides together, adding the bag strap (E) in between drawstring tunnel (A) and main body (B), aligning the notches of A and E to the seam of B, stitch at 3/8” and overlock the edge.
Repeat step 7, assembling B to C right sides together, adding the bag strap (E) in between main body (B) and bottom piece (C), aligning the notch of E to the seams of B and C., stitch at 3/8” and overlock the edge.
Press seam towards bottom contrast piece (C) and topstitch at 1/8″.
Finish the bag
Sew the base: Pin the bag to the circle base (D), stitch at 3/8’’ and overlock the edges.
Turn the bag inside out and press seam allowance toward the bottom contrast piece (C). Top stitch at 1/8”.
Using a safety pin, insert your cord (55’’ long) through the drawstring channel. Finish by tying a knot at the end.
And You’re Done!


