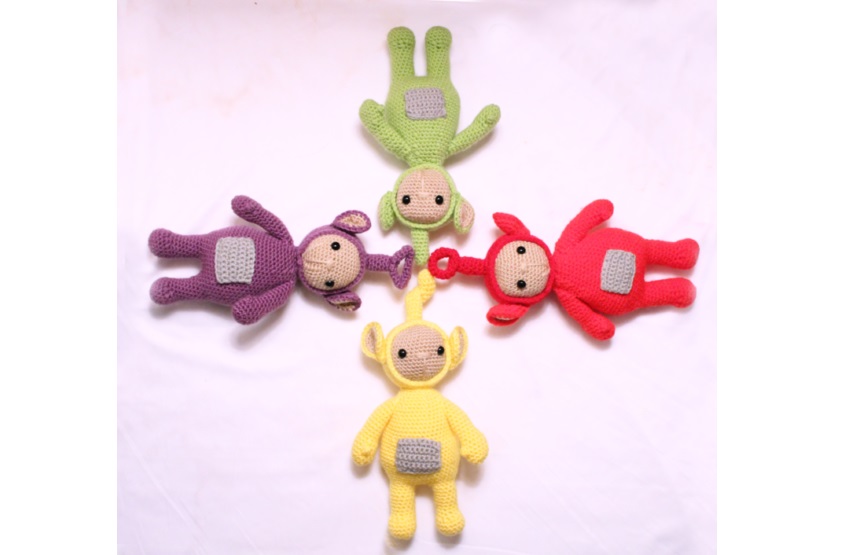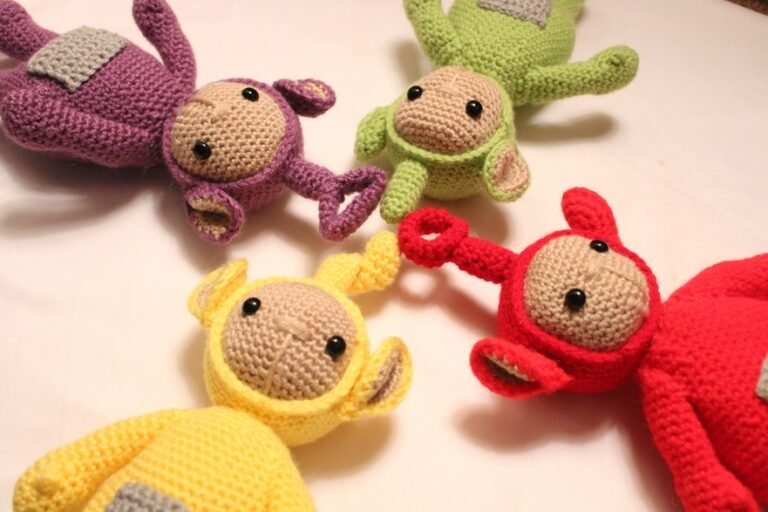
Feet (beam 2)
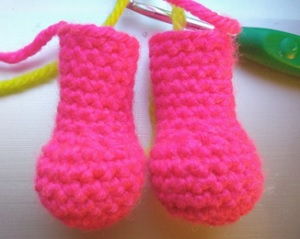
We make the feet first, which we will then join together. From there, we will work from the feet to the body.
Round 1: In the primary color, 6 sc in the magic ring. (6)
Round 2: *Inc* in each stitch. (12)
Round 3: *Inc, sc* all around. (18)
Round 4-6: *Sc* all around. (18)
Round 7: SC 4, *dec* 4 times, sc 6. (14)
Round 8: Sc 5, dec, sc 7. (13)
Round 9-15: *Sc* around. Finish but leave the point marker on the first foot.
Repeat with the second foot but continue:
Do not finish off the 2nd foot. We will continue on the 2nd foot:
Round 16: Sc 4 , ch 4. On the first foot, count the 1st stitch behind the stitch marker on the 1st foot. Pb at this point. Now you can remove this marker but you must keep the other marker. (We are left with the marker of the point of the 2nd leg).
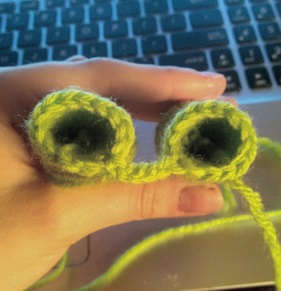
It should look like this. The connection pc is towards the rear instead of towards the front by the feet.
sc in the next 12 stitches. Now we find the pc connection, sc 4 through the pc.
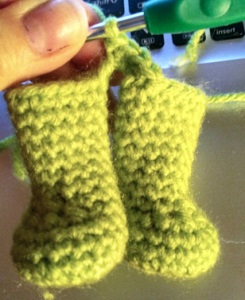
Now we find the other leg. Sc in the next 9 stitches. Now we find the points marker. (3. 4)
Round 17: sc 4, now we find the other side of the pc. sc 4 through ch, sc in next 12 stitches, skip next stitch, now sc 4 through ch, skip next stitch, sc 8 along other leg. (32)
Round 18: Inc in the first stitch, sc in the next 11 stitches, *inc* 4 times, sc in the next 13 stitches, *inc* 3 times. (40)
Round 19-20: *Sc* around. (40)
Eventually it starts to look like this.
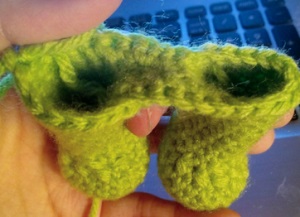
Round 21: sc in the next 17 stitches, *inc* 2 times, sc in the next 17 stitches, *inc* 2 times, sc in the last 2 stitches. (44)
Round 22: *Sc* around. (44)
Round 23: SC in the next 21 stitches, *inc* 2 times, sc in the next 14 stitches, *inc* 2 times, sc in the last 5 stitches. (48)
Round 24-29: *Sc* around. (48)
Round 30: *Dec, sc 6* all around. (42)
Round 31-35: *Sc* around. (42)
Round 36: *Dec, sc 5* all around. (36)
Round 37-38: *Pb* all around. (36)
Round 39: *Dec, sc 4* all around. (30)
Start filling your Teletubbie here.
Round 40: *Pb* all around. (30)
Round 41: *Dec, sc 3* all around. (24)
Round 42: *Pb* all around. (24)
Round 43: *Dec, sc 2* all around. (18)
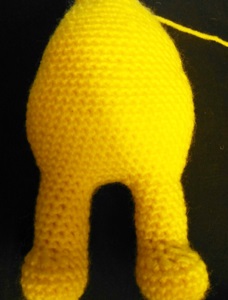
Finish but not things to close. Leave a long tail to sew the head to the body later. Be sure to fill in any extra padding.
Head
Use tan colored thread.
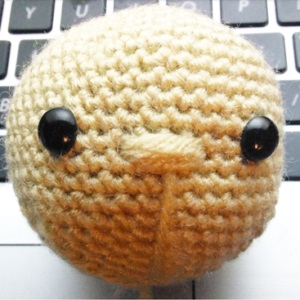
Round 1: 6 sc in the magic ring. (6)
Round 2: *Inc* in each stitch. (12)
Round 3: *Inc, sc* around. (18)
Round 4: *Inc, 2 sc* around (24)
Round 5: *Inc, 3 sc* around. (30)
Round 6: *Inc, 4 sc* around. (36)
Round 7: *Inc, 5 sc* around. (42)
Round 8-11: SC around. (42)
Round 12: sc in the next 8 stitches. Sc in the next stitch and add a marker of a different color. This is to mark where to add the eyes, which we will add in a few rounds. sc in the next 8 stitches. Sc in the next stitch and add a marker of a different color. sc in the next 24 stitches. (42)
Round 13-17: SC around. (42)
Now add the safety eyes where the markers are. Now you can remove the markers from the eyes. Now you can sew the nose if you want. Between the two eyes count 3 points in the middle. Sew the nose between these three points.
Round 18: *Dec, sc 5*. (36)
Round 19: *Dec, sc 4* (30)
Round 20: *Dec, sc 3* (24)
Round 21: *Dec, sc 2*. (18)
Fill.
Round 22: *Dec, sc 1*. (12)
Round 23: *Dec* all around. (6)
Finish off and leave a long tail to sew. Fill what is left over and sew to close.
head cap
In primary color.
Round 1: 6 sc in the magic ring. (6)
Round 2: *Inc* in each stitch. (12)
Round 3: *Inc, sc* around. (18)
Round 4: *Inc, 2 sc* around. (24)
Round 5: *Inc, 3 sc* around. (30)
Round 6: *Inc, 4 sc* around. (36)
Round 7: *Inc, 5 sc* around. (42)
Round 8-17: *Sc* around. (42)
Round 18: *Pr* all around. (42)
Finish off and leave a long tail to sew. At this point you can place the head on the hat and sew it on.
Arms
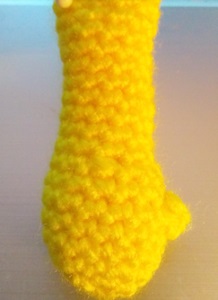
Round 1: With the primary color, 6 sc in the magic ring. (6)
Round 2: *Inc* in each stitch. (12)
Round 3: *Inc, sc 3* around. (fifteen)
Round 4-5: *Sc* around. (fifteen)
Row 6: Sc in the next 4 stitches, 3 dc in the next stitch, remove the hook from the work stitch, insert the hook in the first dc, now insert the hook also in the work stitch. You will have 2 loops on your hook, loop and pull through both loops. SC in the next stitch, SC in the next 9 stitches. (fifteen)
The pa method creates a finger.
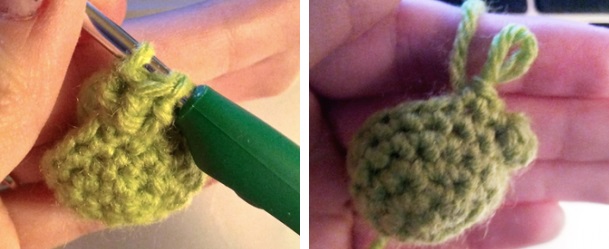
Round 7: *Pb* all around. (fifteen)
Fill the hand.
Round 8: * Dec, sc 2* 3 times, sc in the next stitch, dec in the last 2 stitches. (eleven)
Round 9-19: *Sc* around. (eleven)
Finish and leave a long tail for sewing. Add the extra filling and pin it to the body.
Ears (bundle 4)
Make 2 in tan first and finish off. 2 in primary color afterwards, leaving a very long tail to sew on the ears later.
Round 1: 6 sc in the magic ring. (6)
Round 2: *Inc* in each stitch.(12)
Round 3: *Inc, sc* all around. (18)
Round 4: *Sc* around. (18)
Finish off the tan ears.
For primary color ears, line up with a tan colored ear. Do sc along with the tan colored ear.
Finish off and leave a long tail to sew. Fold in half, sew down 1/4 of the bottom of the ear, and pin it to the head.

Belly TV patch
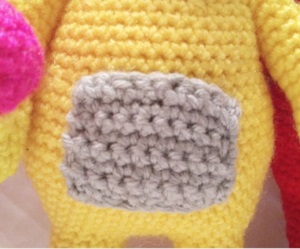
Row 1: With gray, make 10 pc. Sc in the 2nd sc from the hook, sc in the rest of the stitches.
Rows 2-8: *Without doing 1 sc, turn, 9 sc across*.
Finish off, leaving a long tail to sew and pin to the belly.
head antennae
Green Teletubbie Antenna
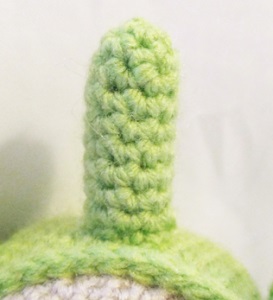
Round 1: In green, 4 sc in a magic ring. (4)
Round 2: *Inc* all around. (8)
Rounds 3-10: *Sc* around. (8)
Finish off, leaving a tail to sew. Fill too.
Red Teletubbie Antenna
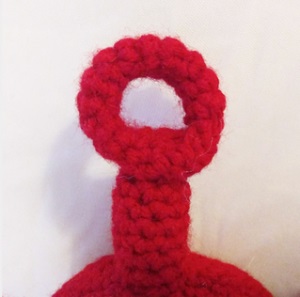
Round 1: In red, 4 sc in a magic ring. (4)
Round 2: *Inc* all around. (8)
Rounds 3-8: *Sc* around. (8)
Finish off and don’t fill or stuff to the head yet.
Ring
Round 1: In red, 4 sc in magic ring. (4)
Round 2: *Inc, sc* all around. (6)
Rows 3-17: *Pb* all around. (6)
Finish off and do not fill. Fold in the shape of a ring and sew it. After making the ring, sew it on top of the teletubbie’s antenna. Now you can fill the first head spring.
Purple Teletubbie Antenna
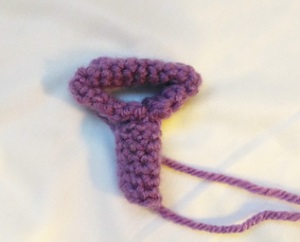
Round 1: In purple, 4 sc in a magic ring. (4)
Round 2: *Inc* all around. (8)
Rounds 3-8: *Sc* around. (8)
Finish off and don’t fill or stuff to the head yet.
triangle ring
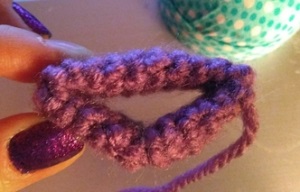
Round 1: In purple, 4 sc in a magic ring. (4)
Round 2: *Inc, sc* all around. (6)
Rounds 3-22: *Sc* all around. (6)
Finish off and leave a tail to sew. Don’t fill. Sew forming a circle. Fold into a triangle shape and sew the corners down to secure the triangle shape. Now sew the triangle to the original antenna. Fill.
Yellow Teletubbie Antenna
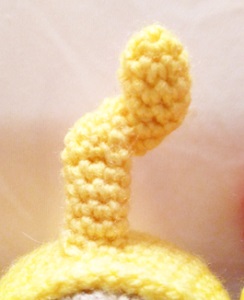
Round 1: In yellow, 4 sc in a magic ring. (4)
Round 2: *Inc* all around. (8)
Rounds 3-20: *Sc* around. (8)
Finish off, leaving a tail to sew and fill. Don’t overfill. Fold the antenna in half, creating a loop in the center. Pin and sew the loop in place.
Lovetubbie antenna
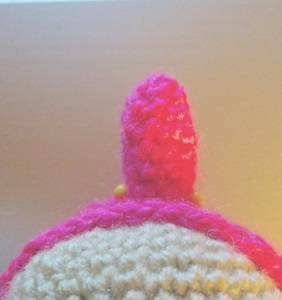
Round 1: In hot pink, 4 sc in the magic ring. (4)
Round 2: *Inc* all around. (8)
Rounds 3-8: *Sc* around. (8)
Finish off, leaving a tail to sew. Fill also and pin to the head. Now we do the heart piece.
Heart
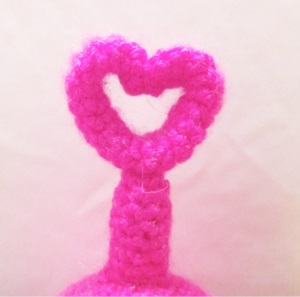
Round 1: In hot pink, 4 sc in a magic ring. (4)
Round 2: *Inc* all around. (8)
Rounds 3-21: *Sc* around. (8)
Finish off leaving a tail to sew. Now fold the two ends of the tube together and sew them into a heart shape. Now sew the heart to the original antenna.
Body assembly
Before sewing, make any placement adjustments until you’re happy with where everything is placed.
First, sew on the arms, making sure they don’t have too much padding on top. This will make sewing easier.
Now sew the ears. When sewing them on, make sure the ears are pointing to the side.
Next, sew the antenna to the head.
Sew the head to the body.
Sew on the belly patch.
face montage
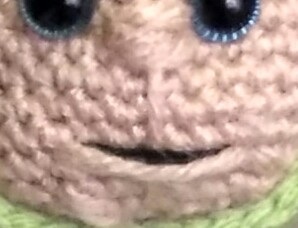
In tan: Start by sewing the nose in the center of the face, between the two eyes. About 3 stitches will remain between the needle. Start by inserting the needle and sewing from side to side, down to make the nose. A total of 3 pieces of thread should make the nose, passing through the same 2 original stitches. Once you’ve finished making the nose, sew a line just below the nose.
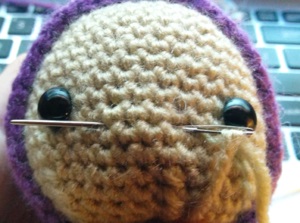
Mouth
Optional: To make the teletubbie look more realistic, give it a mouth.
In tan: Sew a strand of thread in the center of the line we created. Do it twice to get a slightly bigger lip.
In black: Hold both lips back and sew underneath with a strand of black thread.
Now we have the mouth finished. Sew the excess thread inside the teletubbie.
