Grades
- *This pattern follows my typical size S, but will list adjustments needed to be made in ANY size.
- *1 PC from the row does NOT count as a st in this pattern.
Bodice
- Base: ch 18+1 Or whatever length you want your bodice to be, just make sure it’s an even number (the +1 is a twist chain and doesn’t count toward the total number of stitches needed).
- Now we will learn the lemon peel stitch. It’s VERY EASY! All you have to do is alternate between working a sc and then a dc in each st.
- Row 1: Work 1 dc in 2nd ch from hook, work 1 dc in next ch, *work 1 dc in next ch, work 1 dc in next ch, *repeat switching between the two sts until end of pc. You should end up with a pa.
- Row 2: 1 Pc and turn your work. Work 1 dc in first st, work 1 dc in next st, *work 1 dc in next st, work 1 dc in next st, *repeat switching between the two sts until the end of the row. You should end up with a pa.
- Rows 3-40 (or as many as you need for your size): Repeat row 2. To follow the lemon peel stitch pattern, each row should BEGIN with a sc and END with a dc. Work as many rows as you need until the rectangle is long enough to wrap around you.
- TIP: The top will have some give, so you may need a few fewer rows than you think.
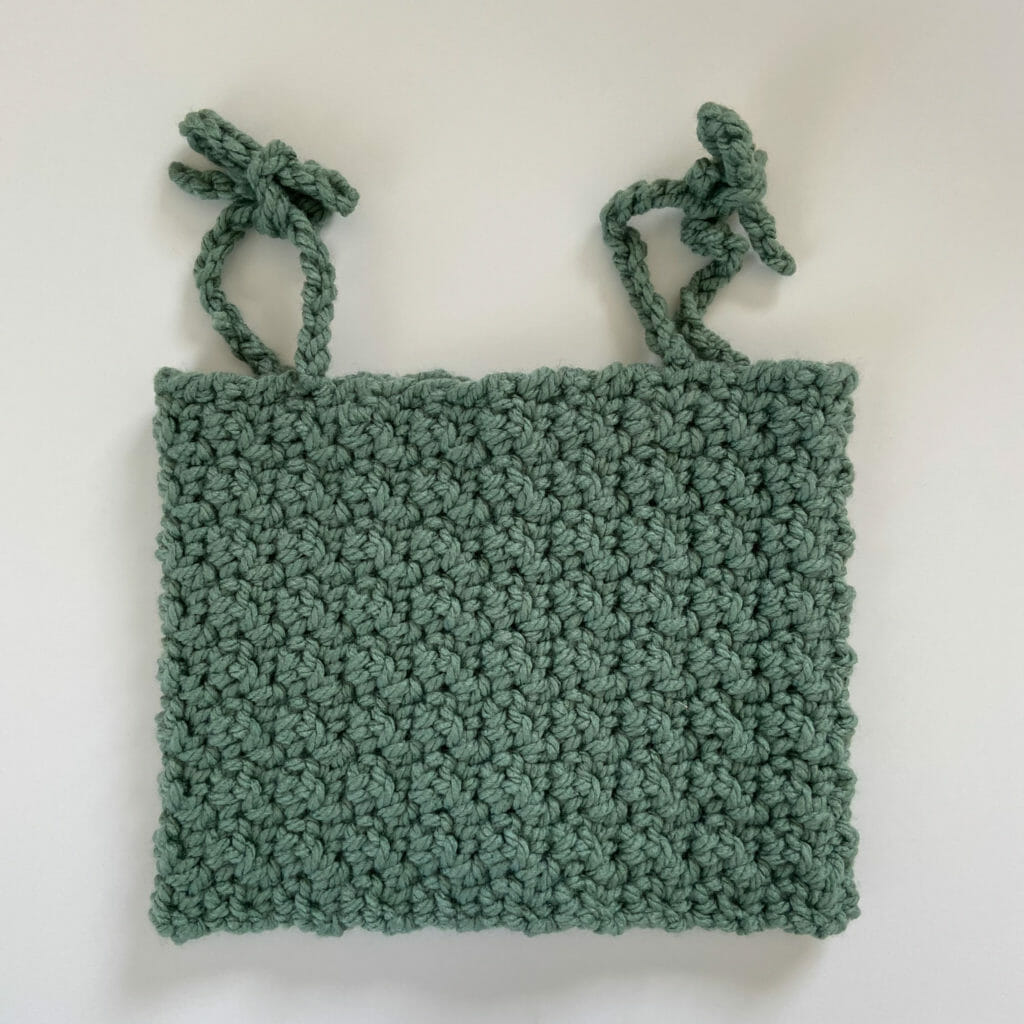
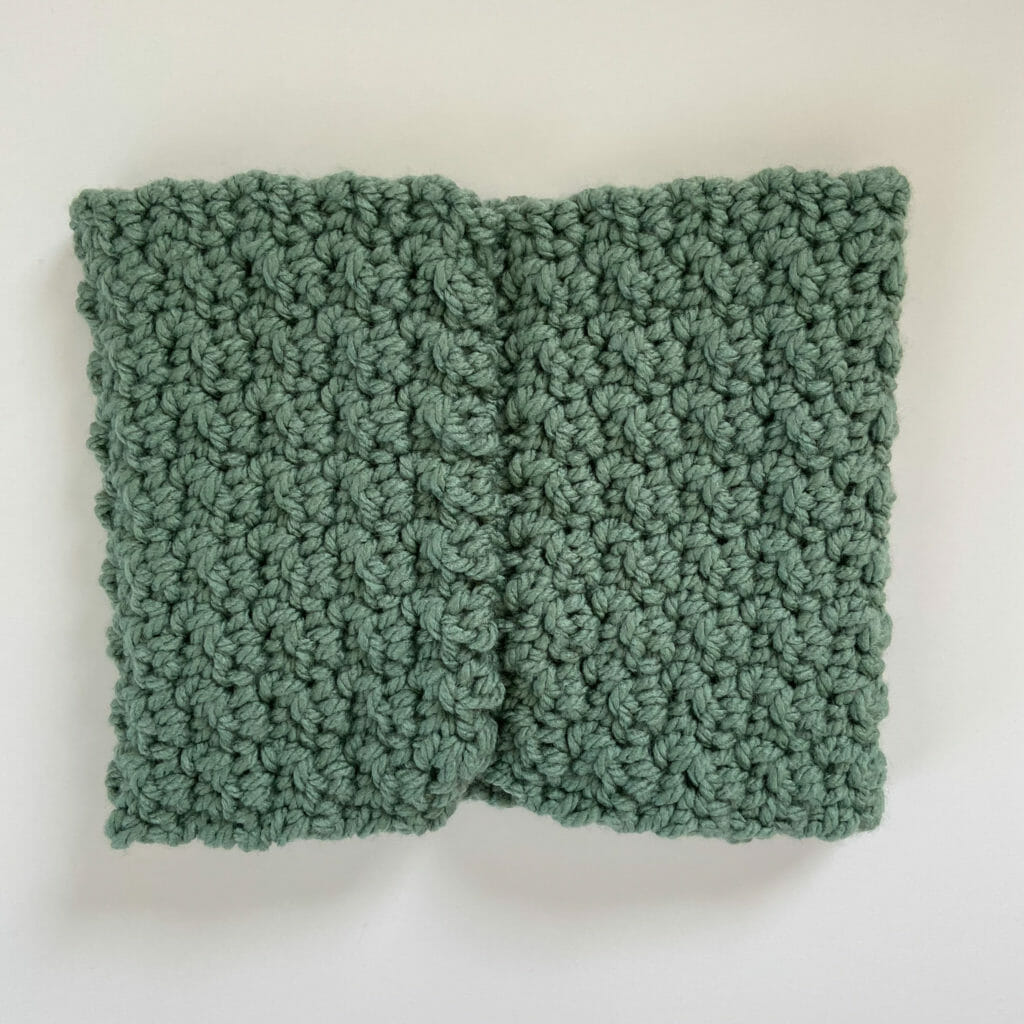
- When you have as many rows as you think you need, it’s time to sew the top. You can cut the thread, leave a long tail, and sew it with a darning needle, or you can sew the top (the method I used).
- Then button up and turn the work inside out.
- TIP: If you join the top with st and do NOT button or cut the thread, you can try the top on to see if it fits you. Check if you need more or fewer rows. If you need some tweaking, you can easily untangle the pr and remove/add more rows. I started with 50 rows, and it was a little big for me, so I took off 2 rows at a time and re-stitched until I found 40 rows to fit me.
Suspenders
- Now is the time to make the braces.
- Trace where you want the straps to be with some dot markers.
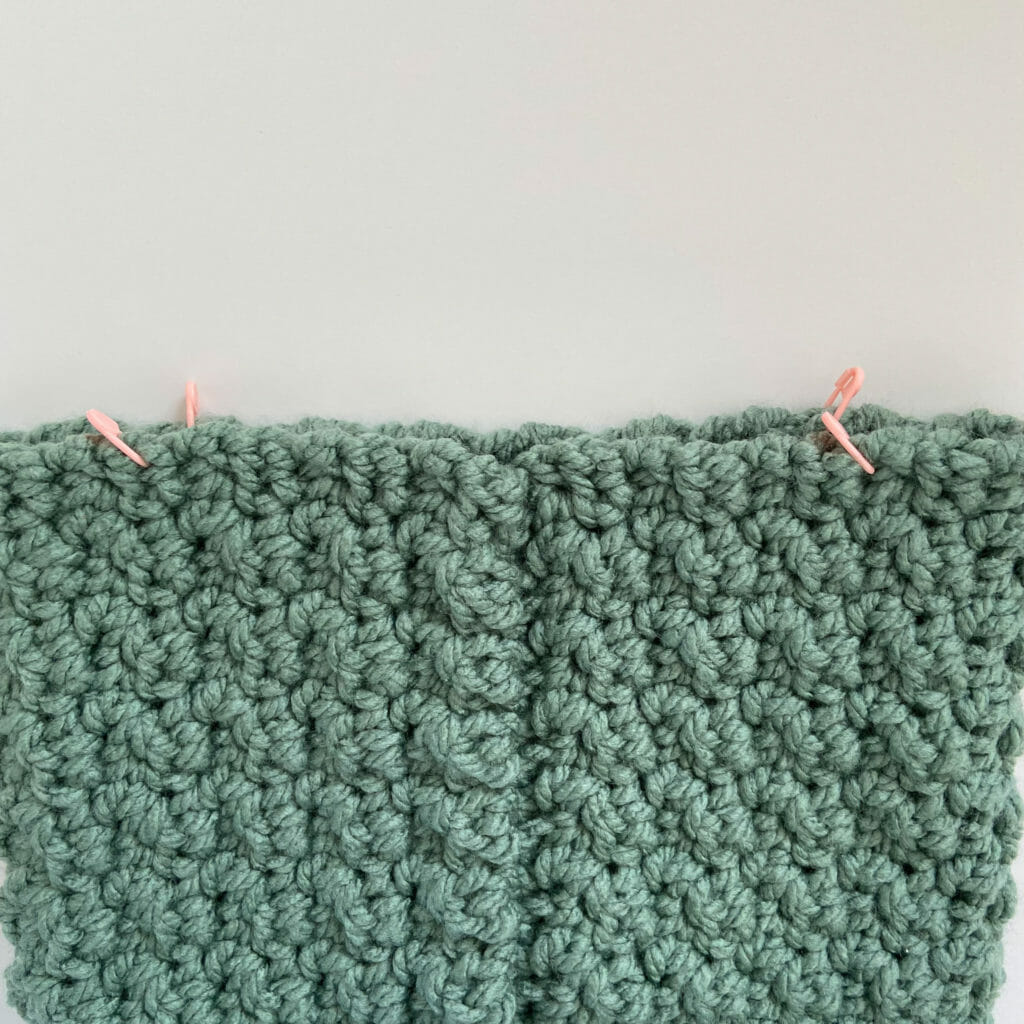
- Starting where one of the stitch markers is, remove the stitch marker, insert the hook, pull through the slipknot to the front of your work and ch 25 (more/less depending on how you want the shape). length of your straps), cut the thread and pass it through the last loop to close it.
- Repeat 3 more times for the other straps. And ready! You finished your cute top!