The 2nd arm is crocheted in the same way as the 1st arm. The 2nd arm is also crocheted in the color Moss (for the green dragon) or Cherry (for the red dragon) in spiral rounds with single crochet stitches.
- Crochet the 2nd arm in spiral rounds in Moss or Cherry.
- Round 1: Push with the crochet hook through the stitch that is directly at the “armpit” of the dragon. Yarn over the Moss or Cherry yarn and pull it through the stitch you just pushed through. Then push the hook from the front through the opposite stitch at the “armpit” and crochet 1 sc. Crochet another 5 sc. Crochet the last sc into the same stitch through which the thread was pulled through (6 stitches).
- Round 2: [1 sc, 1 increase] repeat till end of the round (9 stitches).
- Round 3: 1 sc, 1 increase, [2 sc, 1 increase] repeat 2 times, 1 sc (12 stitches).
- Round 4: [1 decrease] repeat till end of the round (6 stitches).
- Finish: Cut the yarn generously to close the arm later.
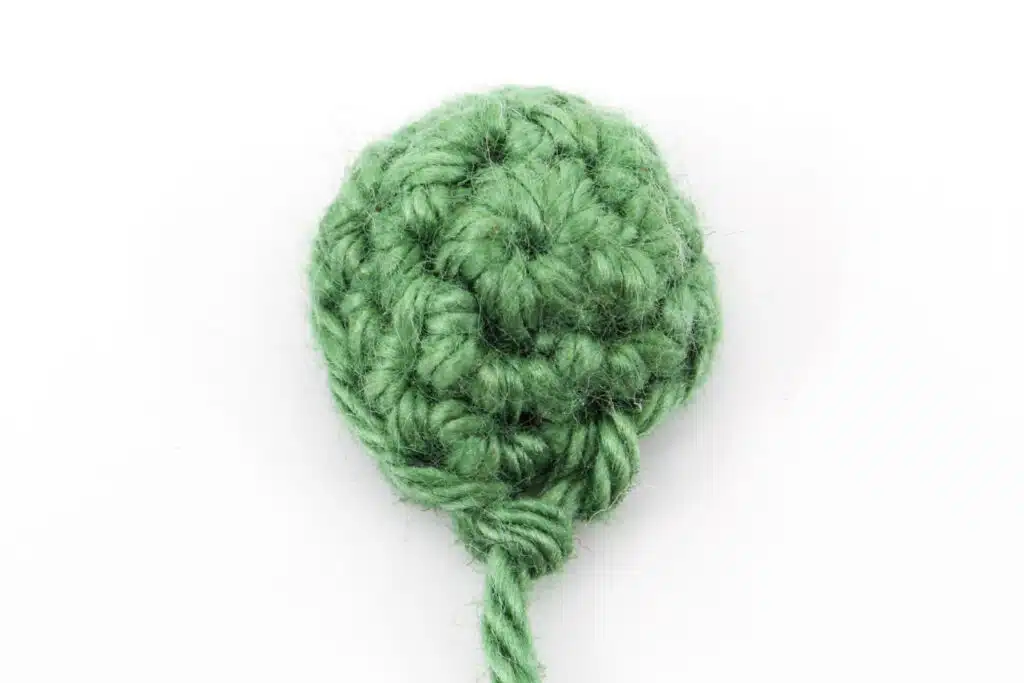
Crochet the Tail
The tail is crocheted in Moss (for the green dragon) or Cherry (for the red dragon) in spiral rounds with single crochet stitches.

- Crochet the tail in spiral rounds in Moss or Cherry.
- Round 1: 4 sc into the Magic Ring (4 stitches).
- Round 2: [1 sc, 1 increase] repeat till end of the round (6 stitches).
- Round 3: Crochet 6 sc (6 stitches).
- Finish: Cut the yarn generously and leave a long tail for sewing.
Crochet the Wings (2x)
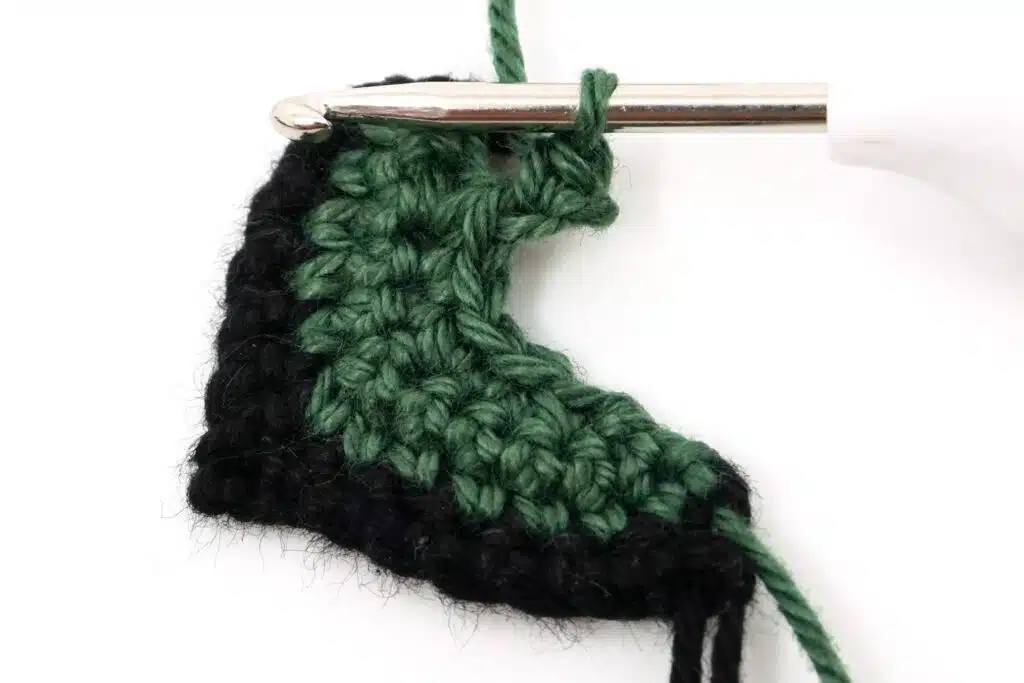
The wings are crocheted in Black and Pine (for the green dragon) or Black and Burgundy (for the red dragon) in rows with chain stitches, slip stitches and single crochet stitches. Crochet a total of 2 wings.

- Crochet the wings in rows in Black.
- Row 1: Crochet 18 chain stitches (18 stitches).
- Row 2: 1 sc into the 2nd stitch on the hook, 7 sc, skip 2 stitches, 7 sc (15 stitches).
- Row 3: Color change to Pine or Burgundy, 1 turning chain, 7 sc, skip 1 stitch, 6 sc (13 stitches).
- Row 4: Turn without turning chain, 1 decrease, 3 sc, skip 1 stitch, 4 sc, 1 decrease (9 stitches).
- Row 5: Turn without turning chain, 1 decrease, 2 sc, skip 1 stitch, 1 sc, 1 decrease (5 stitches).
- Row 6: 2 chain stitches, 1 sc into the 2nd stitch from the hook, turn the wing, 2 sc, skip 1 stitch, 1 sc, 1 slip stitch.


- Finish: Cut the yarn generously and leave a long tail for sewing.
Crochet the Muzzle
The muzzle is crocheted in Moss (for the green dragon) or Cherry (for the red dragon) in spiral rounds with single crochet stitches.
- Crochet the muzzle in spiral rounds in Moss or Cherry.
- Round 1: 5 sc into the Magic Ring (5 stitches).
- Round 2: [1 increase] repeat till end of the round (10 stitches).
- Round 3: Crochet 10 sc (10 stitches).
- Round 4: Crochet only 1 sc.
- Finish: Cut the yarn generously and leave a long tail for sewing.
Crochet the Ears (2x)
The ears are crocheted in Moss (for the green dragon) or Cherry (for the red dragon) in rows with chain stitches, single crochet stitches and half double stitches. Crochet a total of 2 ears.
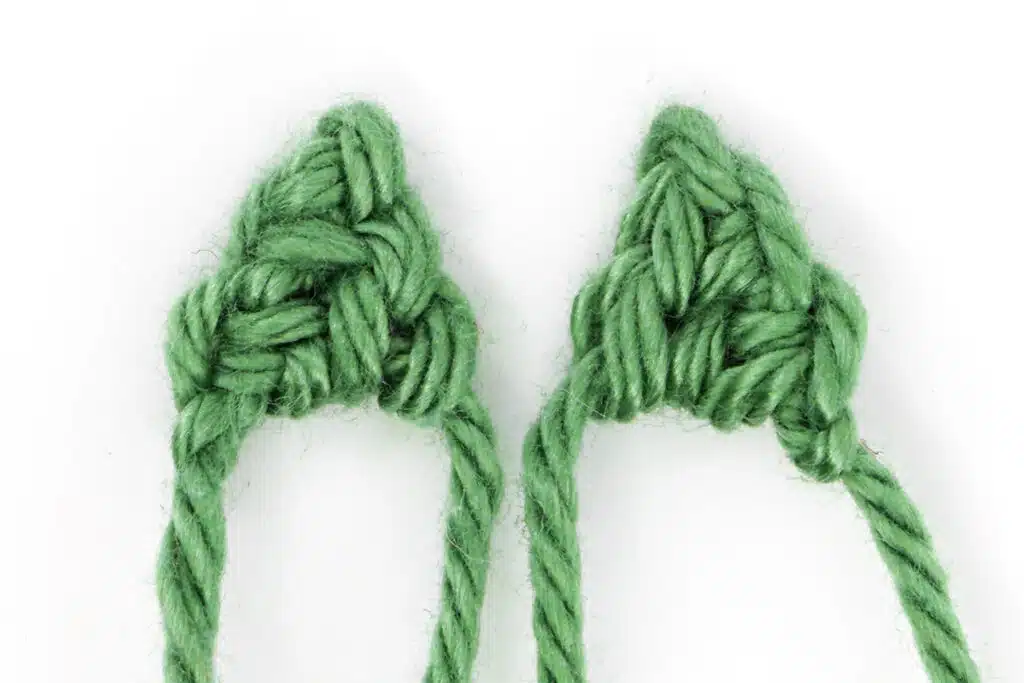
- Crochet the ears in rows in Moss or Cherry.
- Row 1: Crochet 3 chain stitches (3 stitches).
- Row 2: 1 sc into the 2nd stitch from the hook, 1 half double crochet (2 stitches).
- Finish: Cut the yarn generously and leave a long tail for sewing.
Crochet the Eyebrows (2x)
The eyebrows are crocheted in Moss (for the green dragon) or Cherry (for the red dragon) in rows with chain stitches. Crochet a total of 2 eyebrows.
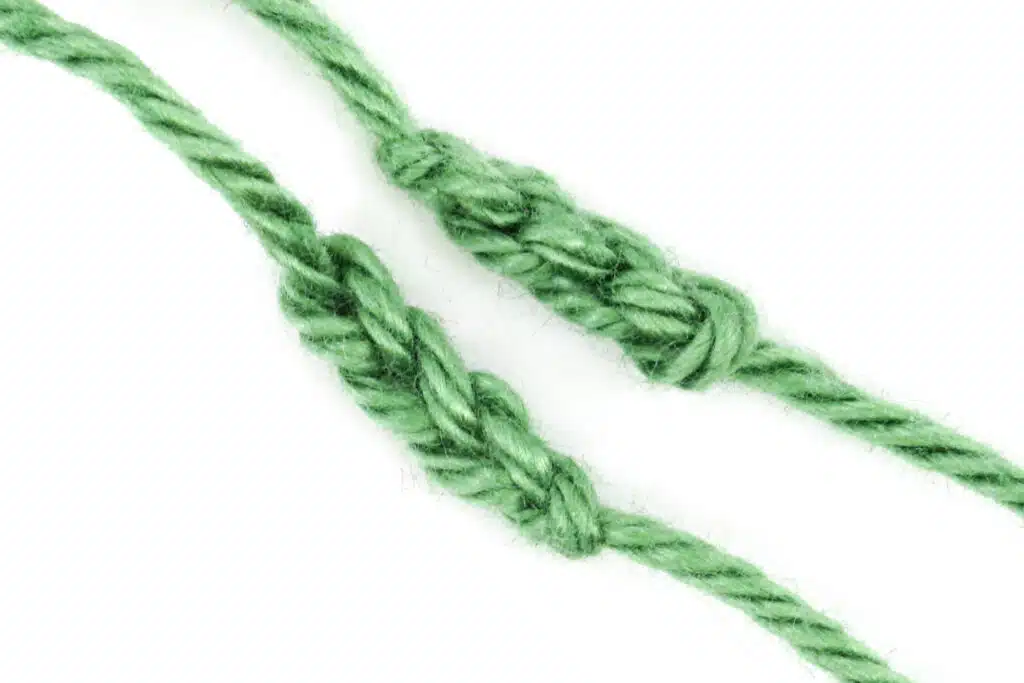
- Crochet the eyebrows in rows in Moss or Cherry.
- Row 1: Crochet 3 chain stitches (3 stitches).
- Finish: Cut the yarn generously and leave a long tail for sewing.
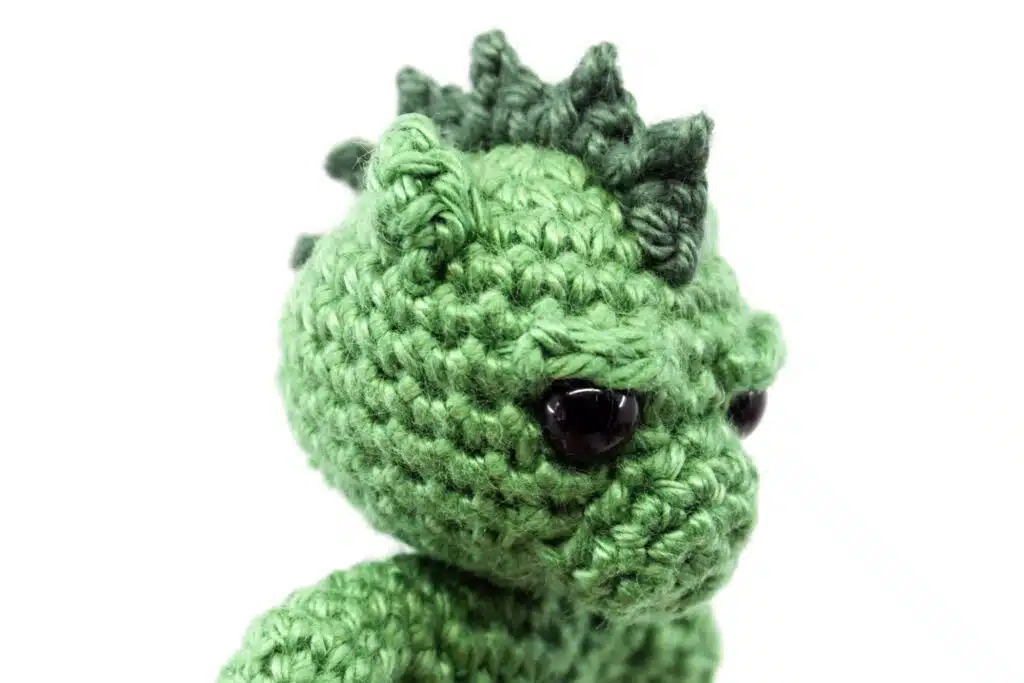
Crochet the Head Spikes
The spikes are crocheted in Pine (for the green dragon) or Burgundy (for the red dragon) in rows with chain stitches, slip stitches, single crochet stitches and double crochet stitches.
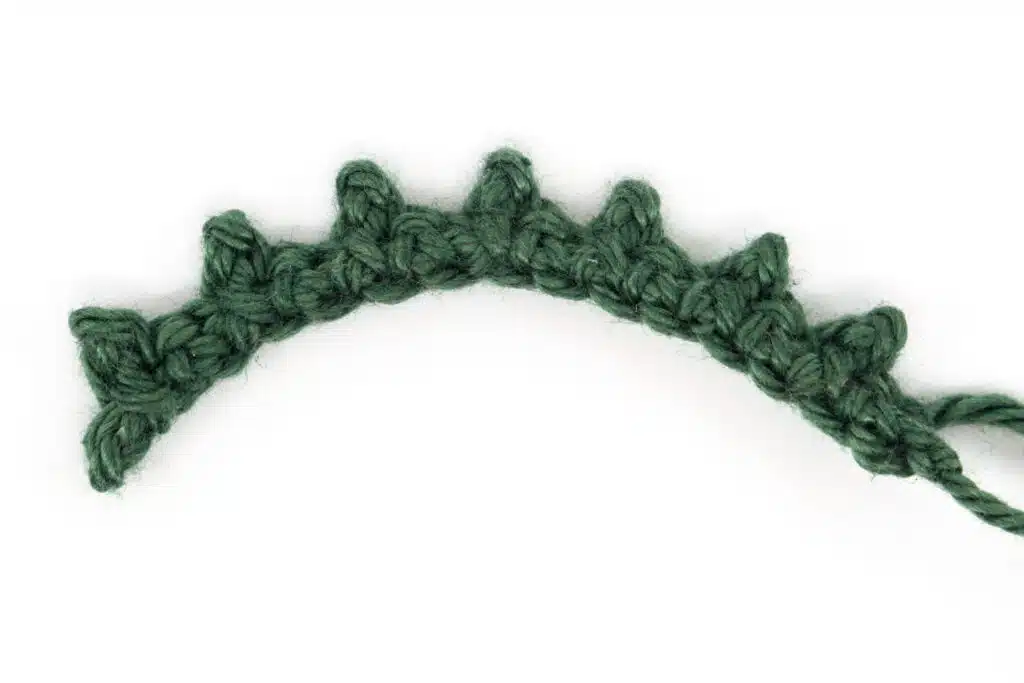
- Crochet the spikes in rows in Pine or Burgundy.
- Row 1: Crochet 16 chain stitches (16 stitches).
- Spikes: 1 slip stitch into the 2nd stitch from the hook, [2 chain stitches, 1 slip stitch into the next stitch from the hook, 1 sc into the next stitch on the initial chain, 1 slip stitch] repeat 7 times.
- Finish: Cut the yarn generously and leave a long tail for sewing.
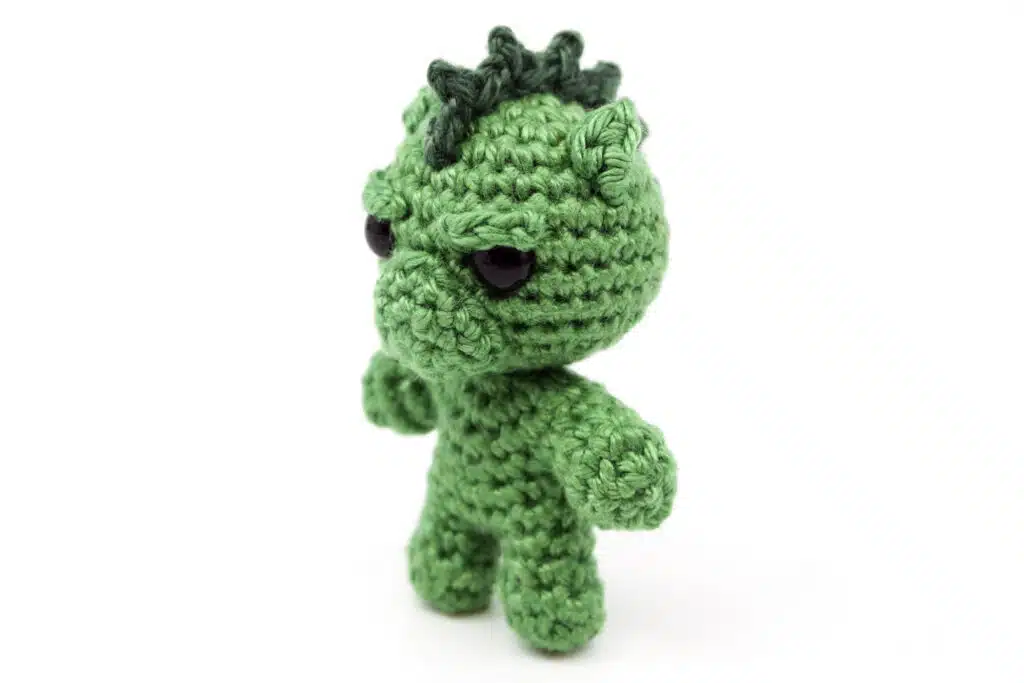
Assembling
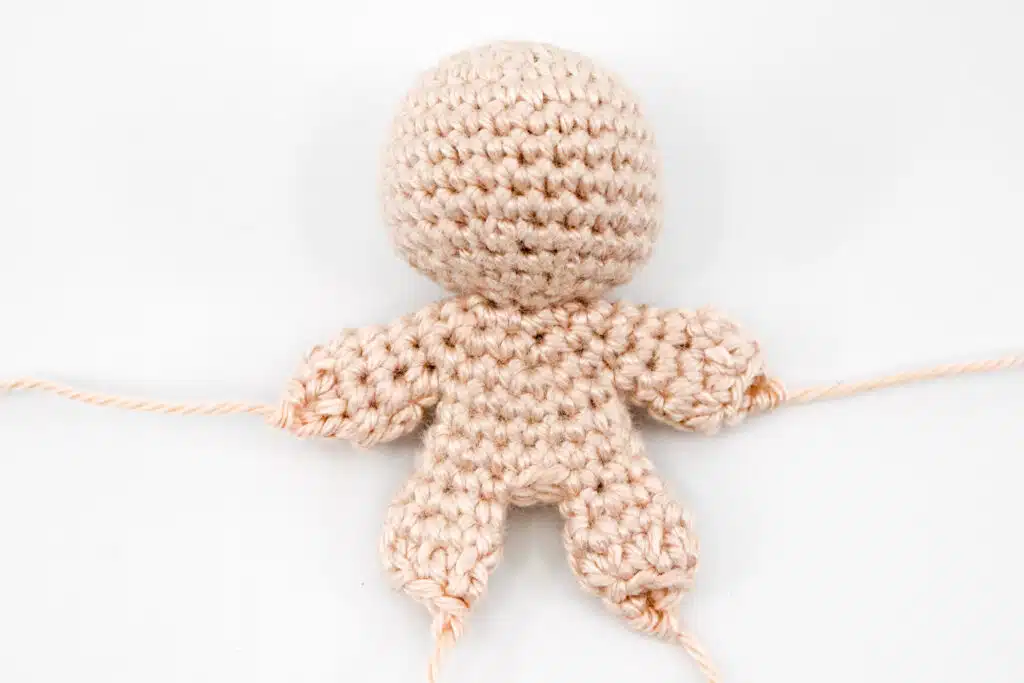
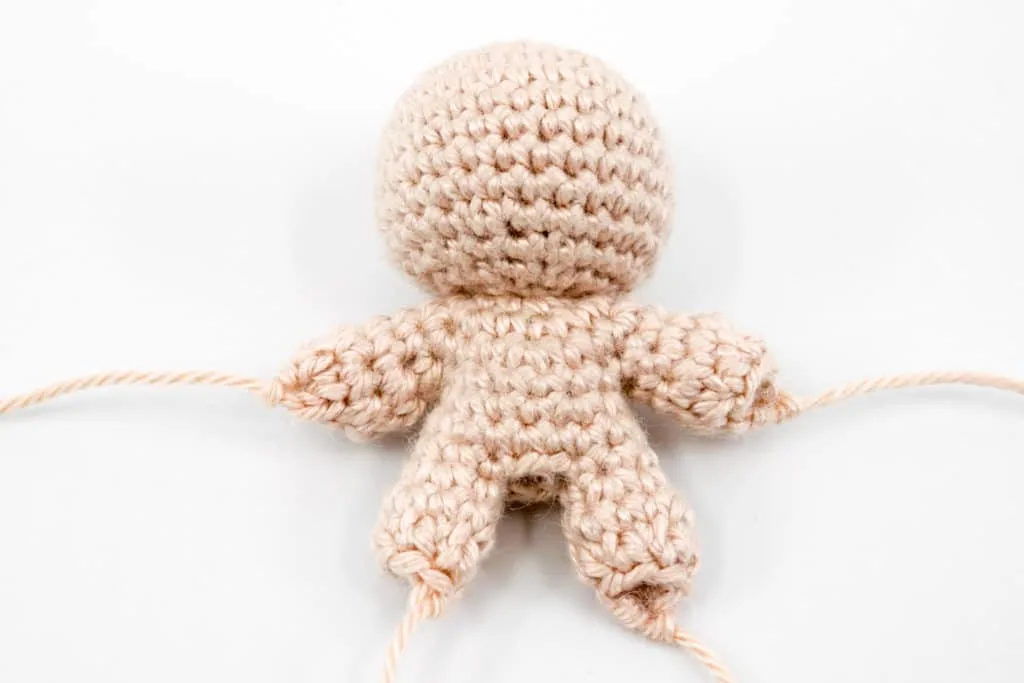
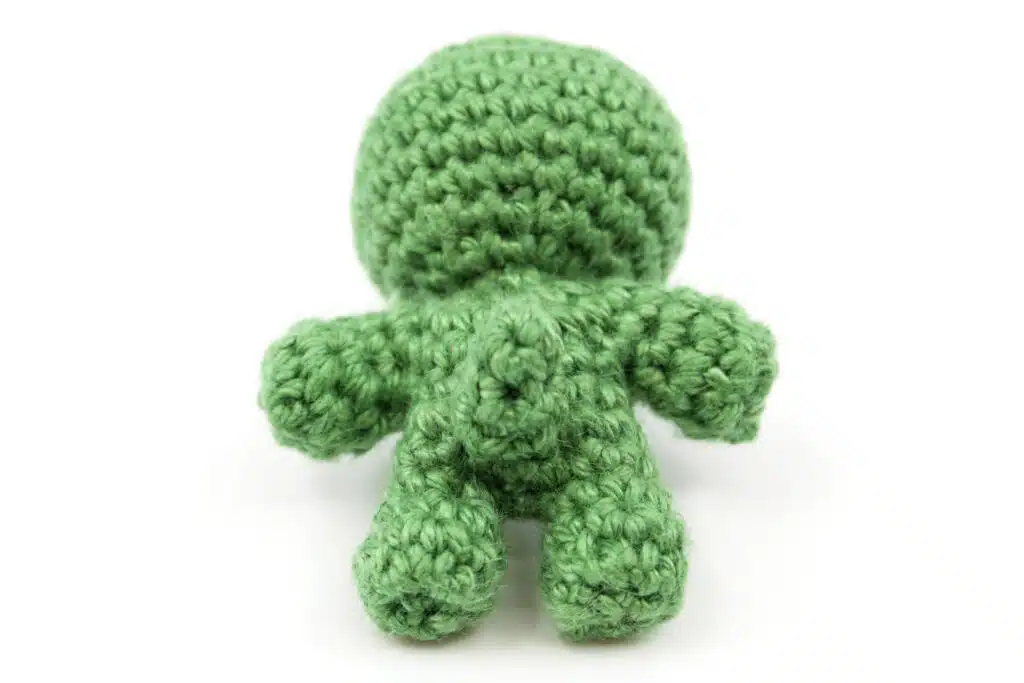
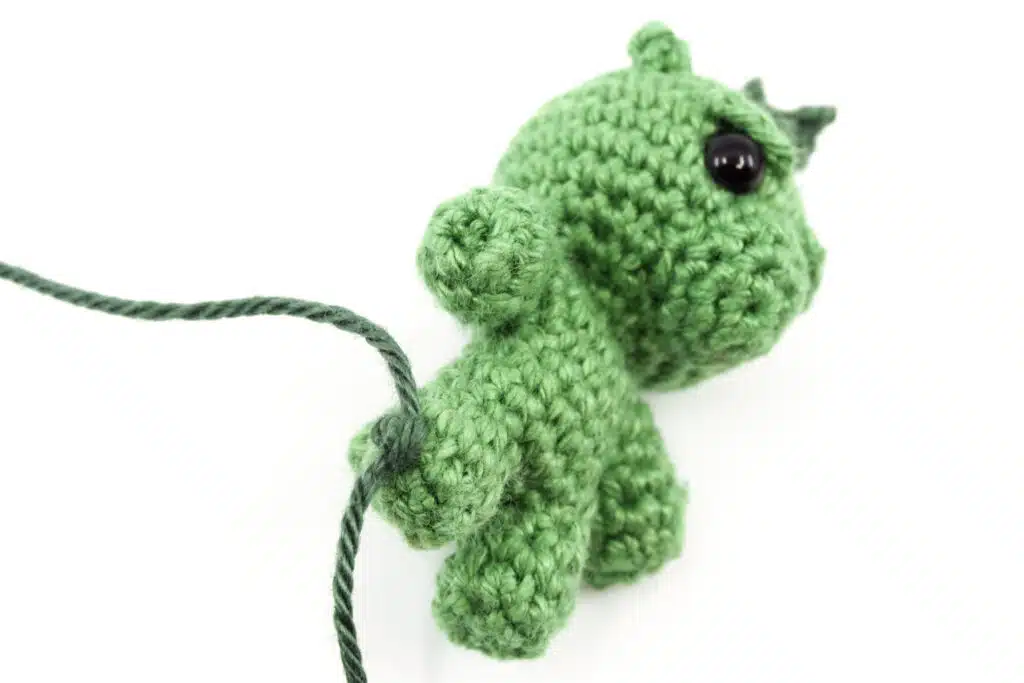
Fill the Body: After you finished crocheting the body of the dragon, it is necessary to fill it and close the openings. First use the openings at the arms and legs to fill the body with polyfill and then the respective limbs.
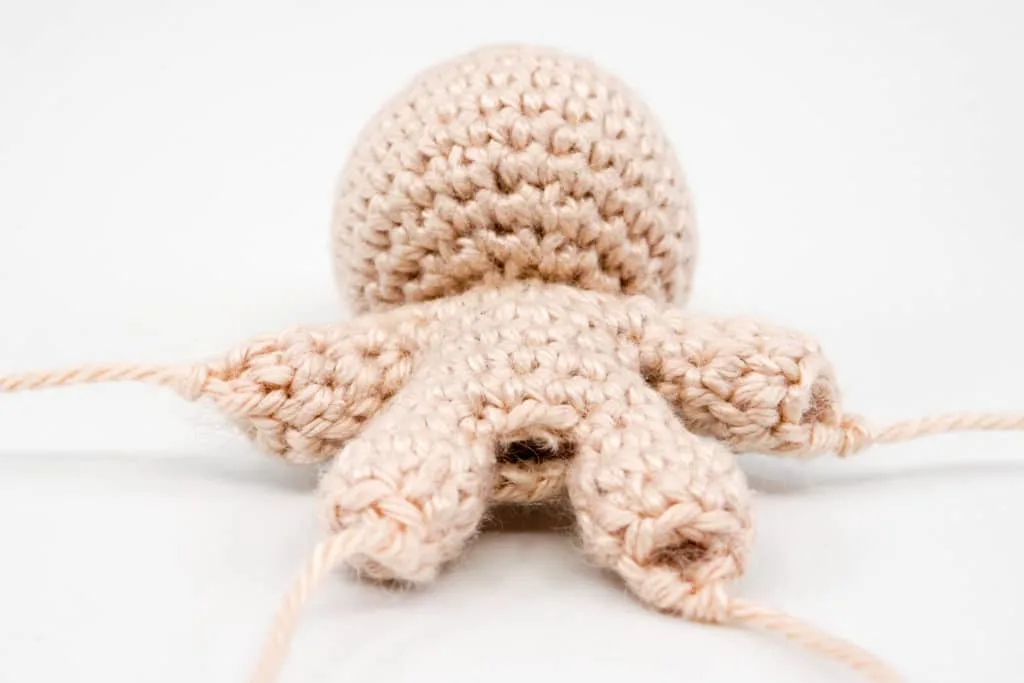
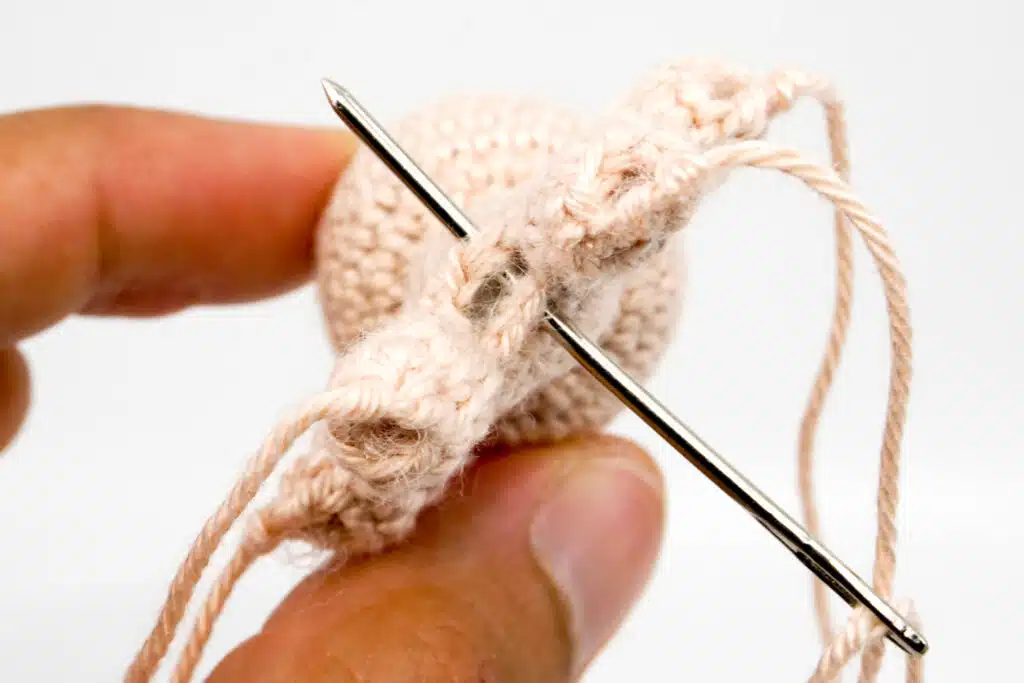
Close Openings: After you have filled the entire body with enough polyfill, it is time to close the openings. First, using a thread in Moss (for the green dragon) or Cherry (for the red dragon), sew together the 4 stitches in the crotch of the dragon.
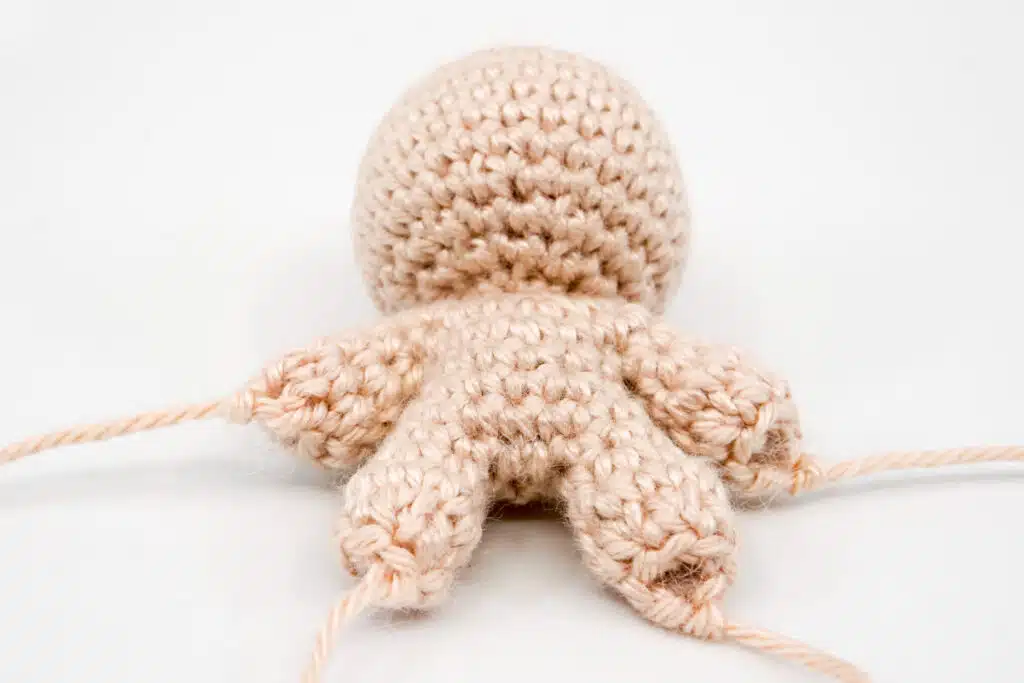
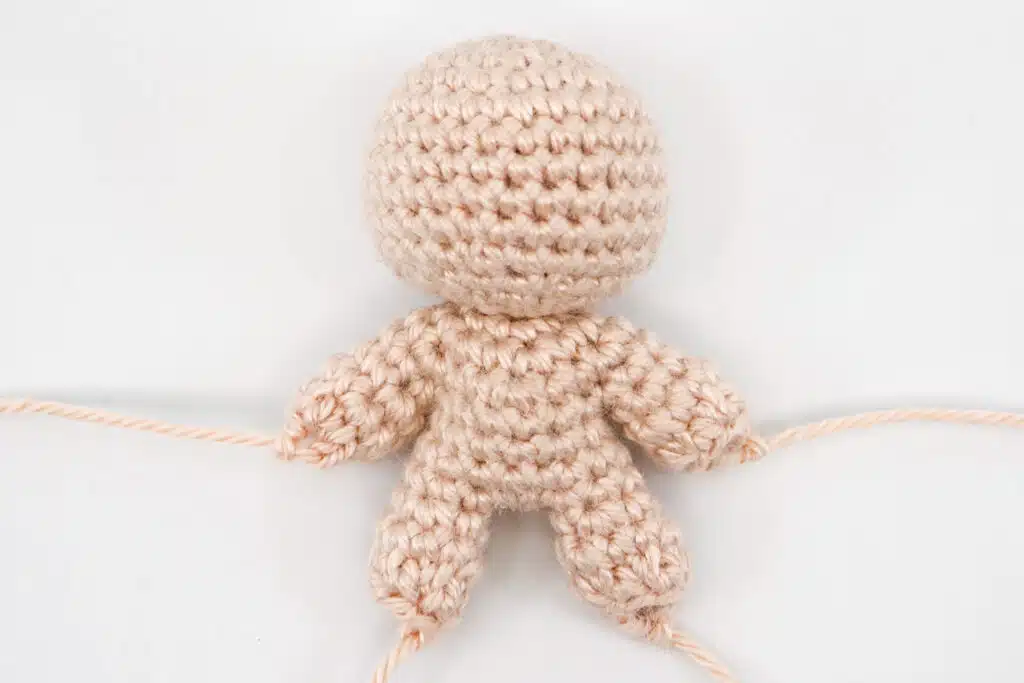
Then close the arm and leg openings.


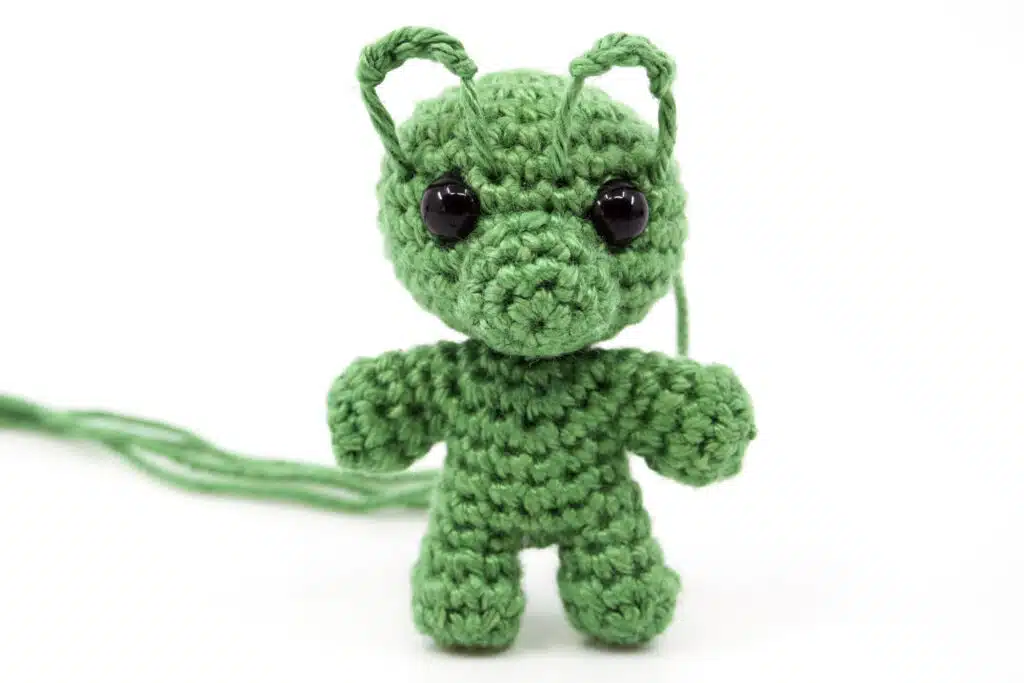
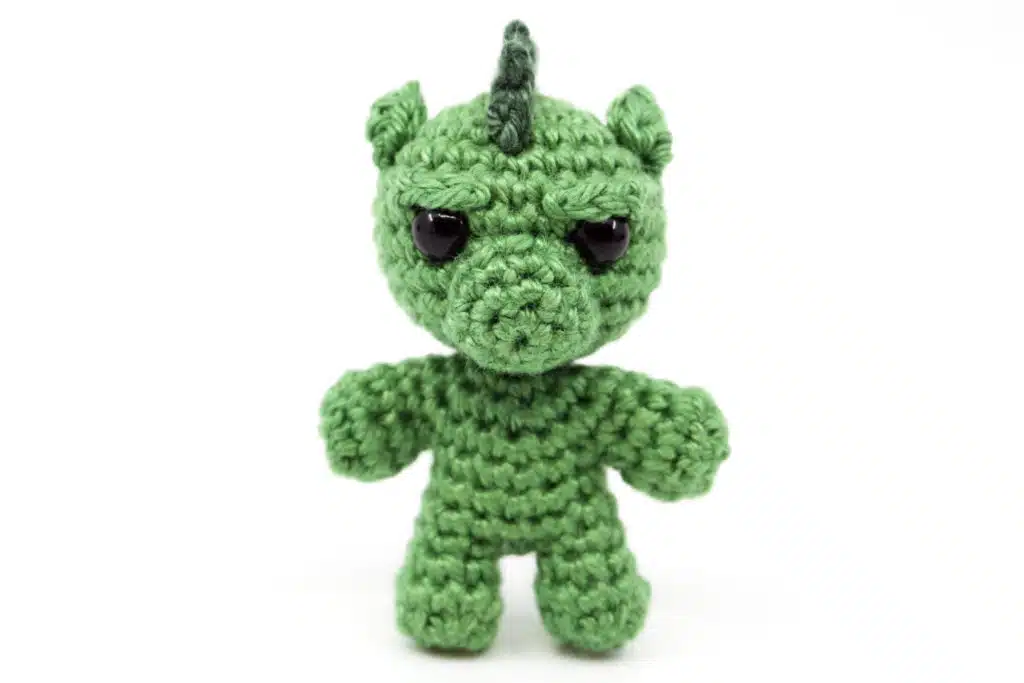
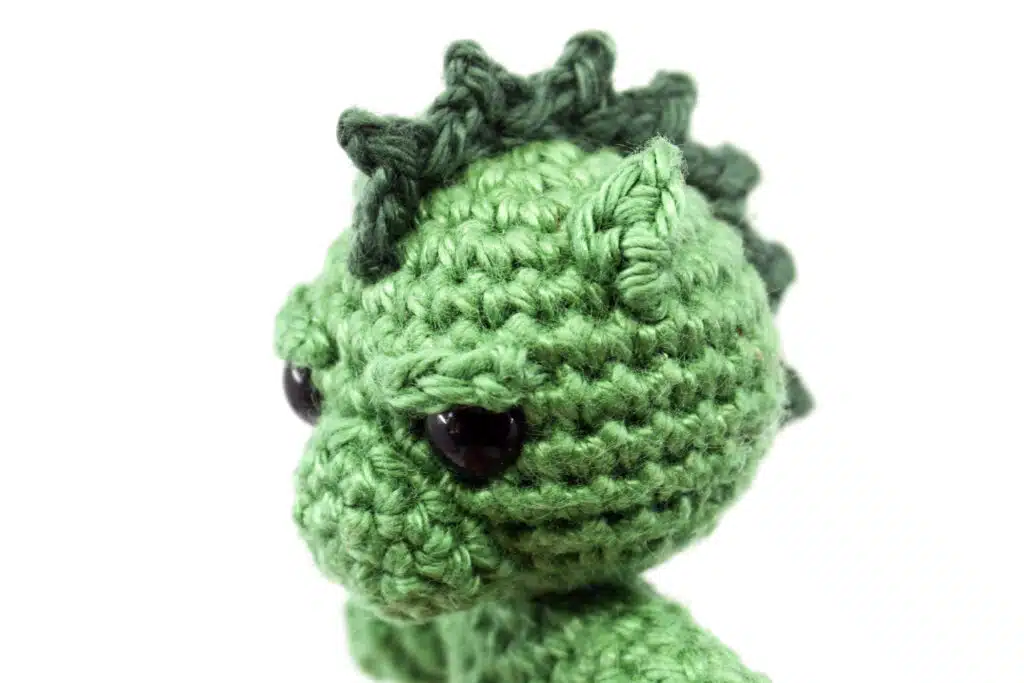
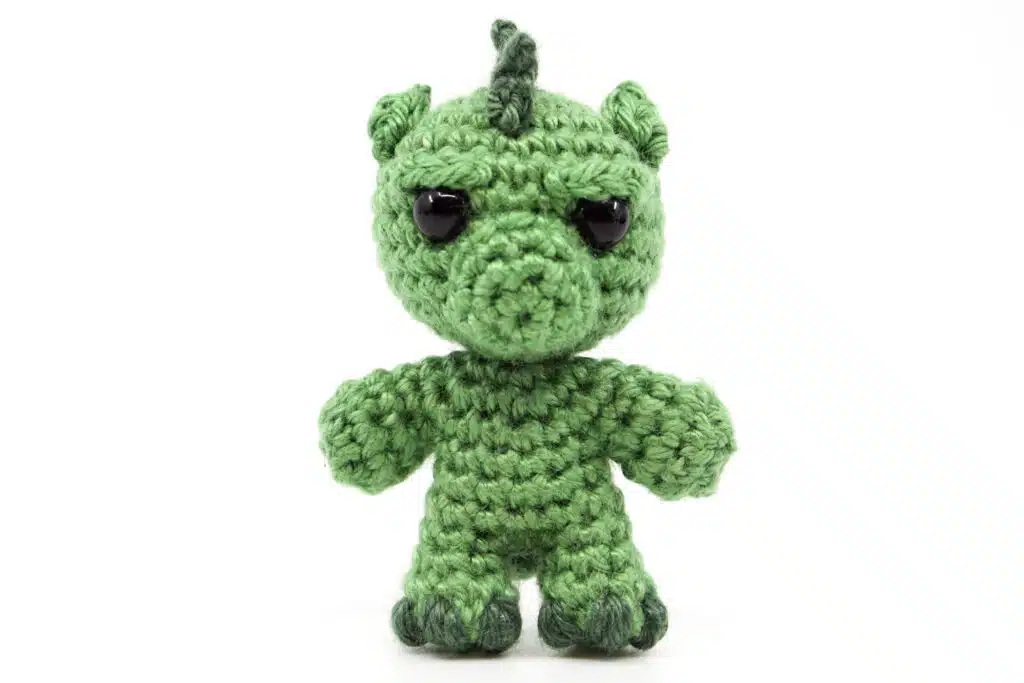
Muzzle: Sew the muzzle centered under the eyes onto the head.

Eyebrows: Attach the eyebrows directly above the eyes. Pull the ends of the threads of the eyebrows through two stitches above the eyes, with a distance of 2 stitches between them. Weave in and hide the threads inside the head.


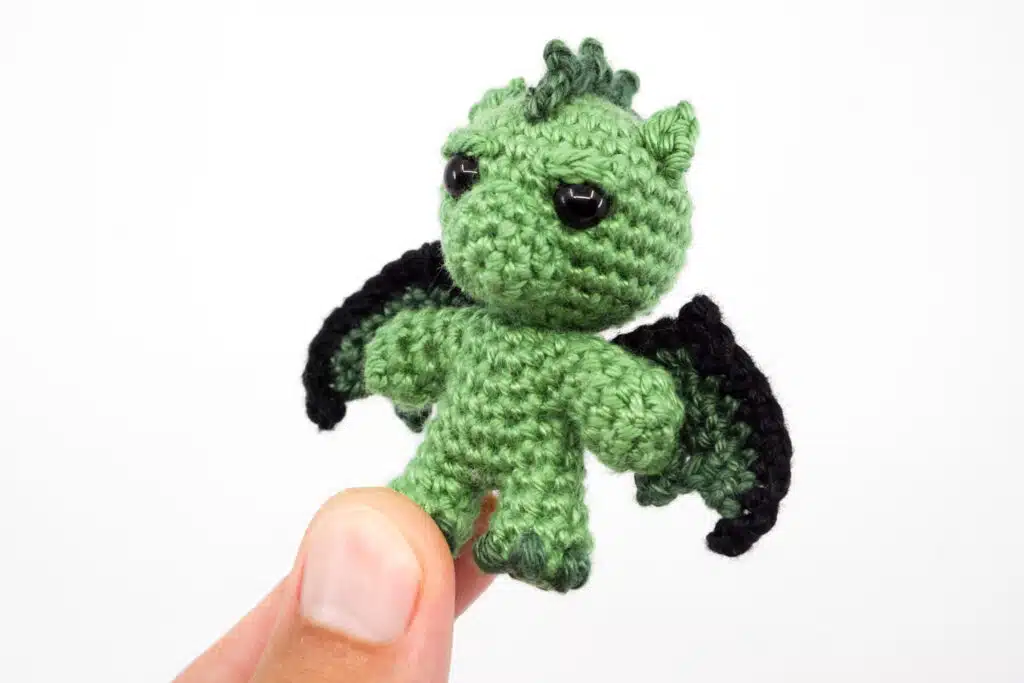
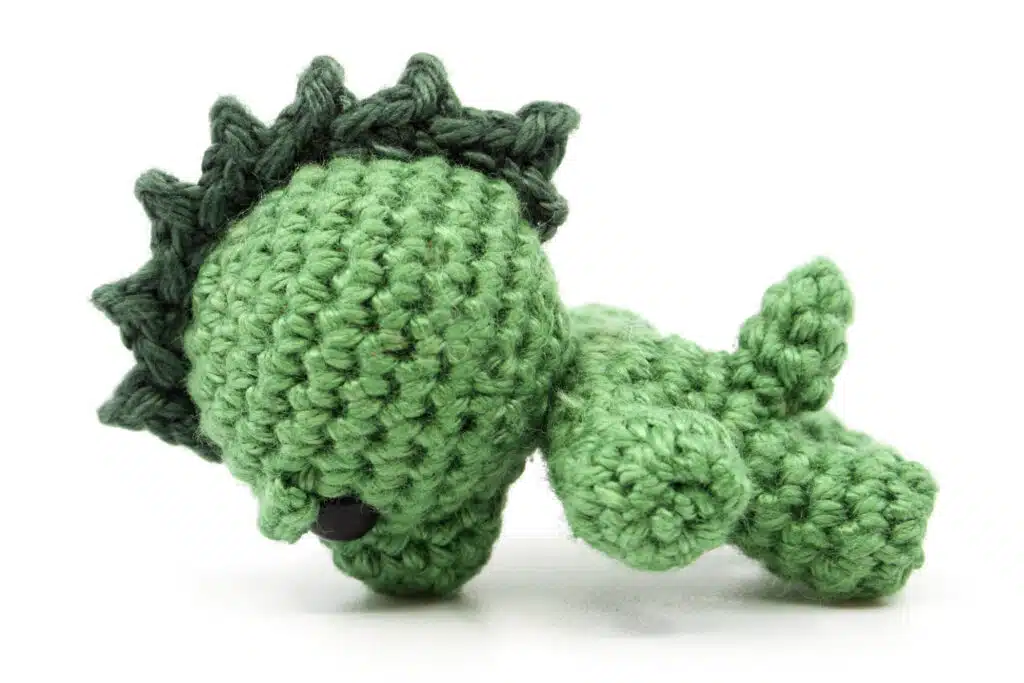
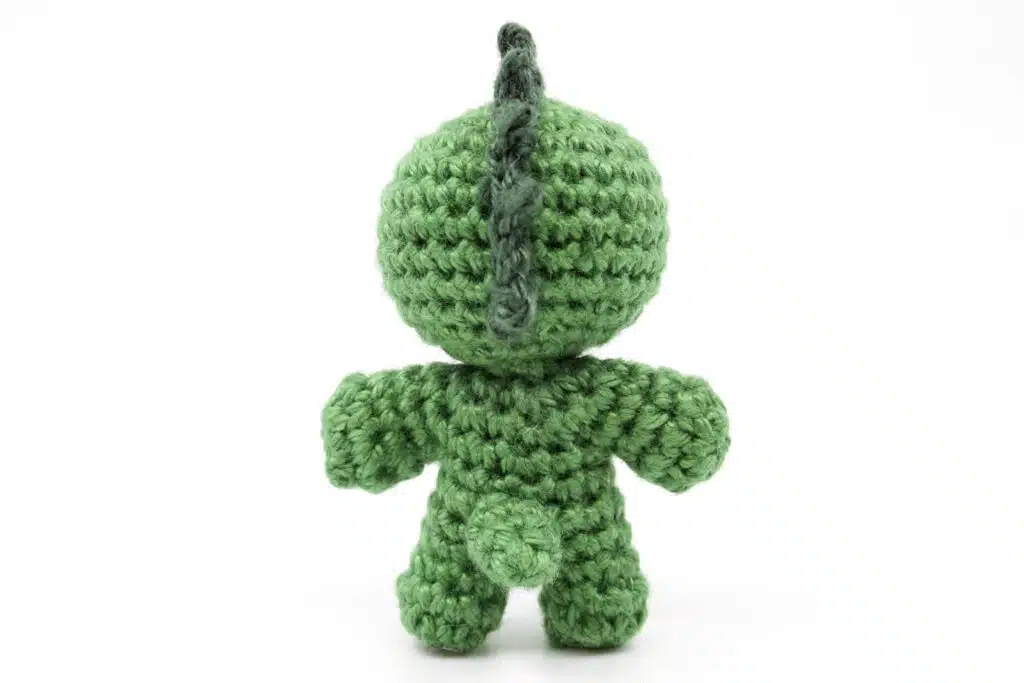
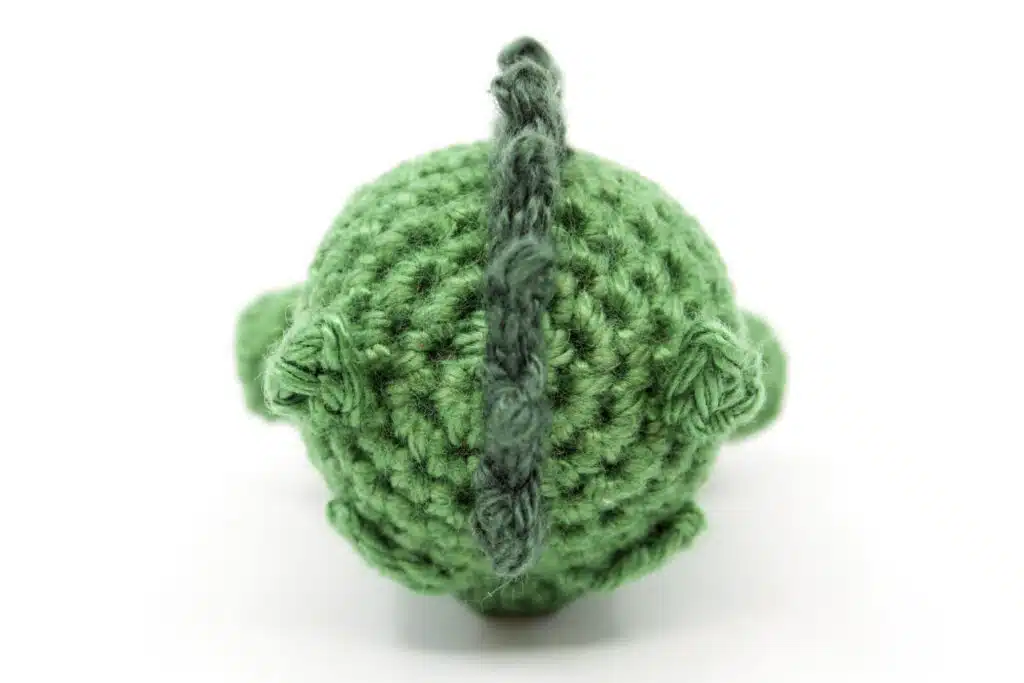
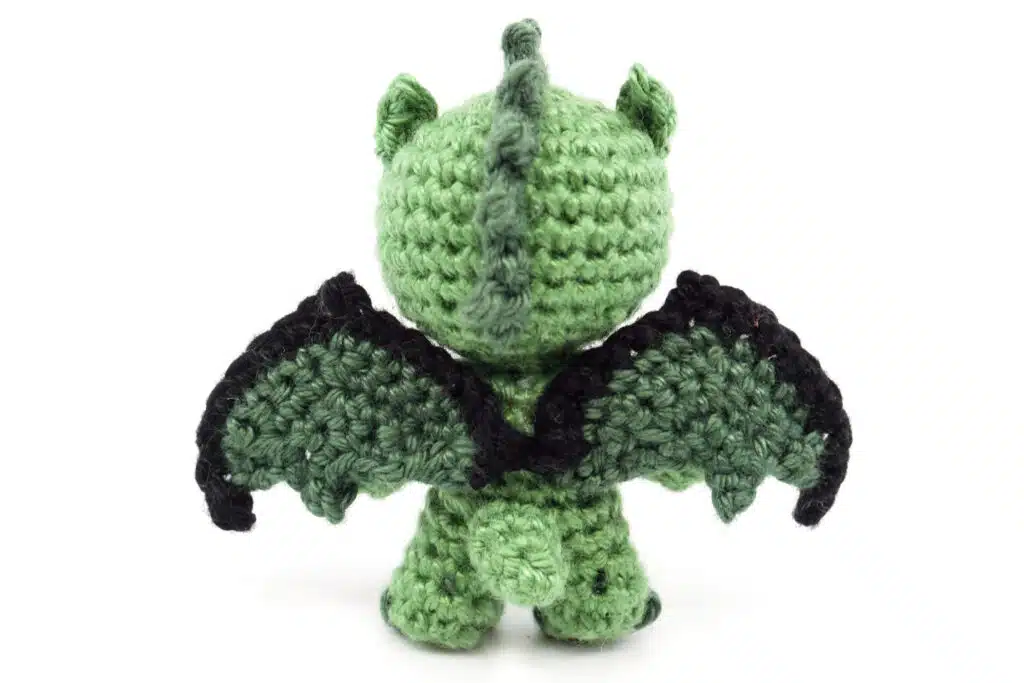
Tail: Sew the tail centered on the back, between the legs, onto the body as shown in the pictures.

Head Spikes: Sew the spikes onto the middle of the head running from the front to the back. Start sewing the spikes 2 to 3 stitch rows above the eyes.


Ears: Sew the ears right and left 3 to 4 stitch rows from the head spikes onto the head.


Claws: Use a Pine (for the green dragon) or Burgundy (for the red dragon) colored thread to create the claws on the legs at 3 locations per foot as shown in the pictures. To do this, wrap the thread 3 to 4 times around a loop. Hide the remaining thread inside the foot.


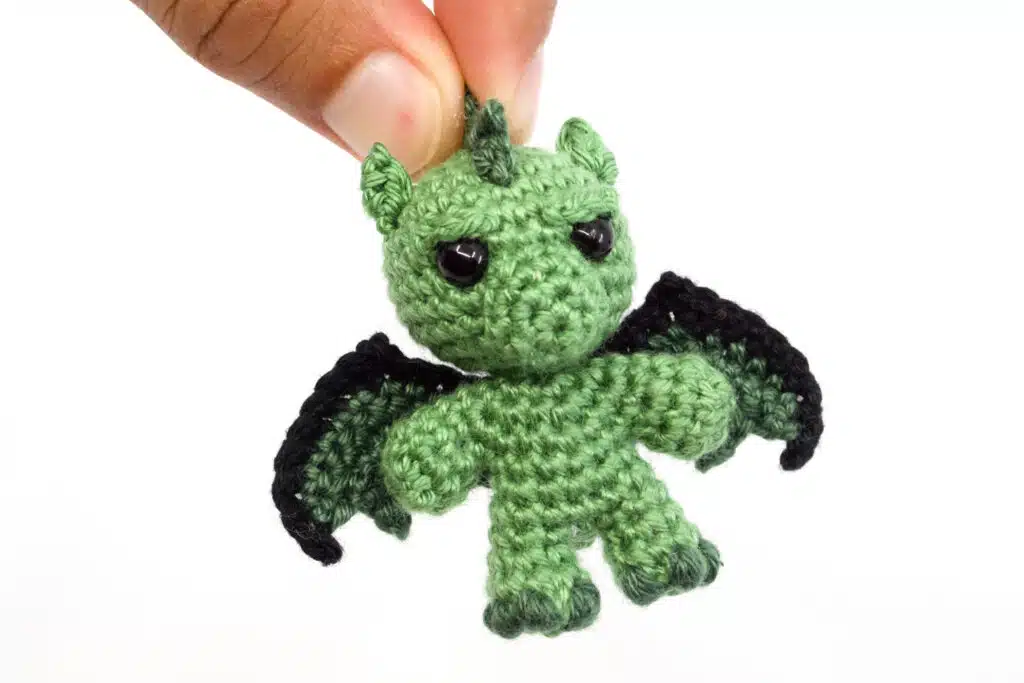
Wings: Sew the wings right and left just behind the arms onto the body.
DONE!