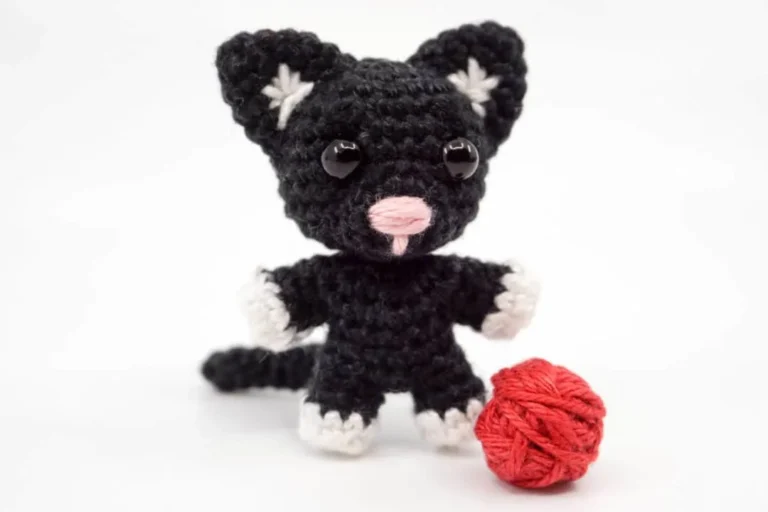
ATTENTION: The pattern, in whole or in parts, may not be published, resold, translated, changed or exchanged in any way whatsoever!
Needed Techniques
- Slip Knot
- Magic Ring
- Chain Stitch
- Single Crochet (sc)
- Increase
- Decrease
- Crochet into Front and Back Loop
- Color Change
- Close Openings
- Sewing
Needed Materials and Tools
To order the materials click on the respective link (affiliate link).
- Colors: black, white, rose, pink
- This pattern was crocheted using the “Schachenmayr Catania” yarn (100% Cotton, Meterage: 125 m, Yarn Ball Weight: 50 g, Yarn Weight: Sport – 5ply / Fine (2)) in the following colors:
- Black (Schwarz (110)), White (Weiß (106)), Old Rose (Altrosa (408)), Cherry (Kirsche (424))
- 2.5 mm Crochet Hook
- 6 mm Safety Eyes
- Polyfill
- Scissors
- Tapestry Needle
- Stitch Marker
Crochet the Head, Upper Body and First Leg
The complete body is crocheted in one piece in the colors Black and White in spiral rounds with single crochet stitches. The following pictures show the finished body.
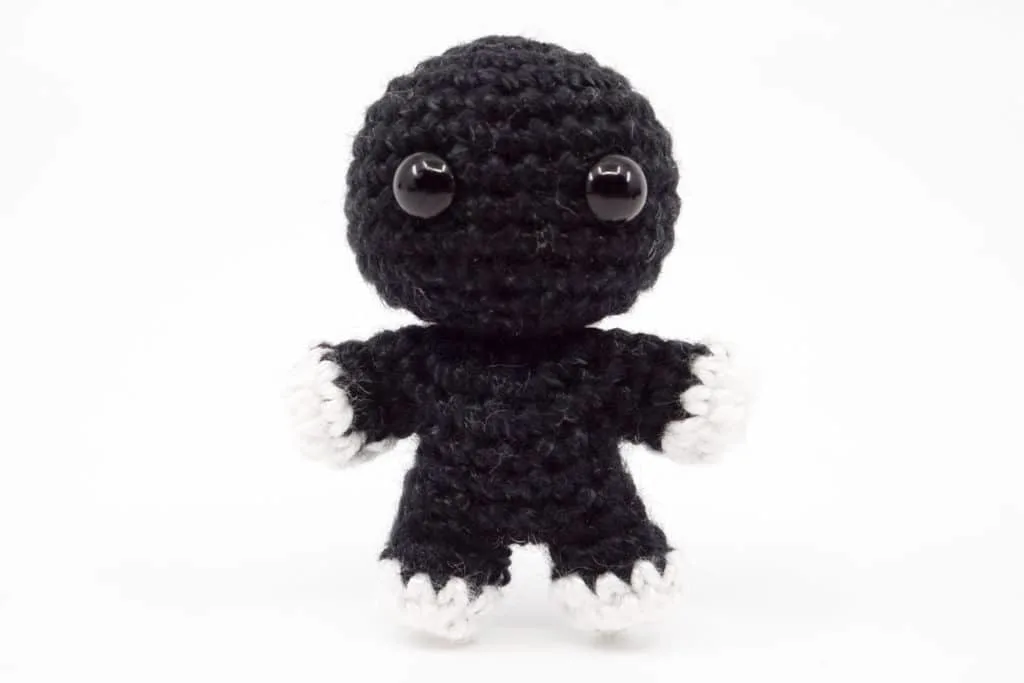

ATTENTION: Since the body needs in some places a little more precise description, the step-by-step pictures for the body were done in a different and better discernable color so that you can see the steps more clearly.
Therefore, always follow the written instructions for the colors to use and for possible color changes, even if the step-by-step pictures for the body are in a different color.
The first part which is crocheted in one piece consists of the head, upper body and the first leg.
Apart from the head, it is recommended to fill all parts of the body with polyfill only after all limbs have been completed.
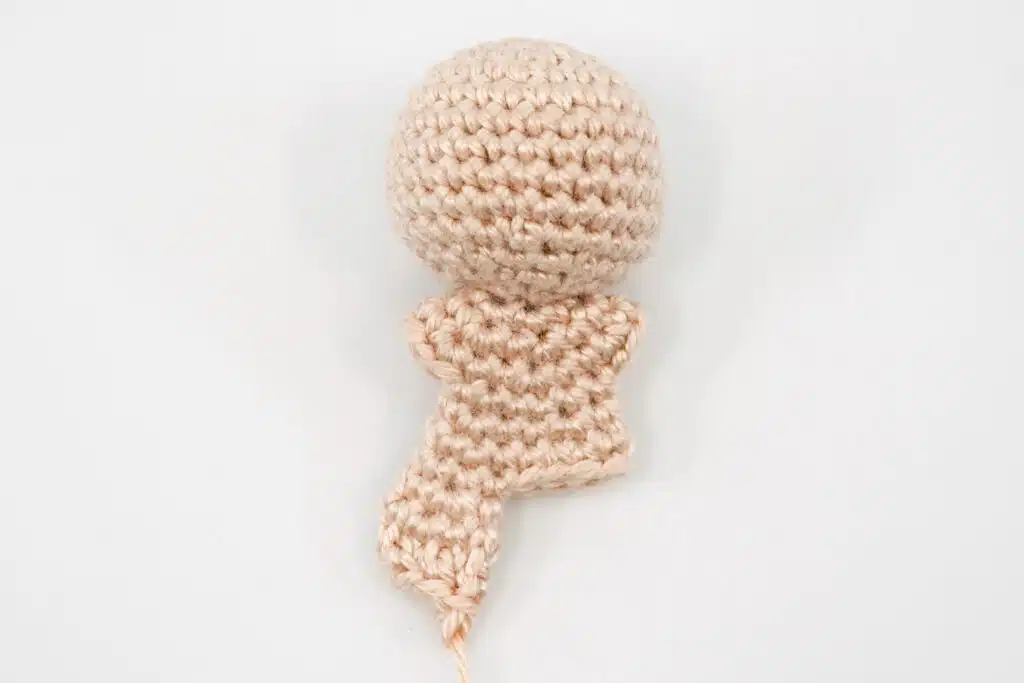
Use the check boxes to mark your finished rounds, rows and steps.
- Crochet the head in spiral rounds in Black.
- Round 1: 6 sc into the Magic Ring (6 stitches).
- Round 2: [1 increase] repeat till end of the round (12 stitches).
- Round 3: [1 sc, 1 increase] repeat till end of the round (18 stitches).
- Round 4: 1 sc, 1 increase, [2 sc, 1 increase] repeat 5 times, 1 sc (24 stitches).
- Round 5: [7 sc, 1 increase] repeat till end of the round (27 stitches).
- Round 6: Crochet 27 sc (27 stitches).
- Round 7: The 2 marker threads that are used in this round will later indicate the places where the safety eyes will be attached. 6 sc, 1 sc with a marker thread, 4 sc, 1 sc with a marker thread, 15 sc (27 stitches).
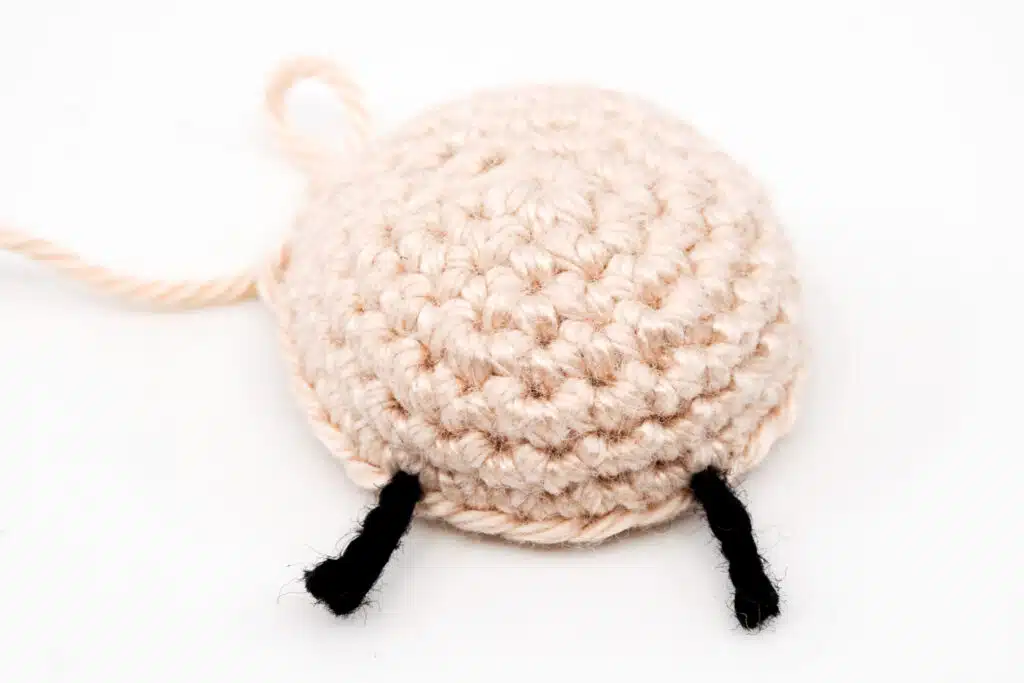
- Round 8-9: 2 rounds, each round 27 sc (27 stitches).
- Round 10: [7 sc, 1 decrease] repeat till end of the round (24 stitches). If you use safety eyes, attach them now where the threads are.
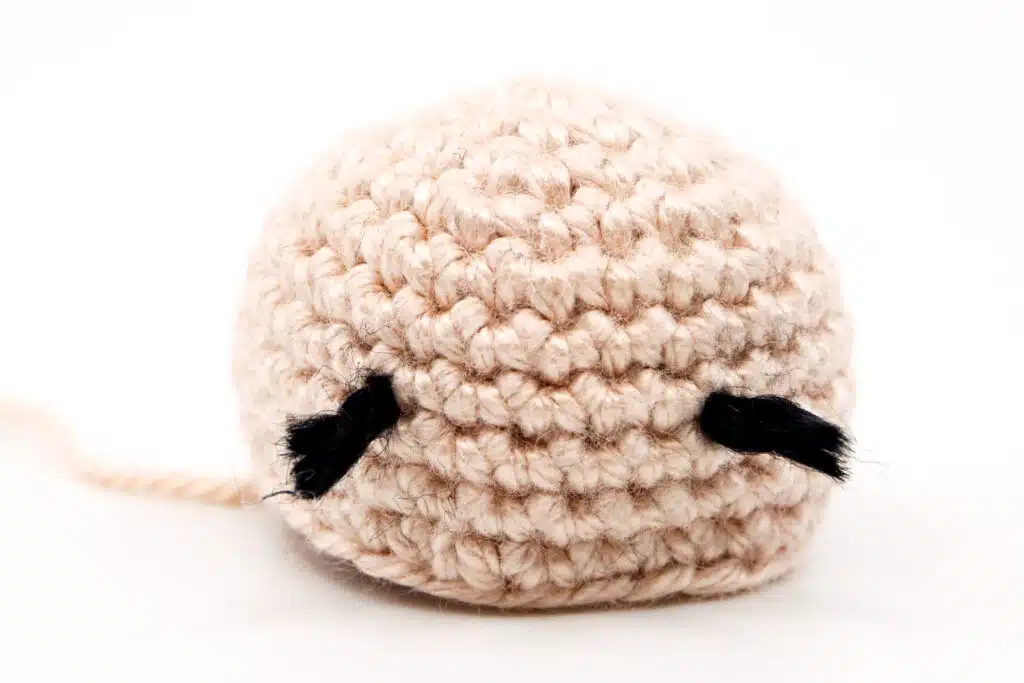
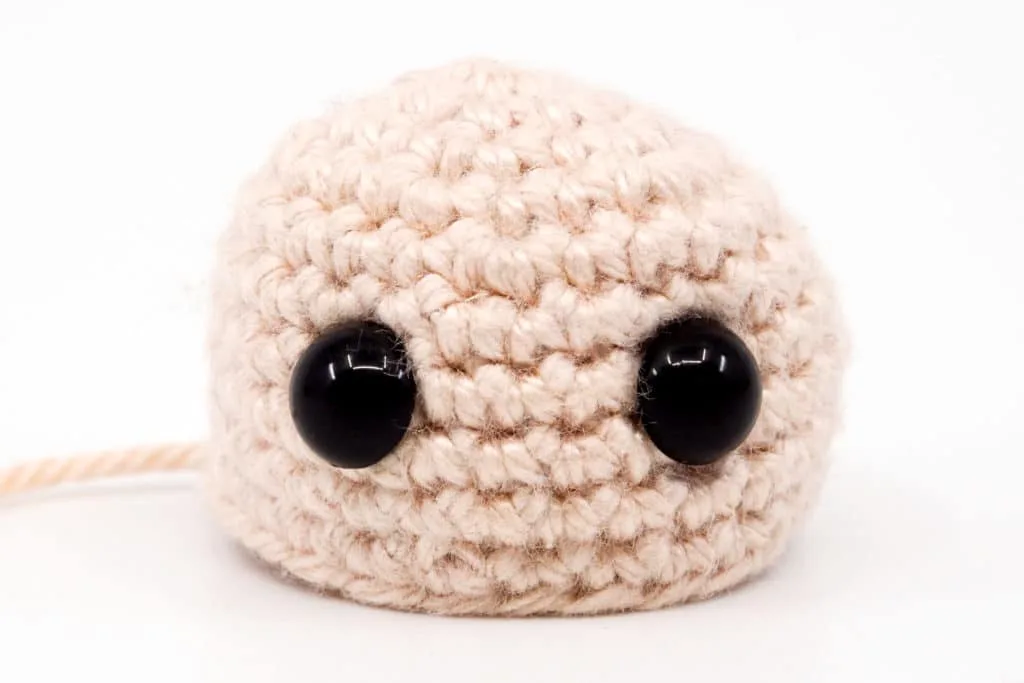
- Round 11: 1 sc, 1 decrease, [2 sc, 1 decrease] repeat 5 times, 1 sc (18 stitches).
- Round 12: Fill the head with polyfill. [1 sc, 1 decrease] repeat till end of the round (12 stitches).
- Round 13: [1 decrease] repeat till end of the round (6 stitches).
- Round 14: Crochet the complete round into the front loop only. [1 increase] repeat till end of the round (12 stitches).
- Round 15: [1 sc, 1 increase] repeat till end of the round (18 stitches).
- Round 16: Fill the head with polyfill again if there are any unfilled areas. 1 sc, 1 increase, [2 sc, 1 increase] repeat 5 times, 1 sc (24 stitches).
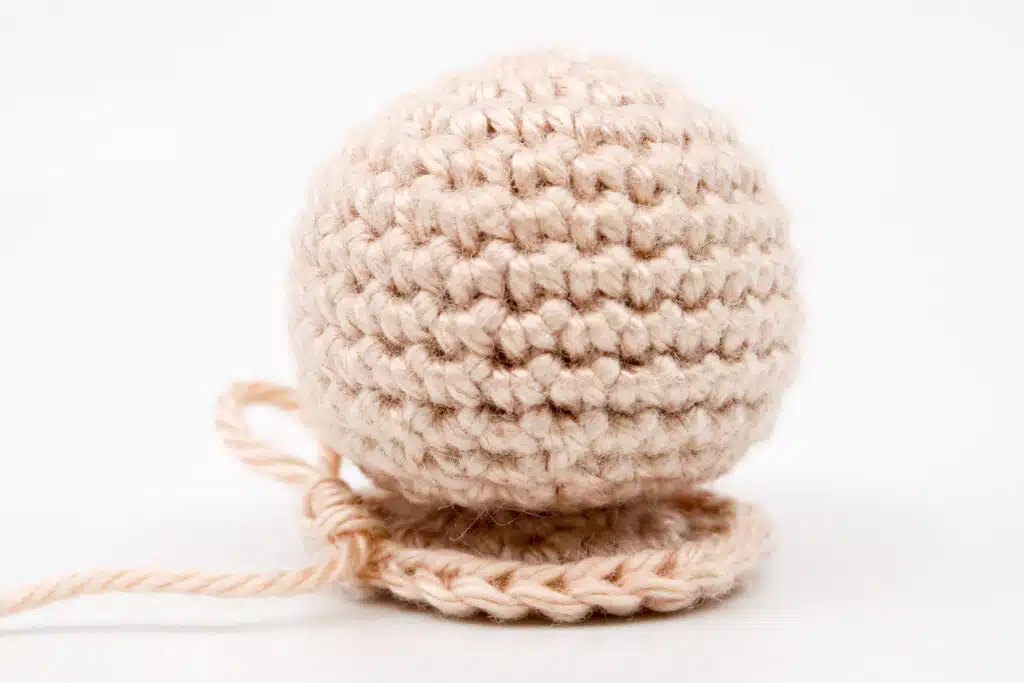
- You now have a circle at the head that counts 24 stitches. These stitches are divided into 3 parts. From the two smaller parts, each consisting of 6 stitches, the arms will be crocheted later and from the larger part, consisting of 12 stitches, the torso.