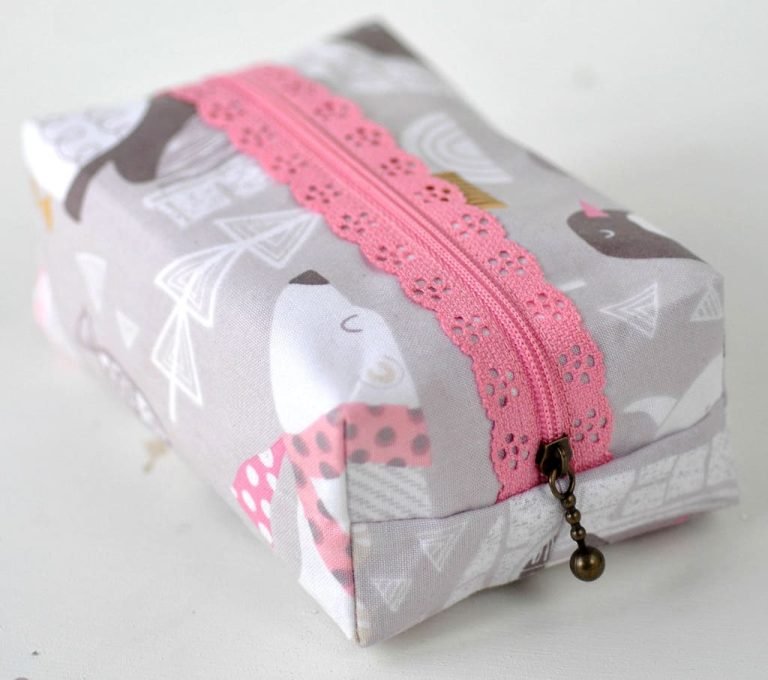
I love how the boxy pouch turned out and I can’t wait to use an exposed lace zip again. Here’s my free sewing tutorial so you can make your own Boxy Lace Zipper Pouch…
You will need…
snow days, winter wonderland fabric in grey
20 cm pretty lace zips (pink)
all purpose sewing thread
How-to step by step…
Step 1
Start by cutting out the outer panels and lining as illustration above. Fuse interfacing to wrong side of all two outer pieces only.
Step 2
Place one of the outer panels, right sides together with one of the lining pieces. Pin along the top edge to secure.
Step 3
Using a 1cm seam allowance stitch the two pieces together, press seam allowance open. Repeat with remaining outer and lining panels.
Step 4
Turn right side out and press.
Step 5
Along one sewn side, centre your zip on the right side of the outer fabric. Pin to secure.
Step 6
Using a zipper foot, stitch in place
Step 7
Pin the other side of your zip to the sewn side of the other panel. Using a zipper foot, stitch in place starting 1cm in from the raw edge and finishing 1cm away from the raw edge.
Step 8
Open out so that the outer panels and lining panels are right sides together. Pin to secure.
Step 9
Using a 1cm seam allowance stitch the outer panels together.
Step 10
Using a 1cm seam allowance stitch the lining panels together. Leaving a gap of around 5cm so you can turn it right side out later.
Step 11
Line up the outer and lining seams so they are centred on the zip, press.
Step 12
Open the zip a little. Pin the outer fabric shut at the end of the zip. with the lining facing upwards to ensure it is pulled back from the line you are going to sew as you don’t want to sew your lining fabric at the same time.
Step 13
Using a 1cm seam allowance stitch the outer ends together.
Step 14
Trim seam allowance and zip tails.
Step 15
Pin the lining fabric shut at the end of the zip. with the outer facing upwards to ensure it is pulled back from the line you are going to sew as you don’t want to sew your lining fabric at the same time. Using a 1cm seam allowance stitch the lining ends together. Trim seam allowance.
Step 16
‘Boxing the corners’ At one corner of the outer pieces, separate the two fabric layers and rearrange them so that the bottom seam and the side seam are aligned down the center, and the pouch body comes away from the corner in a triangle shape. Using a ruler and watersoluble marker of pencil, mark the line at right angles to the seam 3cm (1 1/4″) from the tip of the corner.
Step 17
Repeat for all remaining corners on outer and lining and stitch across each marked line.
Step 18
Trim off corners, leaving a 5mm seam allowance.
Step 19
Turn the pouch right side out through the opening in the lining.
Step 20
Pouch should now look like photo above.
Step 21
Fold in the seam allowances on the opening and slipstitch the edges together.
Step 22
Give the pouch a light press. I do this by placing a clean tea towel inside.


